

We received a few Caladium bulbs from a local seller. Although we have quite a few Caladiums in our collection, this is the first time we are growing from bulbs directly. Heard from a fellow hobbyist that they are really easy to grow. We will use this post to share some tips from the seller on how to plant and maintain Caladium from bulbs. Time to time, we will also update some growth photos to track their growth.
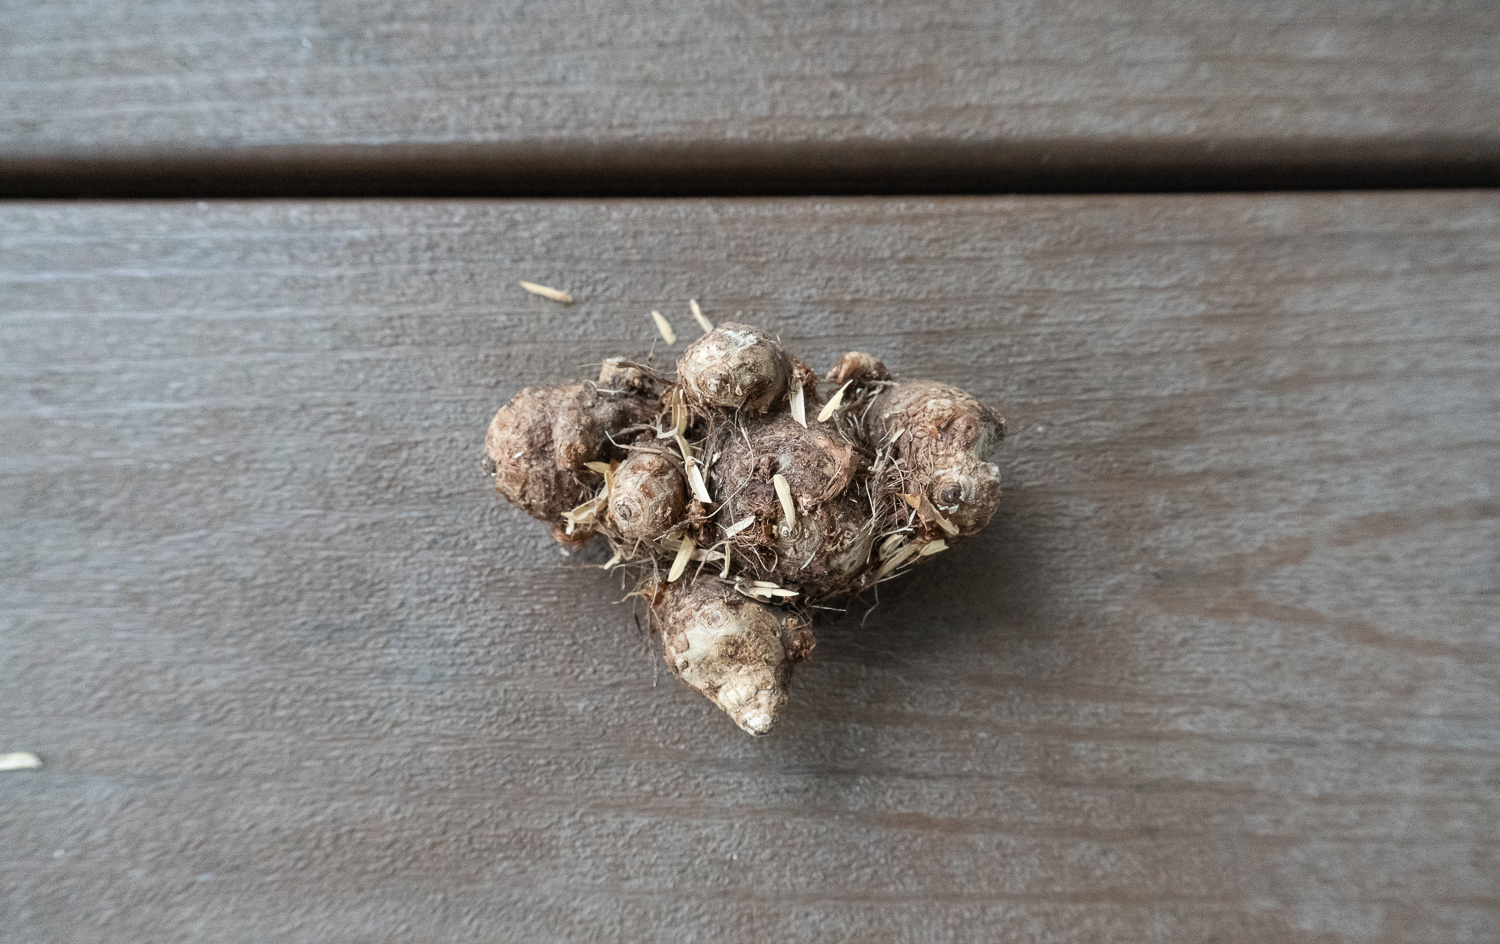
Caladium bulbs
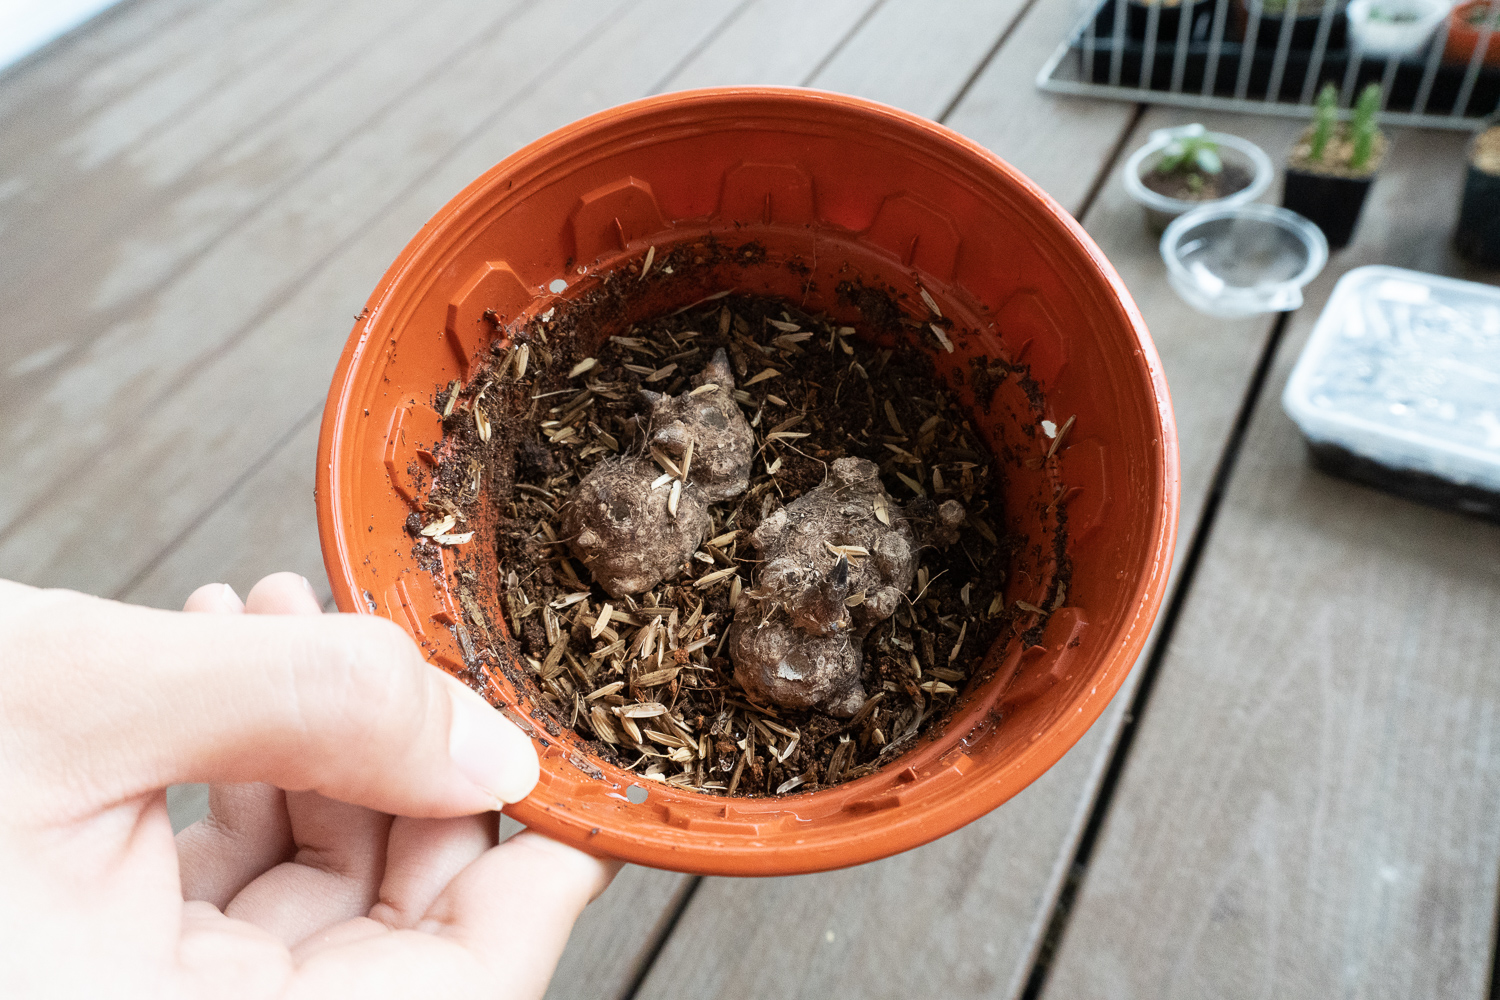
Caladiums grow from tubers that look like a hybrid between a potato and ginger. They came wrapped in some a paper roll stuffed with dry rice husk. They not only act as cushion, they also help to keep the tuber dry during the transport. From what we read, it usually takes around 1 – 3 weeks until we see the first leaf emerging.

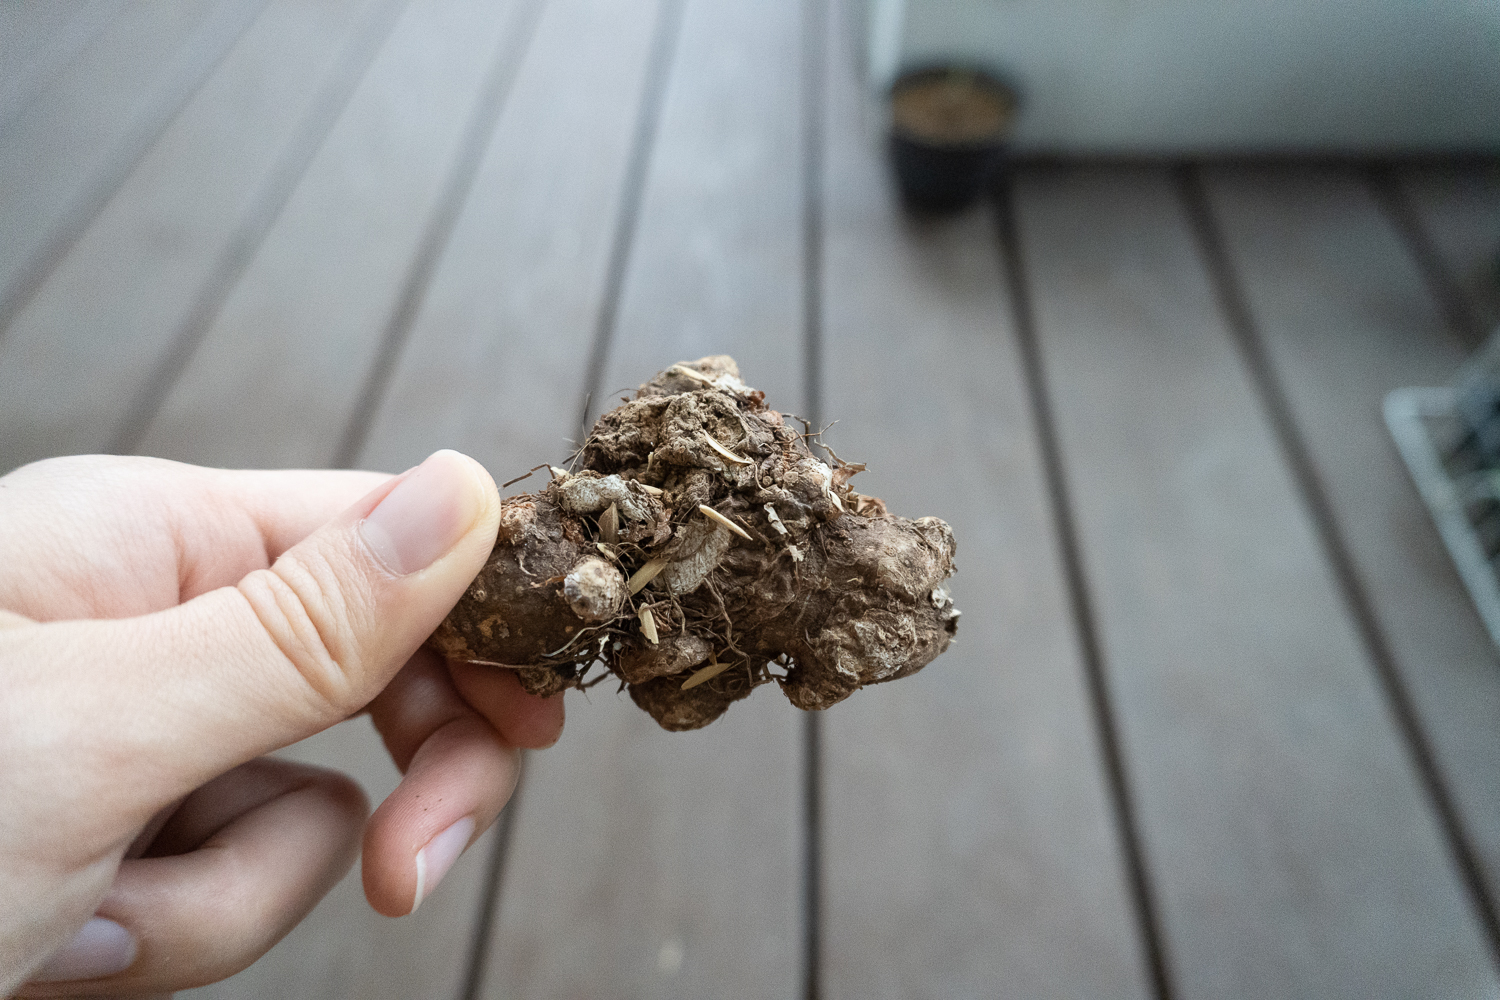
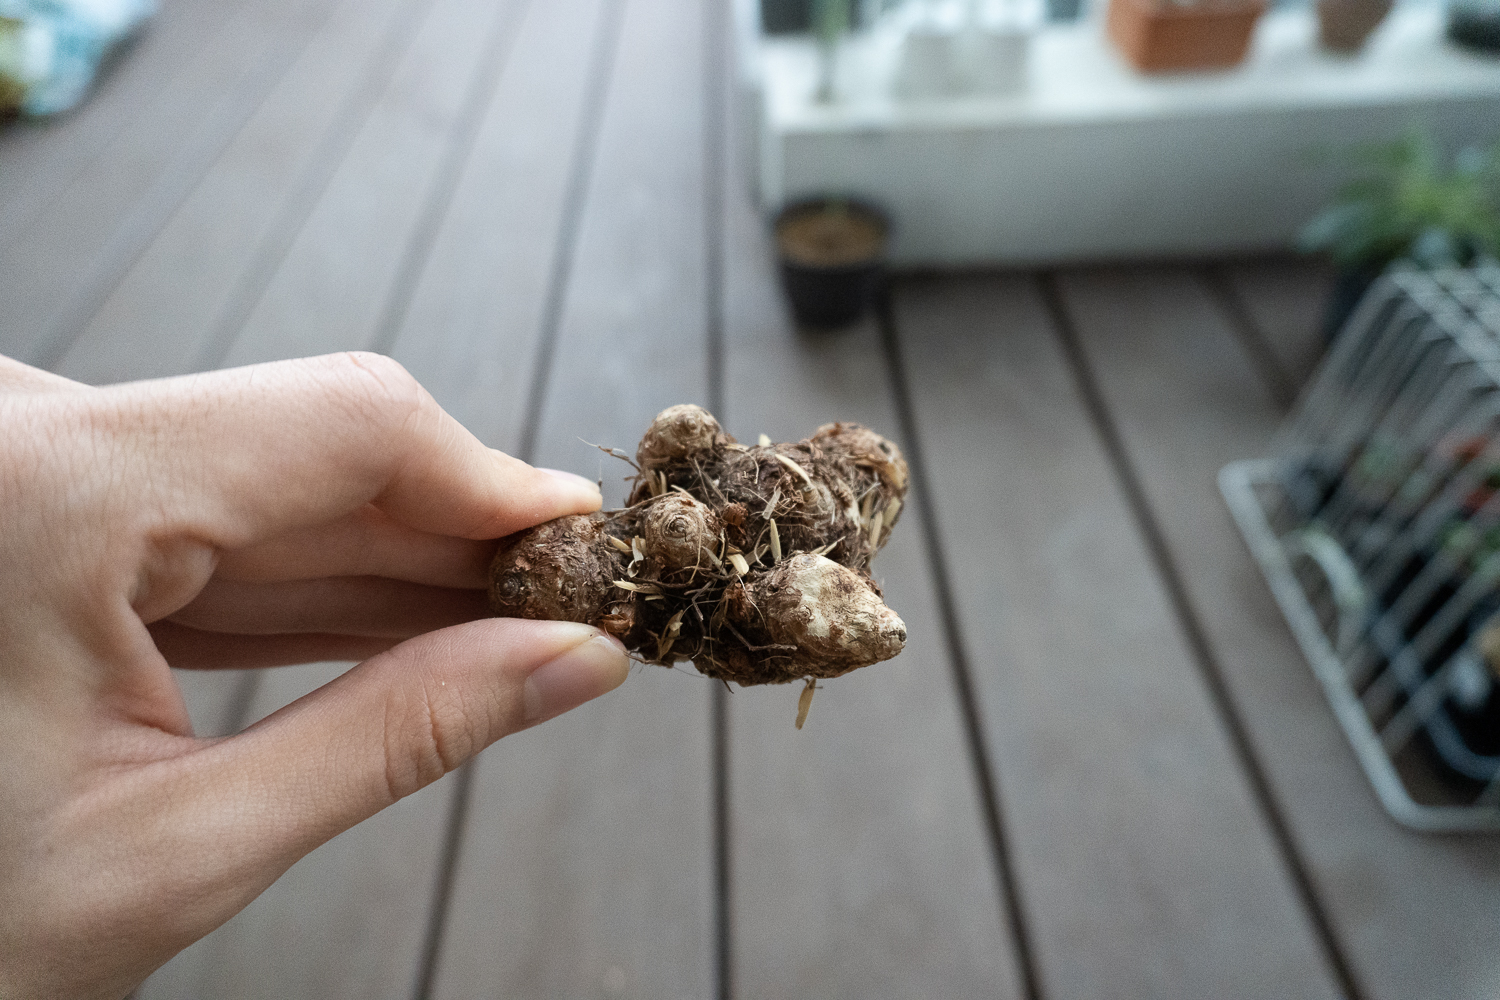
There is actually a top and a bottom side to a Caladium bulb. Leaves grow out of what are known as eyes, similar to that of a potato. However, the eyes are only found on one side of the bulb. The bottom side tends to be smoother and without bumps. If you are living in a colder environment, a good practice is to soak the bulb in lukewarm water for about an hour before planting them. In our tropical climate, this step can be skipped as our weather is warm enough to trigger the bulbs to sprout.

Soil mixture
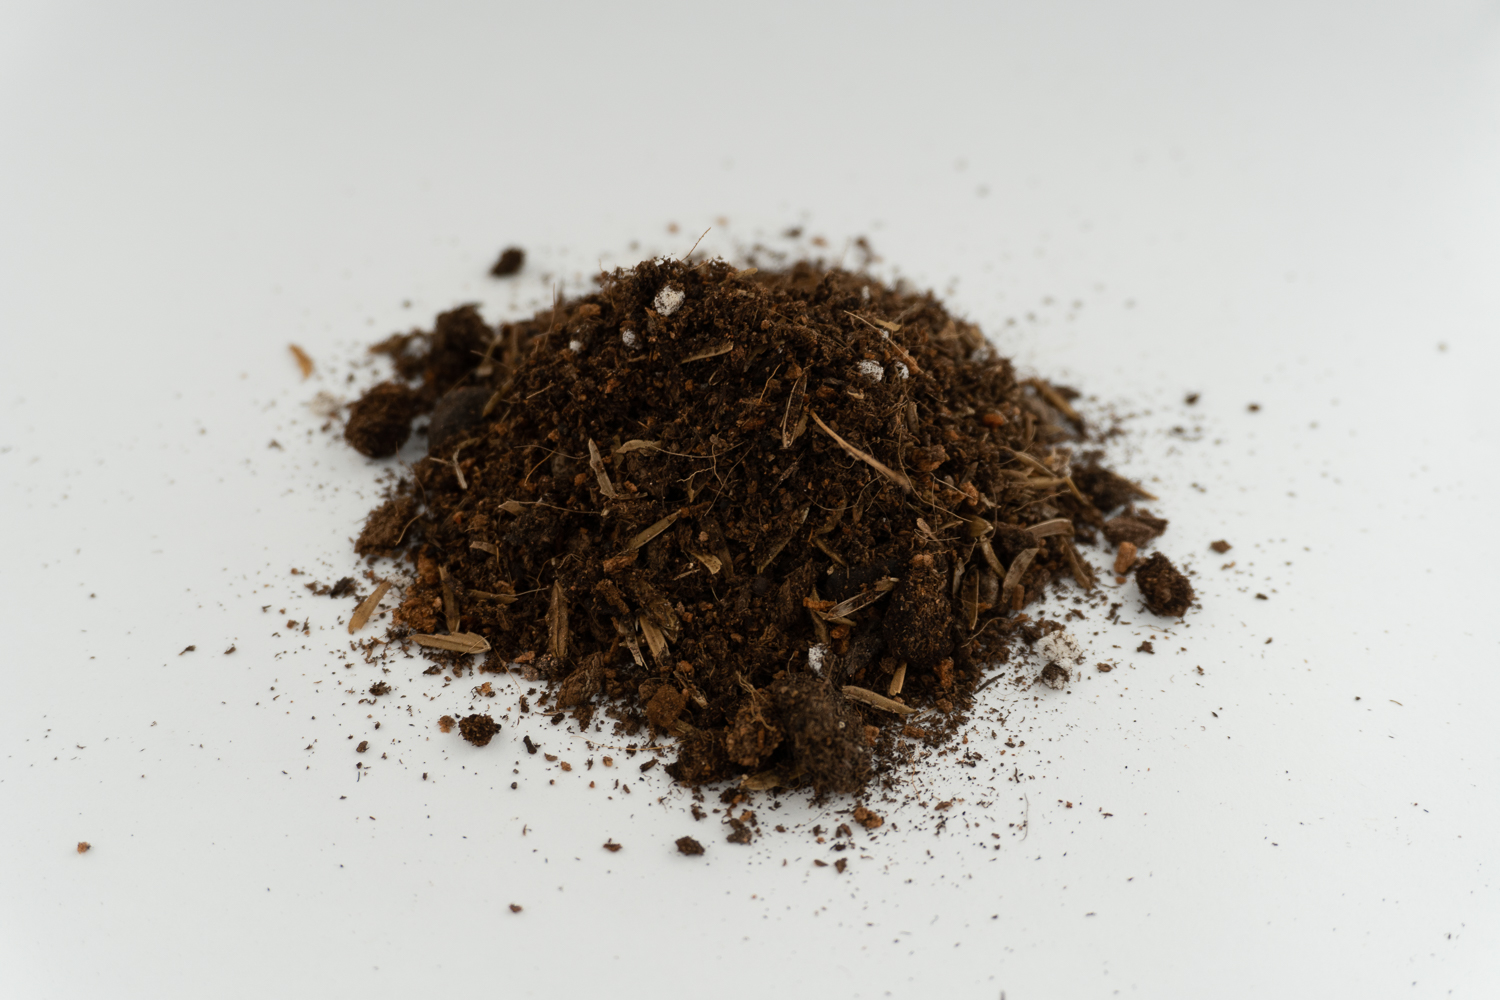
The seller gave us specific instructions to use a media that is acidic (5-6 pH) so we mixed a little more peat moss into our usual foliage mix from a local nursery. What we like about this mix is that it is very well draining and it allows us to water our plants more without being too worried of over-watering. Excess water escapes from the bottom together with leftover salts from our fertilizer. The resulting mixture consists of:
- Raw Risk husk
- Peat moss
- Burnt soil/earth
- A pinch of chicken manure

Potting the bulbs
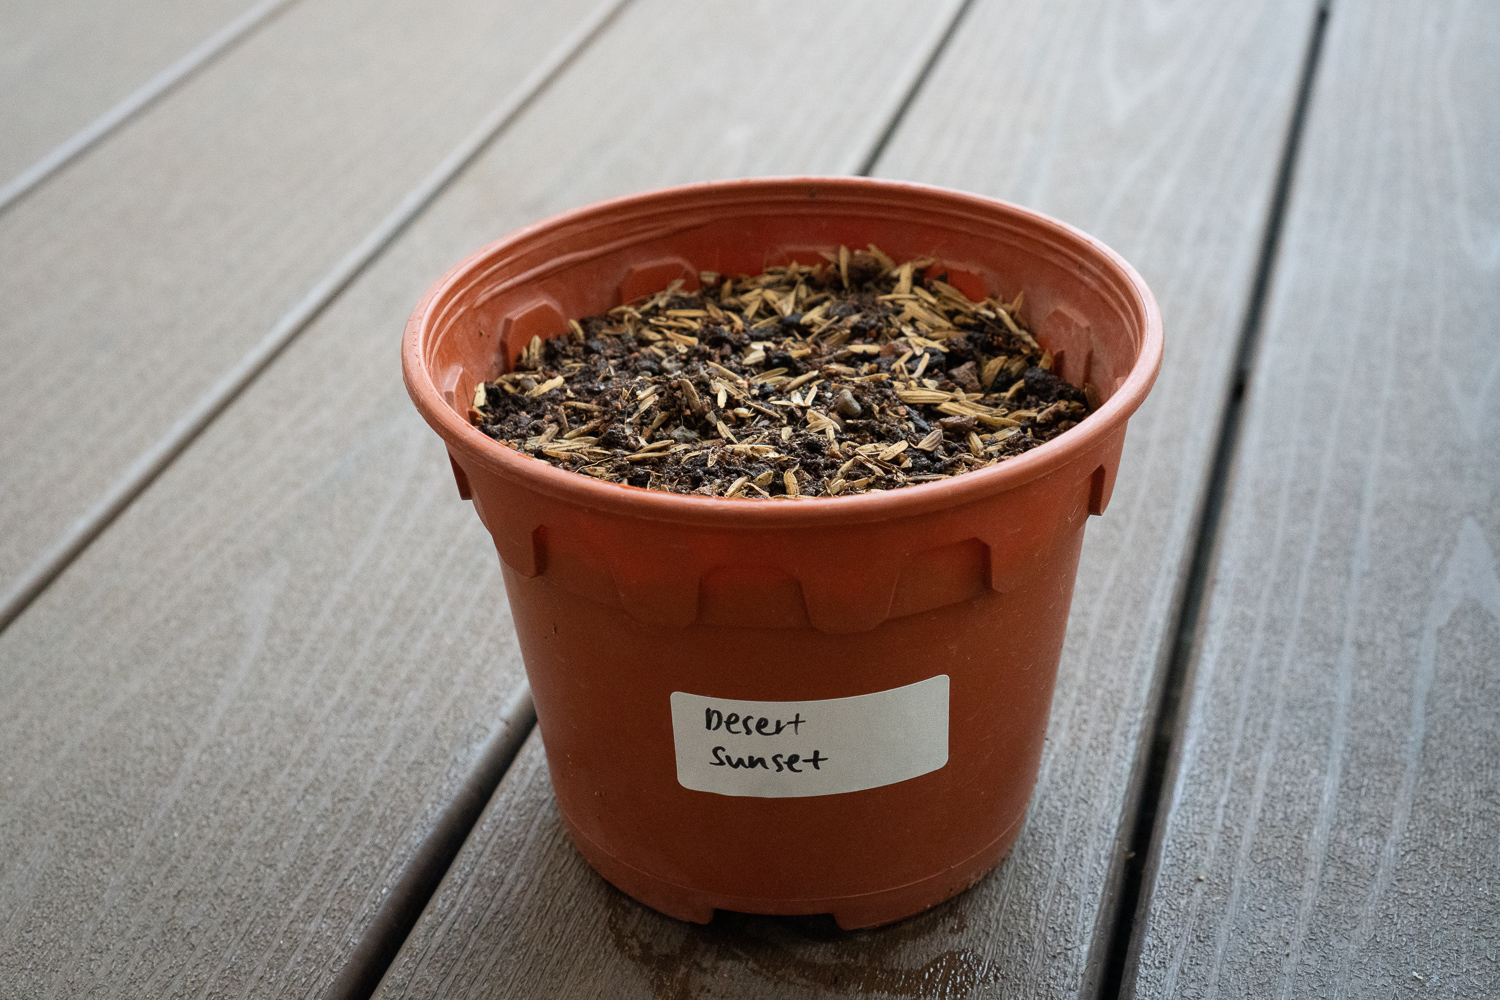
We first filled the pot with the media until there is around 8 cm of space till the rim. We then placed the bulbs with the correct side facing up and covered the bulbs with around 3-5 cm of soil. The bulbs should not be too exposed as roots can also grow from the top side of the bulb. We want to maximize the amount of roots so that the plant can grow big and healthy bulbs. We also didn’t fill the soil to the brim as it helps us to prevent the soil from flying everywhere when we water.
Results
After potting, we watered thoroughly until water drips out from below and placed them somewhere bright and warm. Will update when they start to sprout.

Update – 15 August 2020
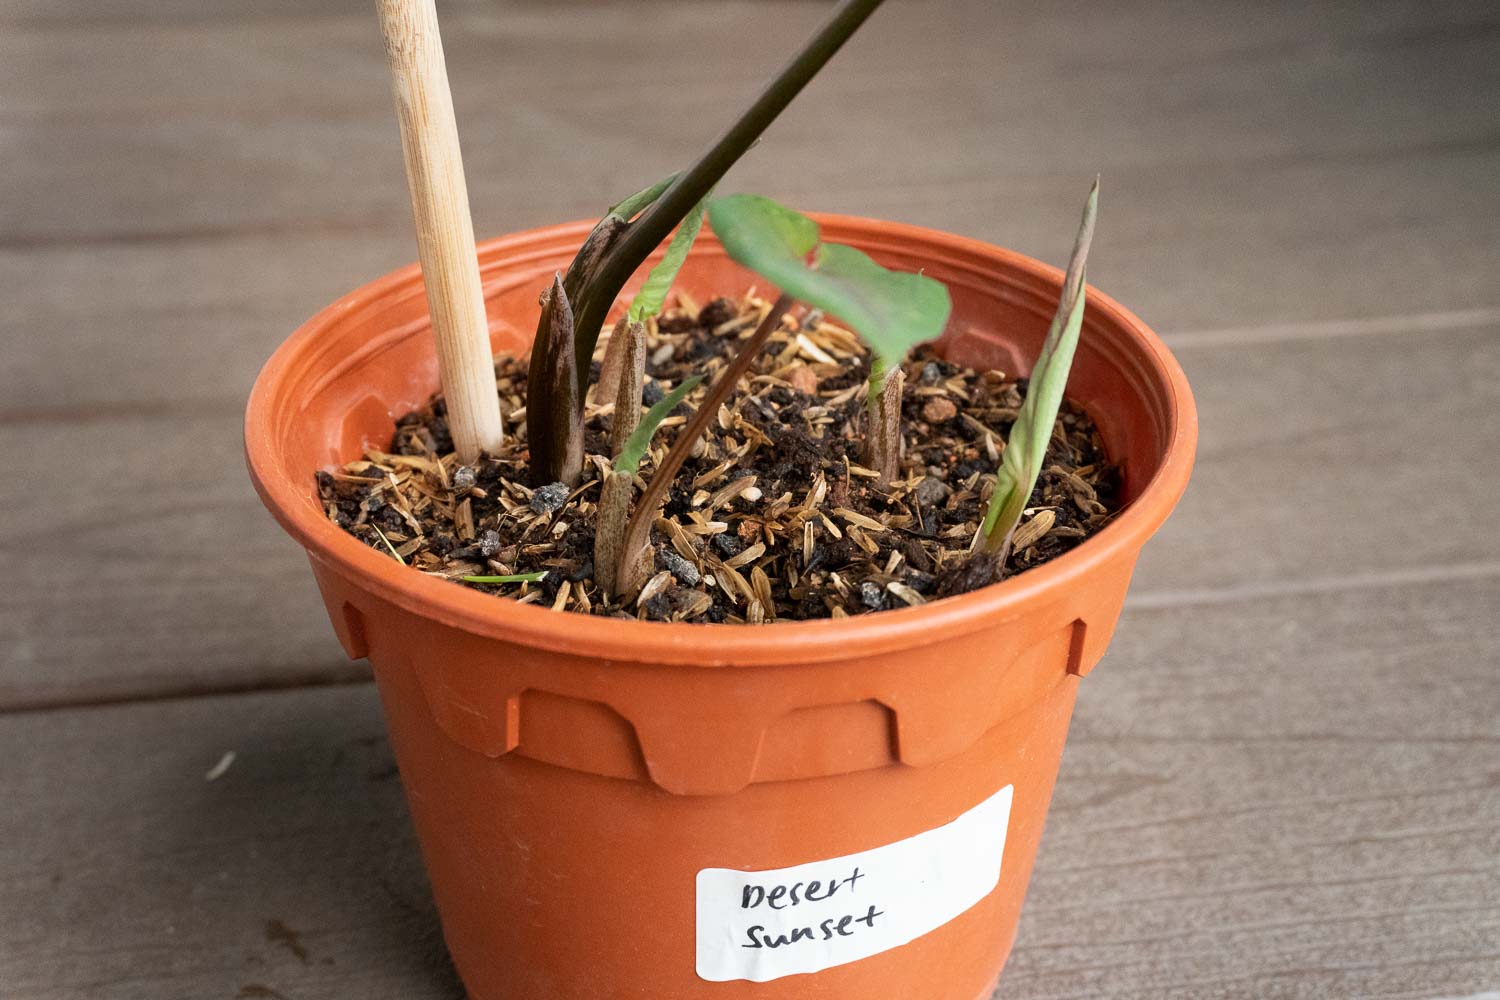
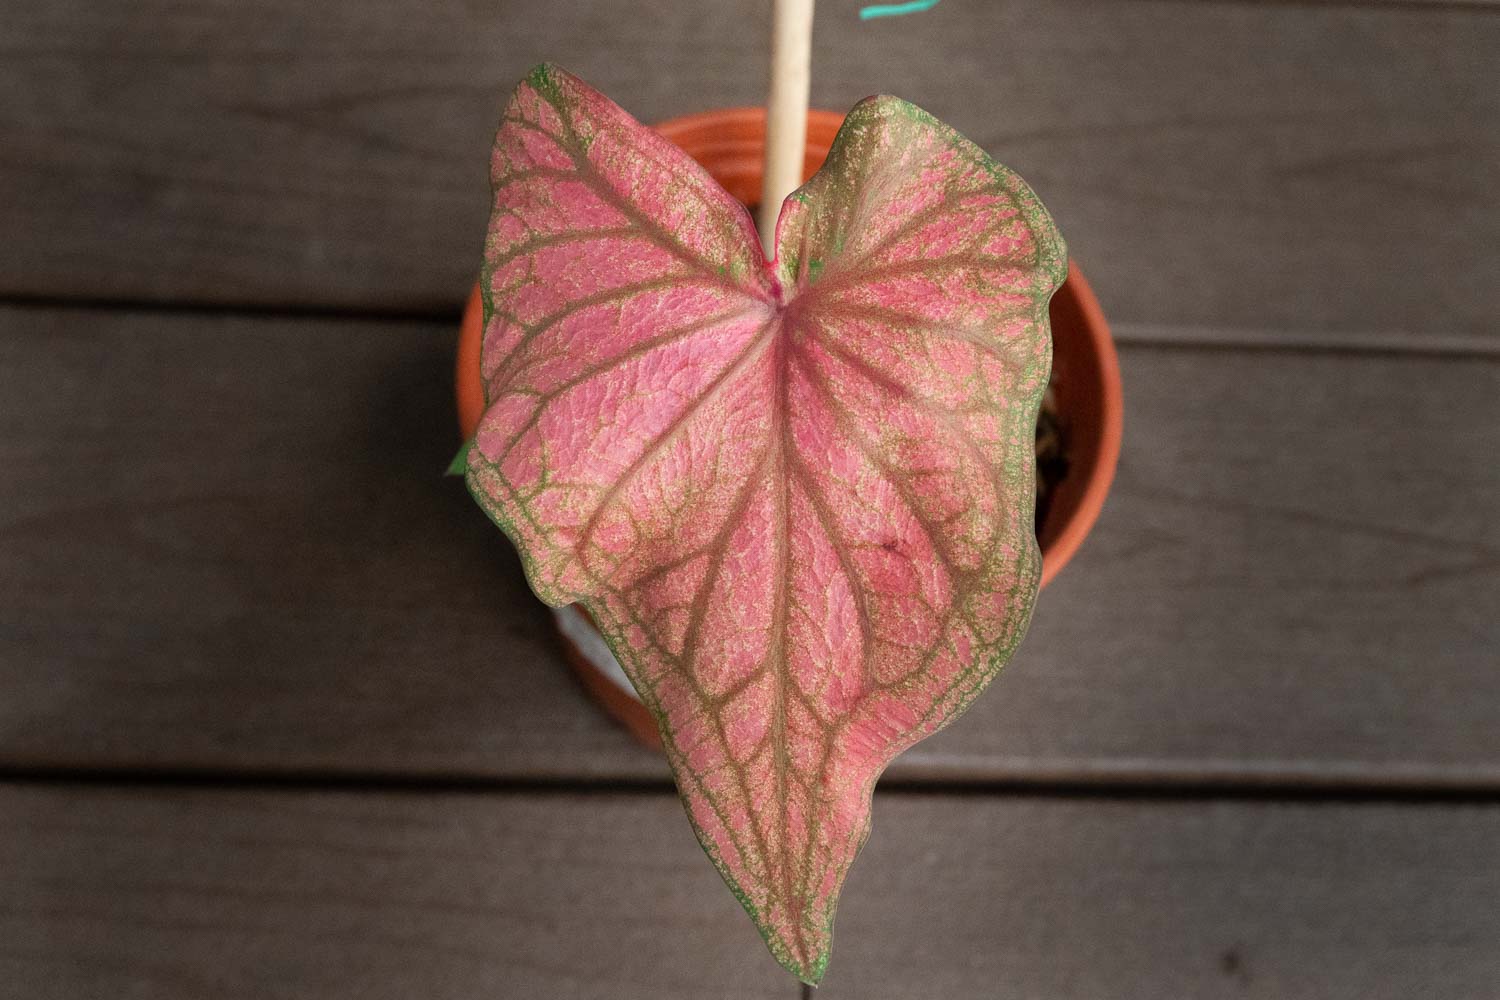
Both our caladium pots have sprouted! The desert sunset pot even has a new fully formed leaf. Here are some photos of the shoots poking out of the soil. We first saw them around one and a half weeks after planting. It took another week for the leaves to form after spotting the shoots.

Update – 21 August 2020
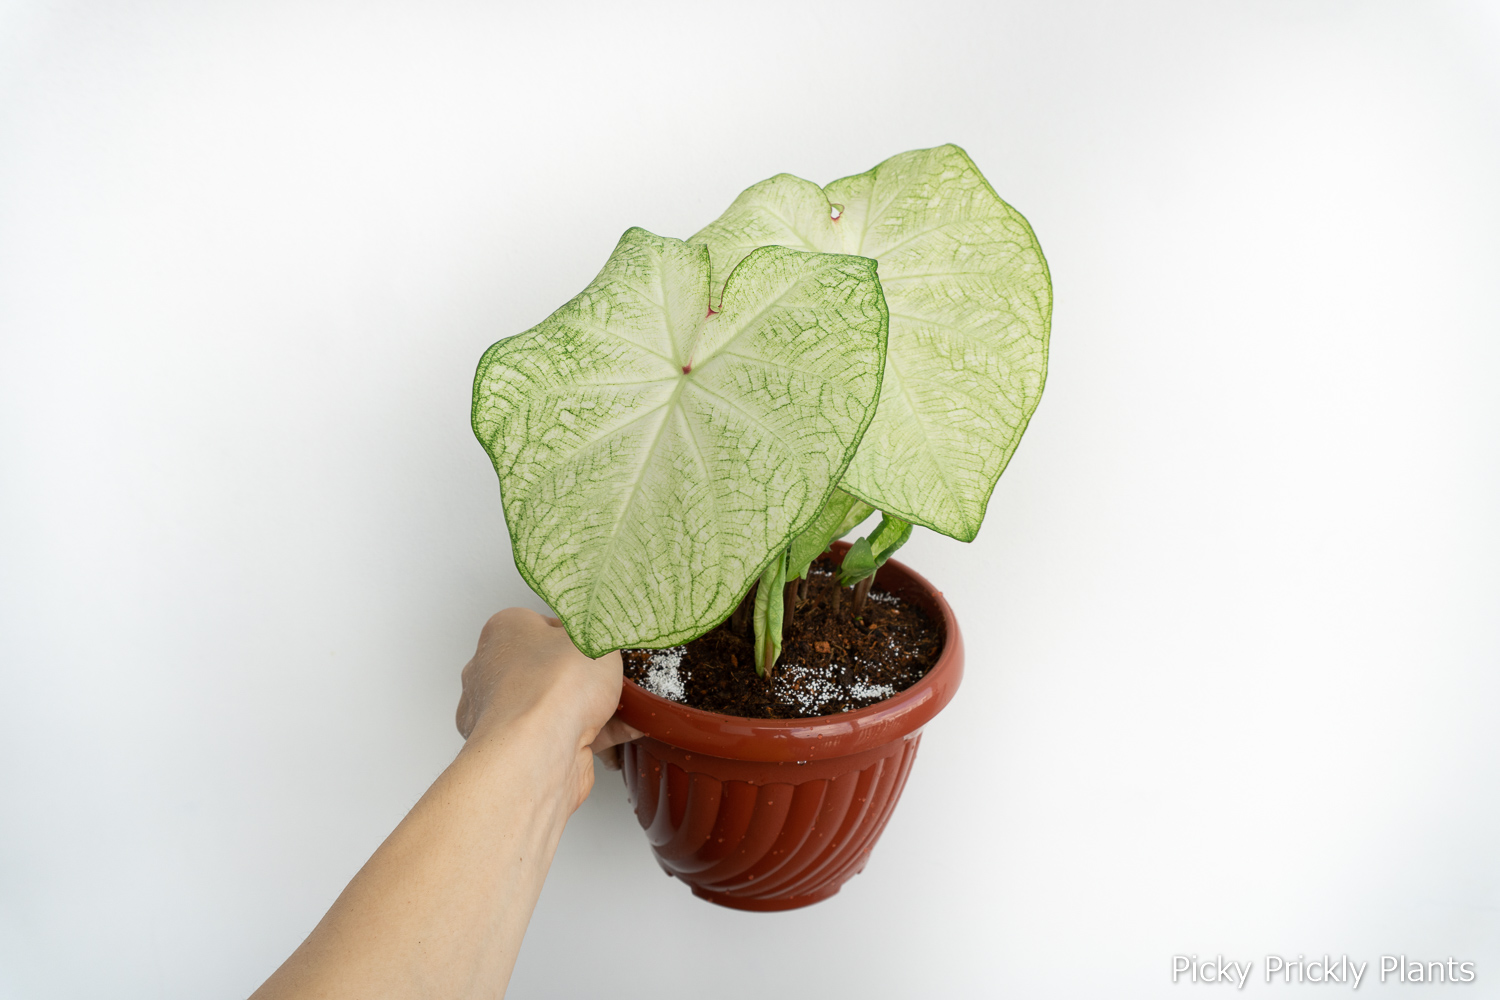
Just a week after the first few leaves emerged, the pot exploded with so many new growth! The shoots were growing all over the place and some also emerging right at the rim of the pot. We decided that the pot we used was too small and we carefully switched to a bigger one. What we saw next really surprised us.

In just mere three weeks, the caladium bulb took over the entire pot with its roots. This was a good lesson learnt for us to not underestimate the growing prowess of caladiums.
US caladiums vs Thai caladiums
After talking to more experienced growers, we found out that cultivars grown and sold in the US has much more vigor than those from Thailand. Although the Thai caladiums are usually more vibrant in colour and has more varieties, they have come in smaller bulbs which grow with just one or two shoots. In comparison, US bulbs generally push out a lot more growth that will quickly turn into a big bush – perfect for a landscape project.
One thought on “Planting Caladium Bulbs”