Today, we are going to degraft a lophophora from a pereskiopsis rootstock so that it can grow independently with its own roots. We grafted a three-month-old seedling that we sow some time in December 2019. We will not go into how we grafted it but here is a great guide to graft baby cacti on pereskiopsis.
Why graft lophophora seedlings in the first place?
Lophophoras are slow-growing plants which grow at the rate of 2-3 cm in diameter a year. Grafting them on to a fast-growing cactus can boost the speed by a few times. Just look at how much the plant as grown in just seven months.
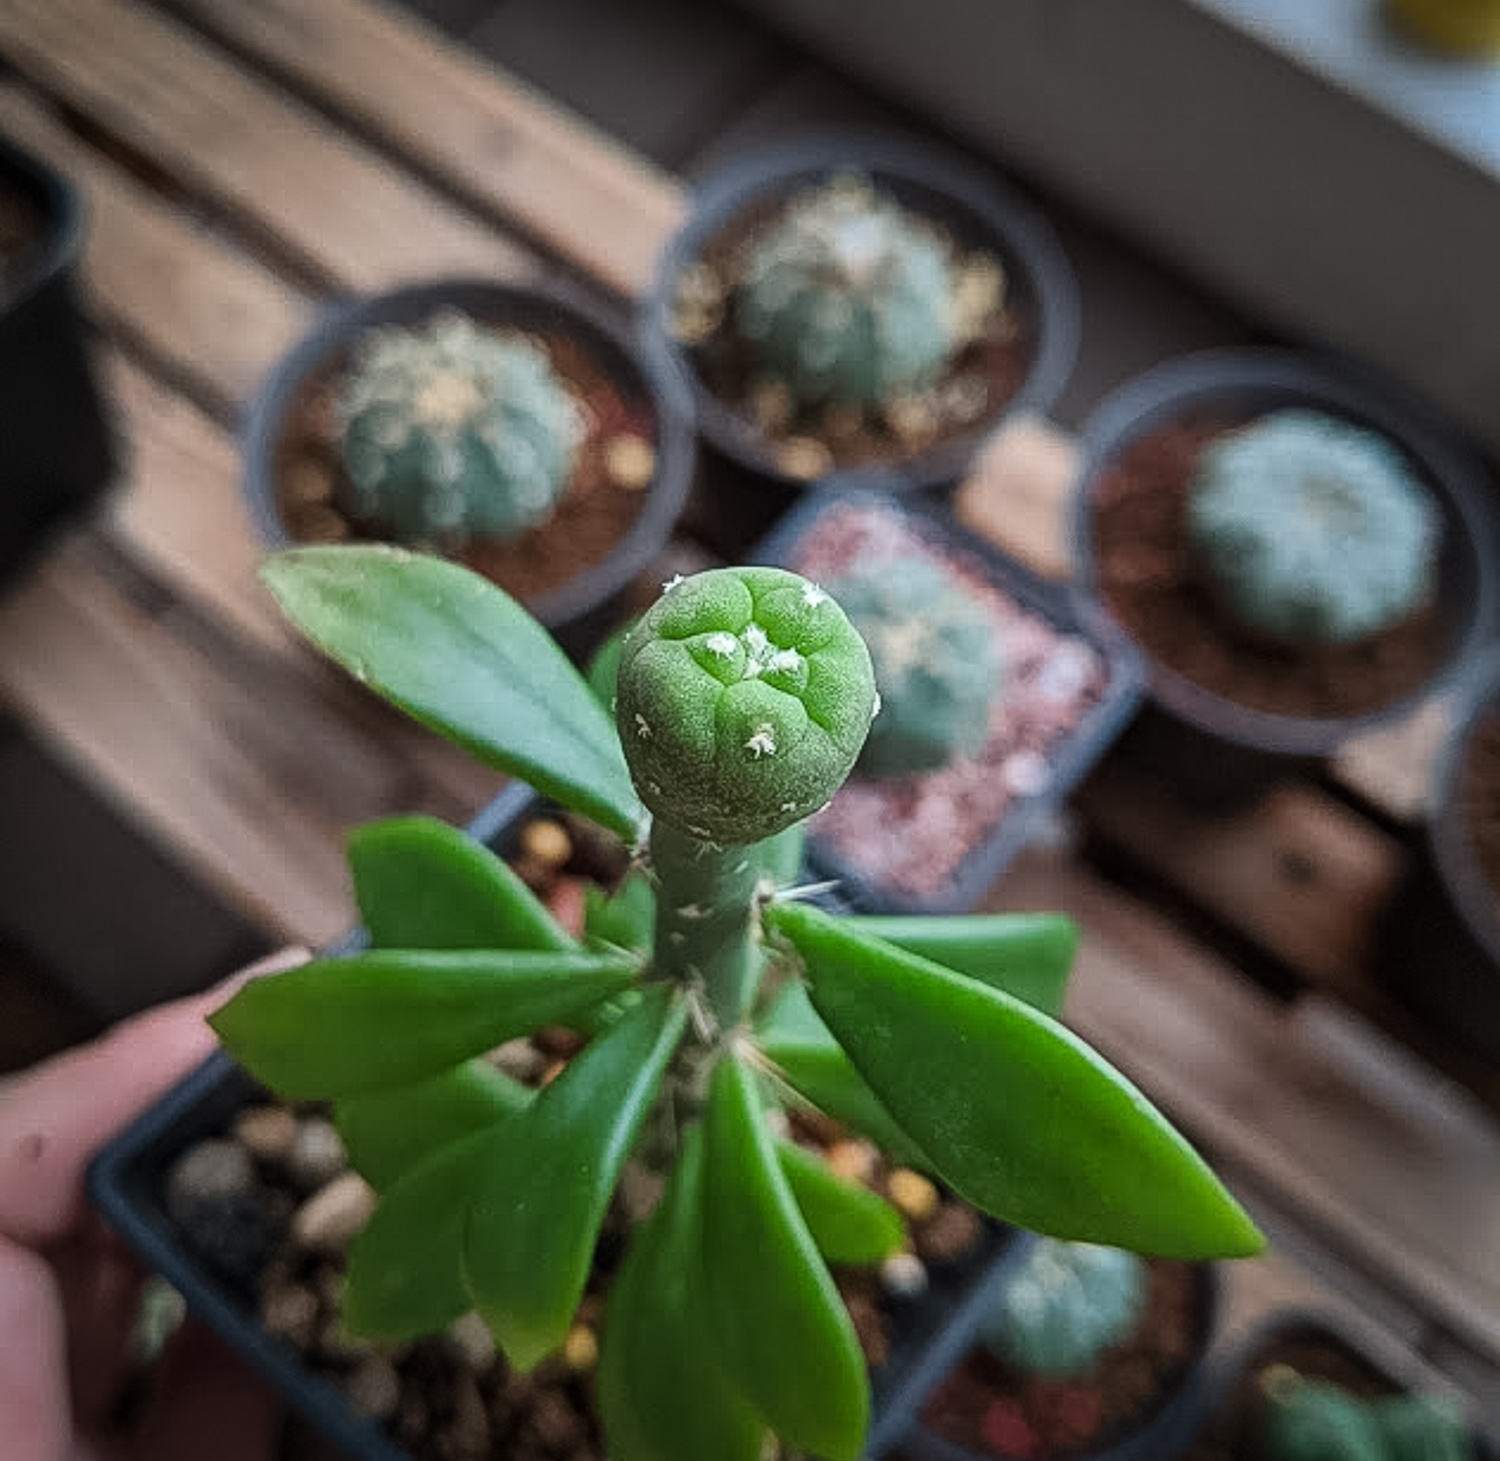
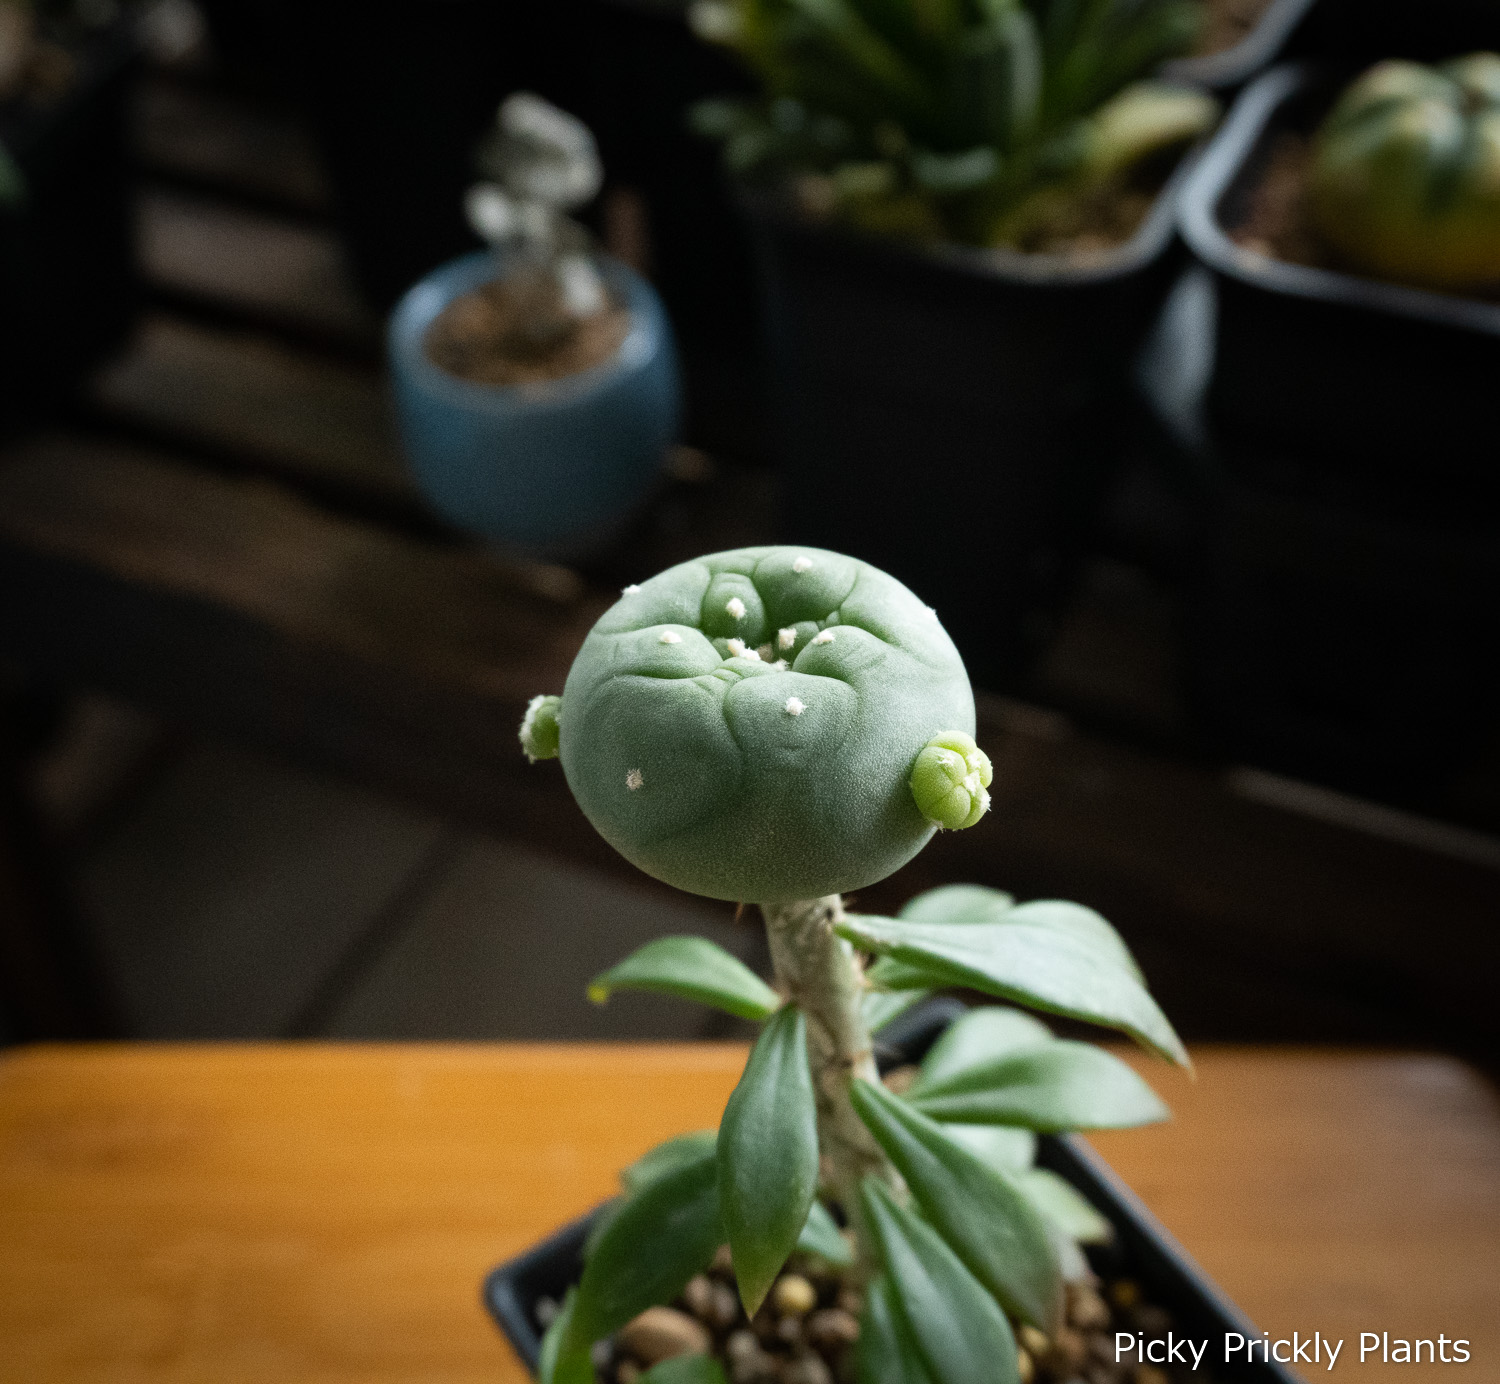
Pereskiopsis is a good rootstock for cacti seedlings
We have great successes with grafting lophophora seedlings on pereskiopsis. Not so much for astrophytums but that’s a story for another day. The following are reasons why we recommend pereskiopsis:
- The stems are similar in diameter to 3-4 month old seedlings so that vascular tissues are easier match up
- Pereskiopsis is a super easy plant to grow and propagate
- After grafting, the rootstock is resilient to overwatering and can survive in almost any kind of media
- The growth rate is just amazing
The downside is that the plant might start to look bloated and pup a lot more than it should. This creates an unnatural look that is a turnoff to many growers. Pereskiopsis is also not a long term rootstock. It loses its vigour after one or two years and its thin stem might not support your huge plant.
Five simple steps to degrafting
1. Slice off the scion with a sterilized knife
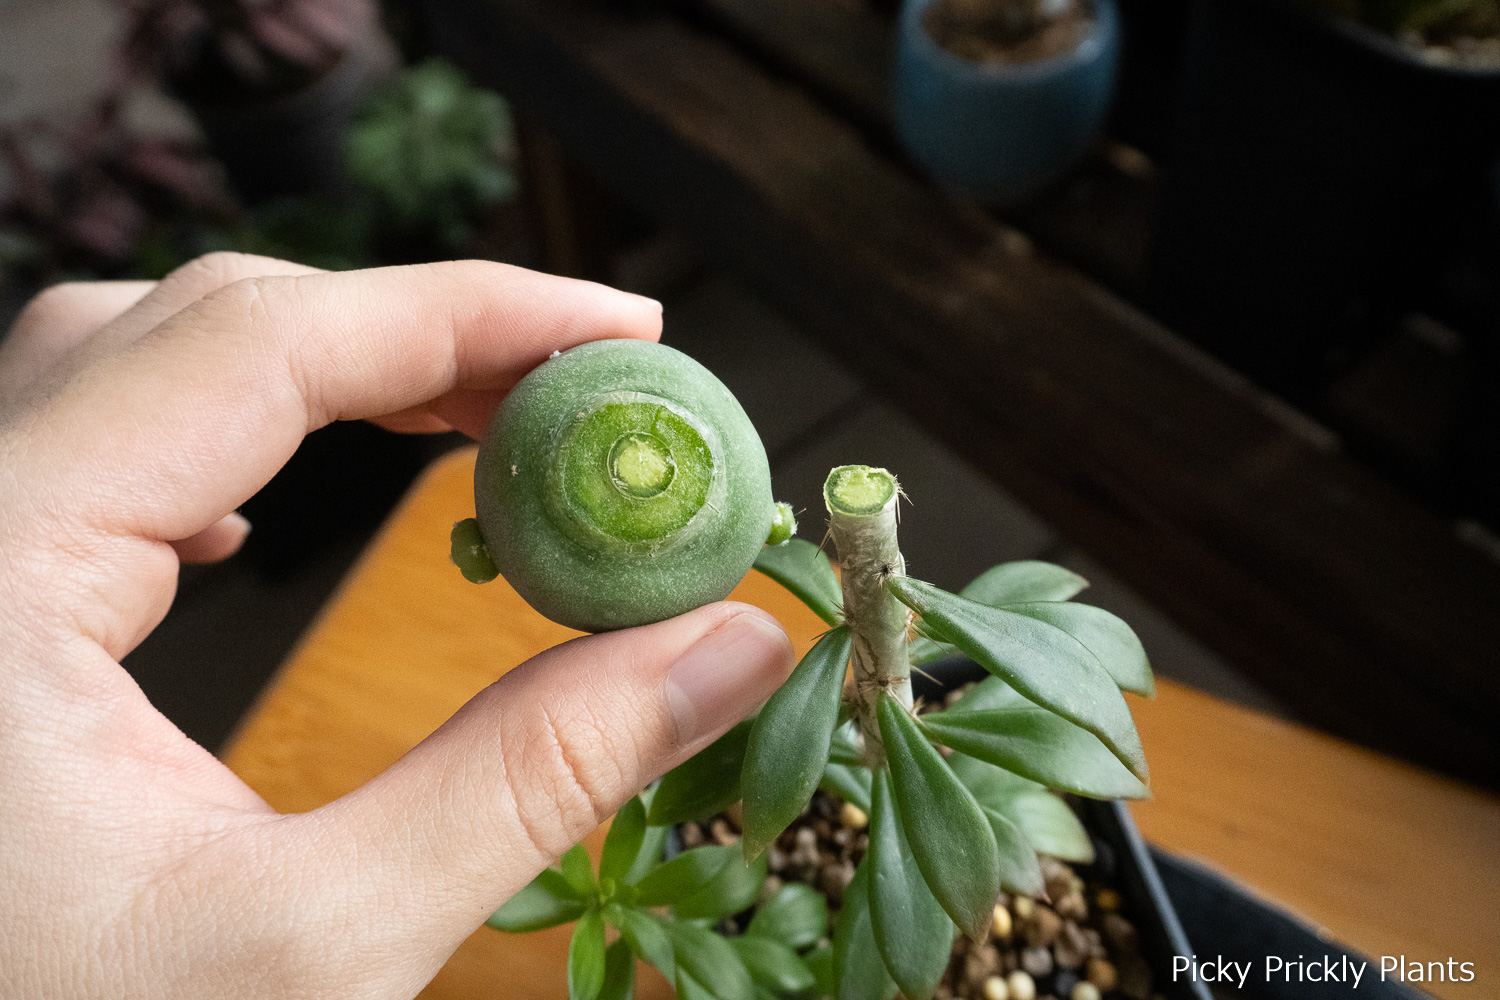
Always use alcohol swabs to sterilize your knife before the operation. We had successes without sterilizing in the past but also had many plants die of fungal infection. Better safe than wasting great plants. Slice off the rootstock as close to the scion as possible.
2. Dig out the remnants of the rootstock
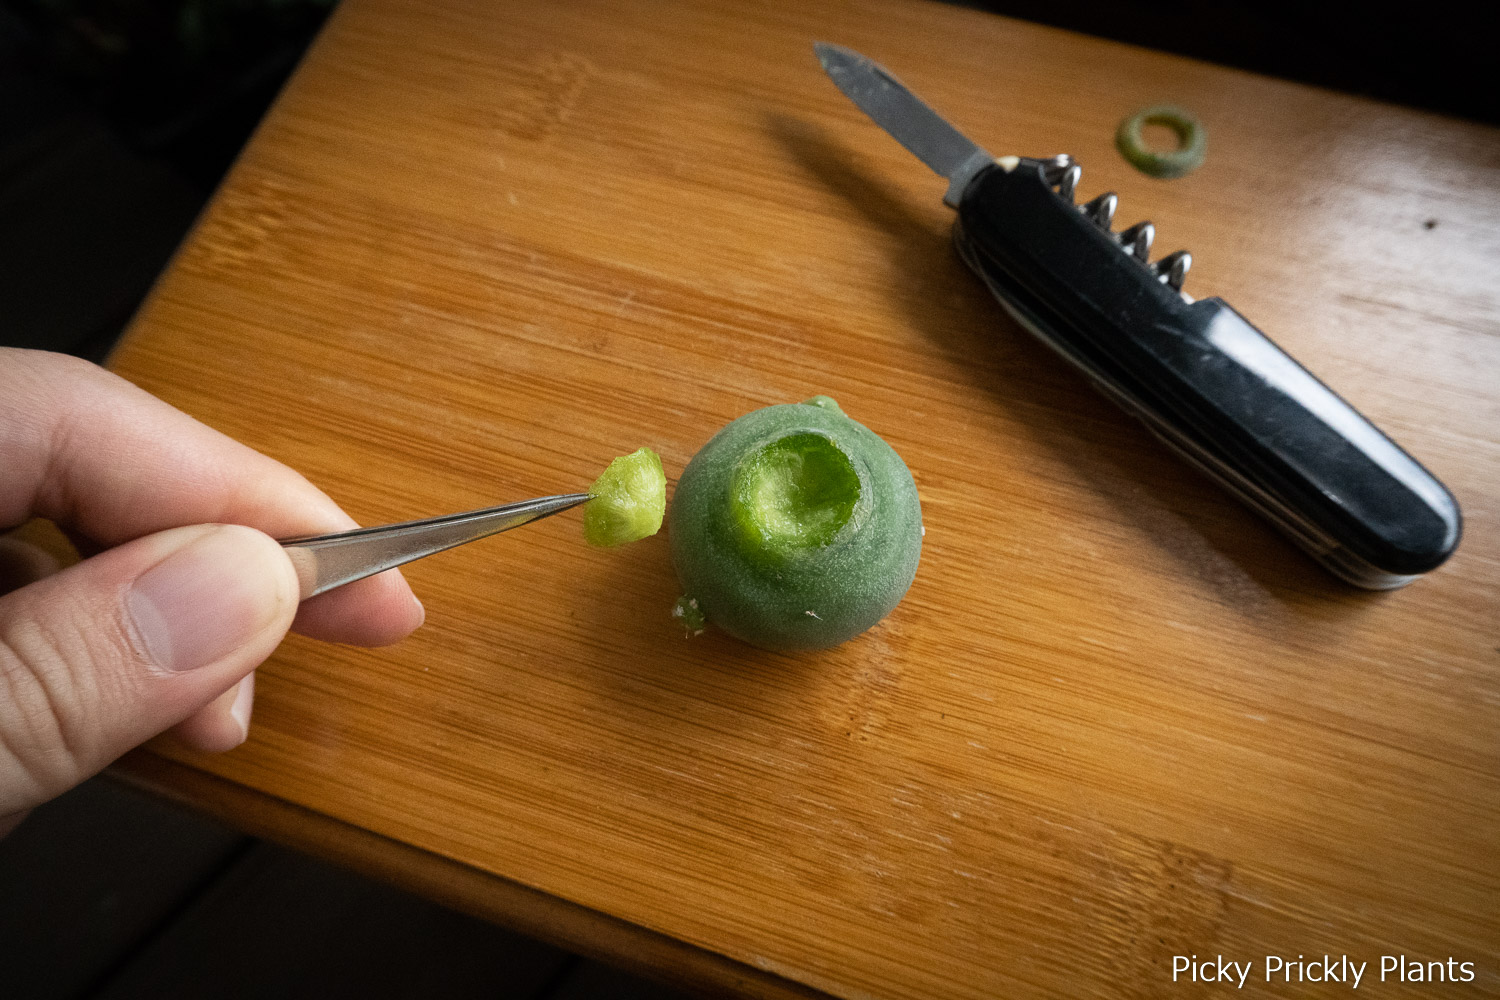
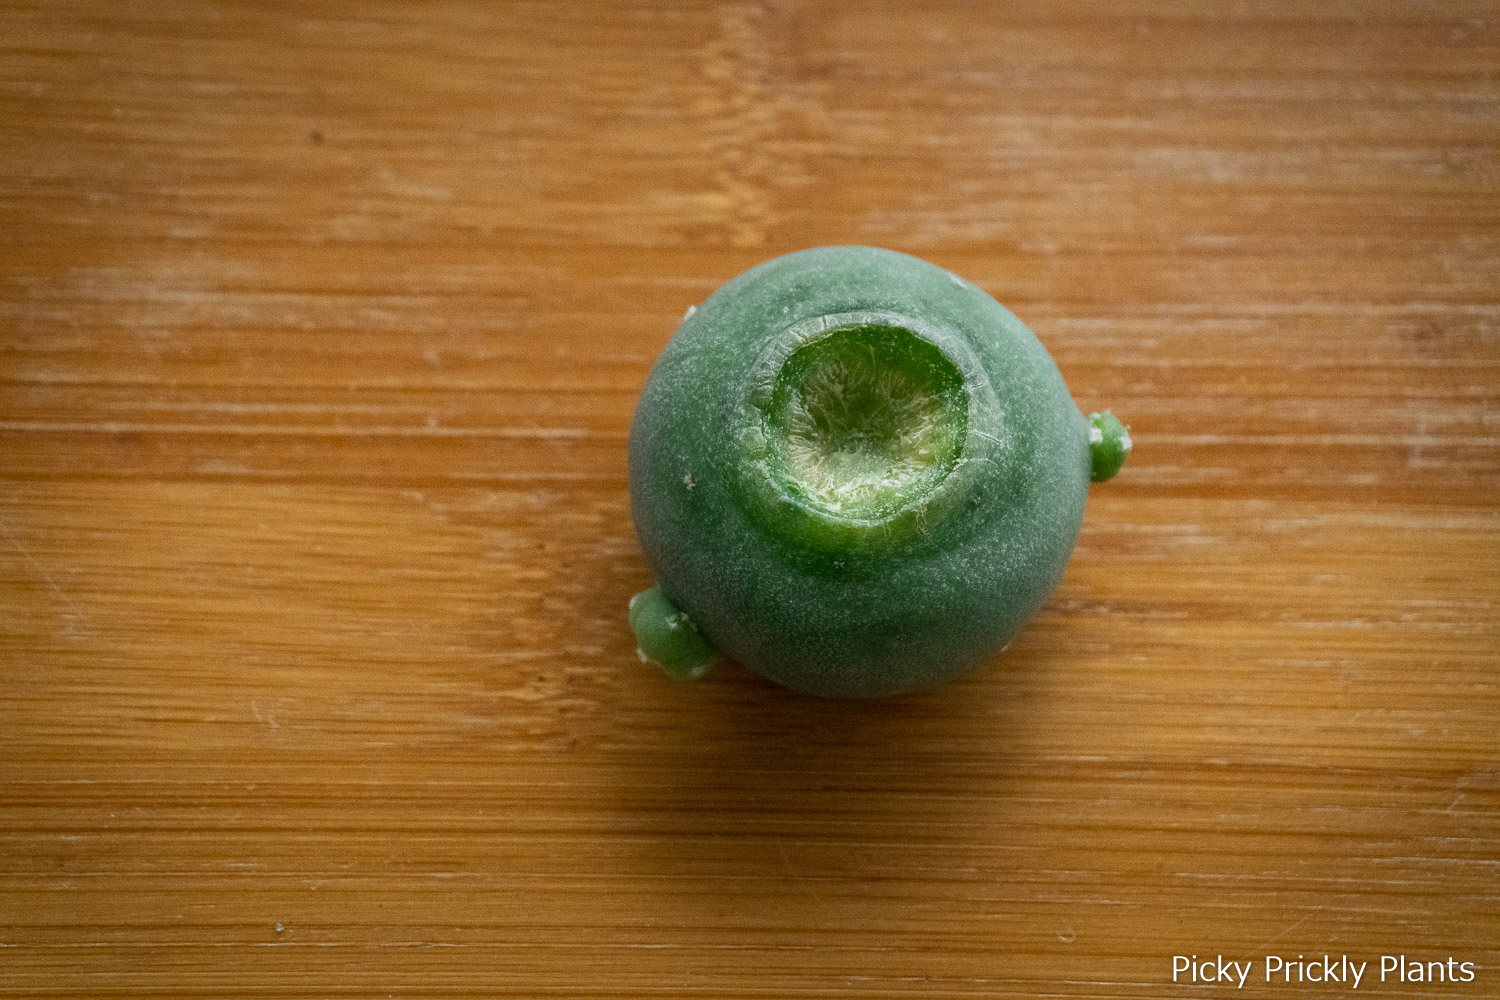
From the photo above, you can see that the scion grew around the rootstock and a short pereskiopsis stub is stuck on the lophophora. We need to remove as much of it to prevent the rootstock from dying and rotting. Use the same knife to cut a cone around the root stock. You might need to scrape the insides of the scion if there are still remnants of the rootstock.
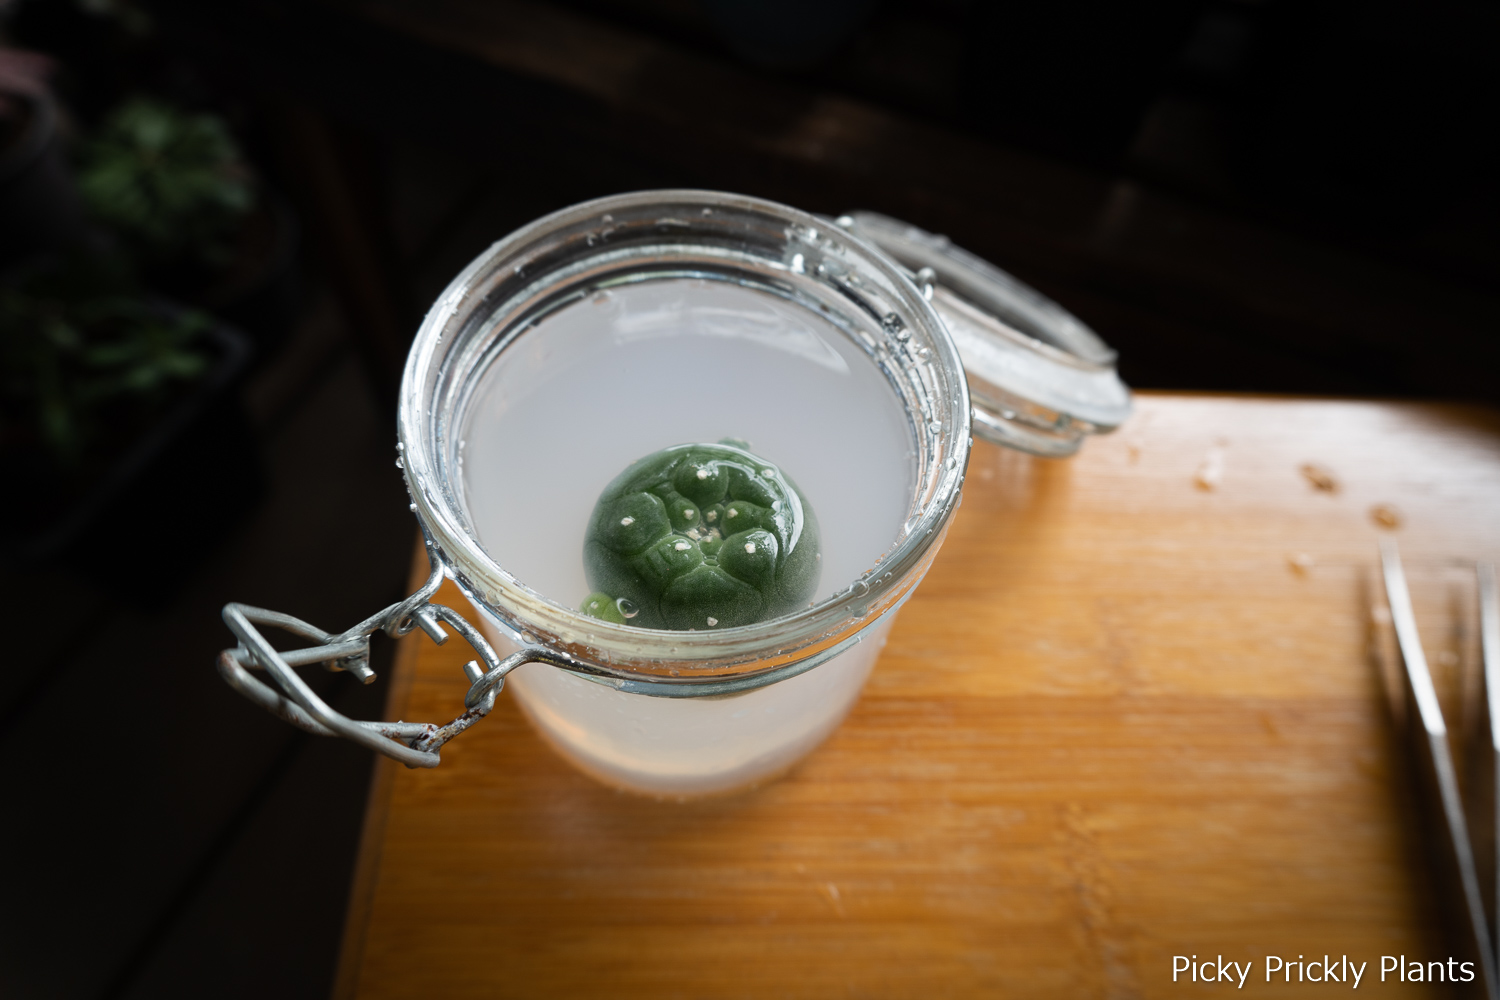
3. Soak the scion in fungicide
The most common reason why degraft fail is that the scion rots before it is able to completely heal from this major operation. So far, we’ve seen wounds that grew mold and rust, which usually leads to the seedling turning mushy.
To prevent this from happening, soak the scion right after degrafting into a solution of systemic fungicide. We usually use Zagro Stilt as it’s great against rust which affects most of our plants. Soak for a minute or so to allow the fungicide to be absorbed into the wound.
4. Air dry the scion
Next, place the plant wound-side-up in a cool and dry spot for it to callus over. We usually place it on top of a tissue or paper towel so that it dries faster and no moisture gets trapped between the plant and the ground. Leave the plant and not touch it for a week.
I would recommend against using rooting powder to speed up the rooting process. So far from our experience, using it increased the probability of the wound rotting instead. We suspect it is due to the rooting powder forming a layer that traps humidity close to the wound.
5. Wait for it to root
After a week, flip the plant back upright and continue to place it in a cool spot. Usually, nursery owners put it underneath their tables in their greenhouses. It takes 3-6 weeks until the root will start to develop as little white pointed tips on the surface of the wound.
I would usually flip the plant over to check every week for infection and roots. If a little mold or rust is found, soak the plant into fungicide again. However, if it is a serious infection, you may be better off cutting the entire infected area off and start the process from step 3 onwards. Place the scion somewhere dryer so that the wound can heal faster.
6. Once roots start growing
Pot them into a gritty mix and water thoroughly. Depending on the size of your pot, you might need to adjust the water frequency. In doubt, underwatering the plant is always the wiser option.
At this point, since the plant has not been able to take in any water, it might be soft to the touch. If everything goes well, in a few weeks when the roots start to mature, your lophophora should be as hard as a basketball.
Hope you are able to follow these steps and learn how to degraft your lophophora. These steps should also work for any cacti so do try and share your experience in the comment section below.

One thought on “Degrafting a lophophora from pereskiopsis rootstock”