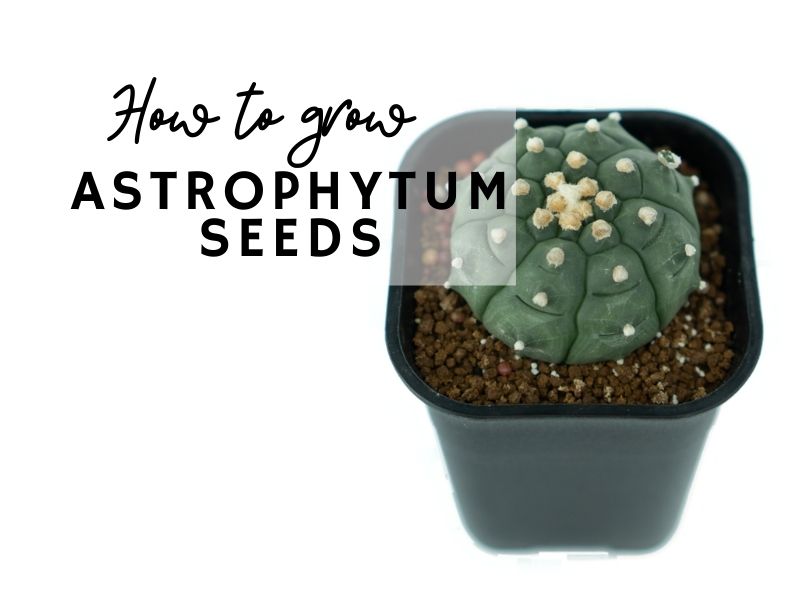
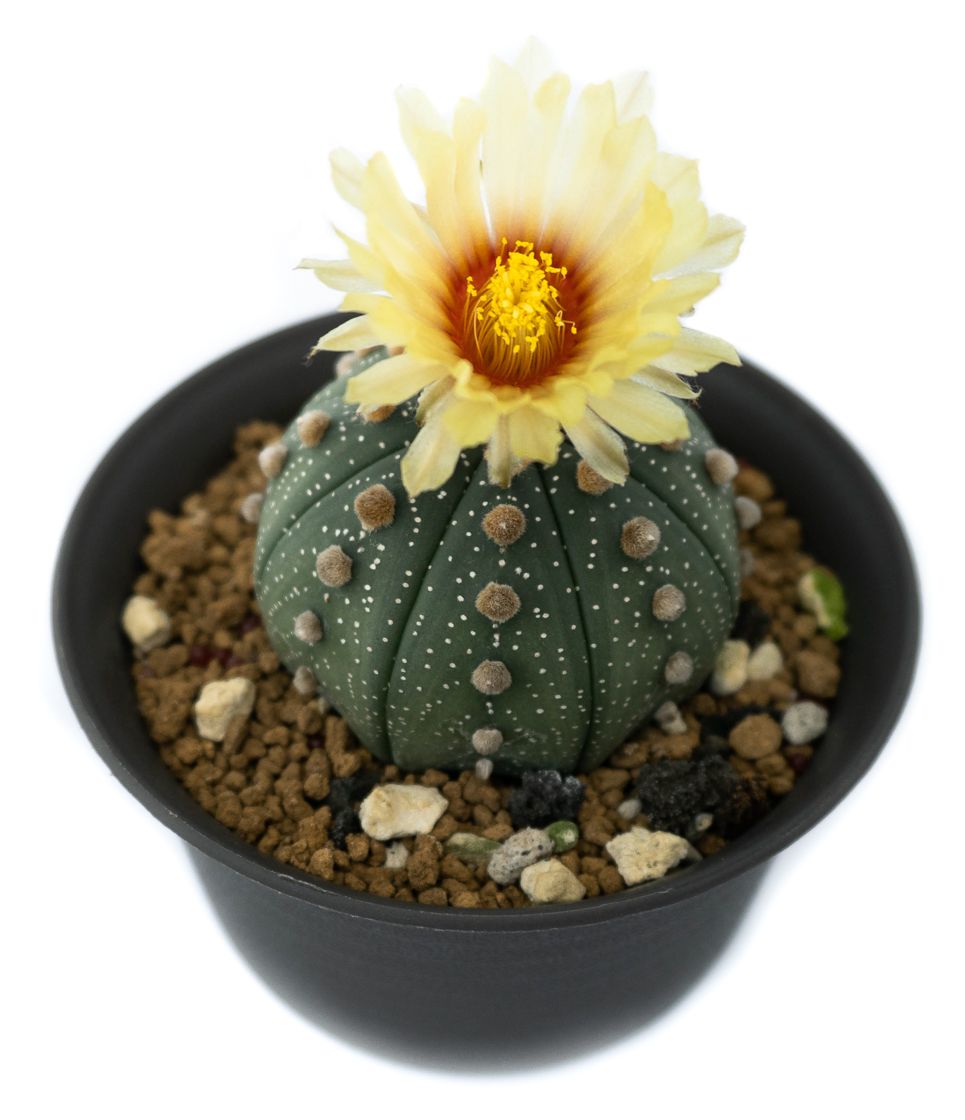
Astrophytum is one of our favorite species of cacti. It is a slow growing plant that often blooms with flowers as huge as the cactus itself. Japanese and Thai nurseries have cultivated them into many varieties but are often pricey (and rightly so given that they took years of hard work to produce these masterpieces). Once in a while we come across sellers that release seeds of interesting cultivars at reasonable prices and growing them has been one of our favorite hobbies.
1. Inspect your seeds
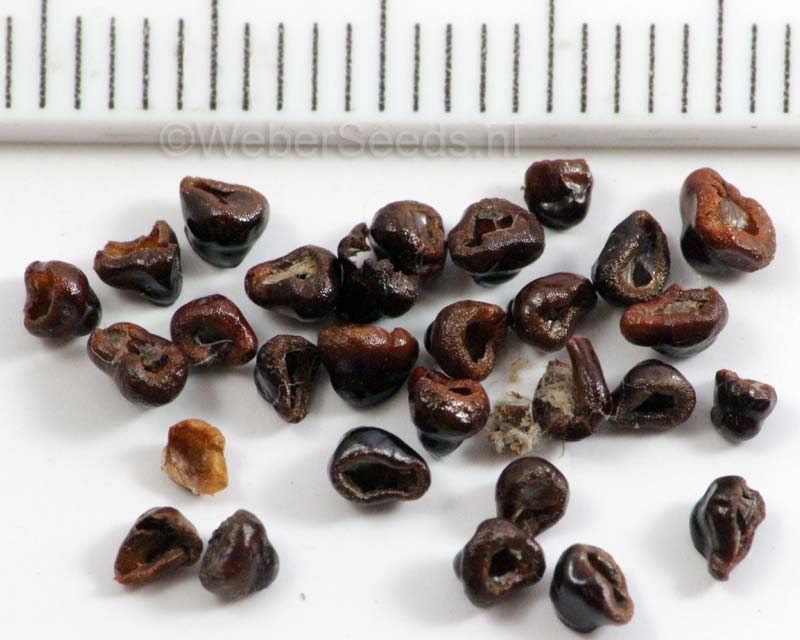
The first time we received Astrophytum seeds we were very concerned if we were scammed by the seller. The seeds look like an inverted bowl with a smooth side and a hollow side. Good quality seeds should be well formed and without cracks. During the delivery process, without proper packaging, the seeds might be crushed and that renders them inviable. Always start with good seeds so you won’t be wasting time given that these plants are already slow growing.
2. Choose the right container
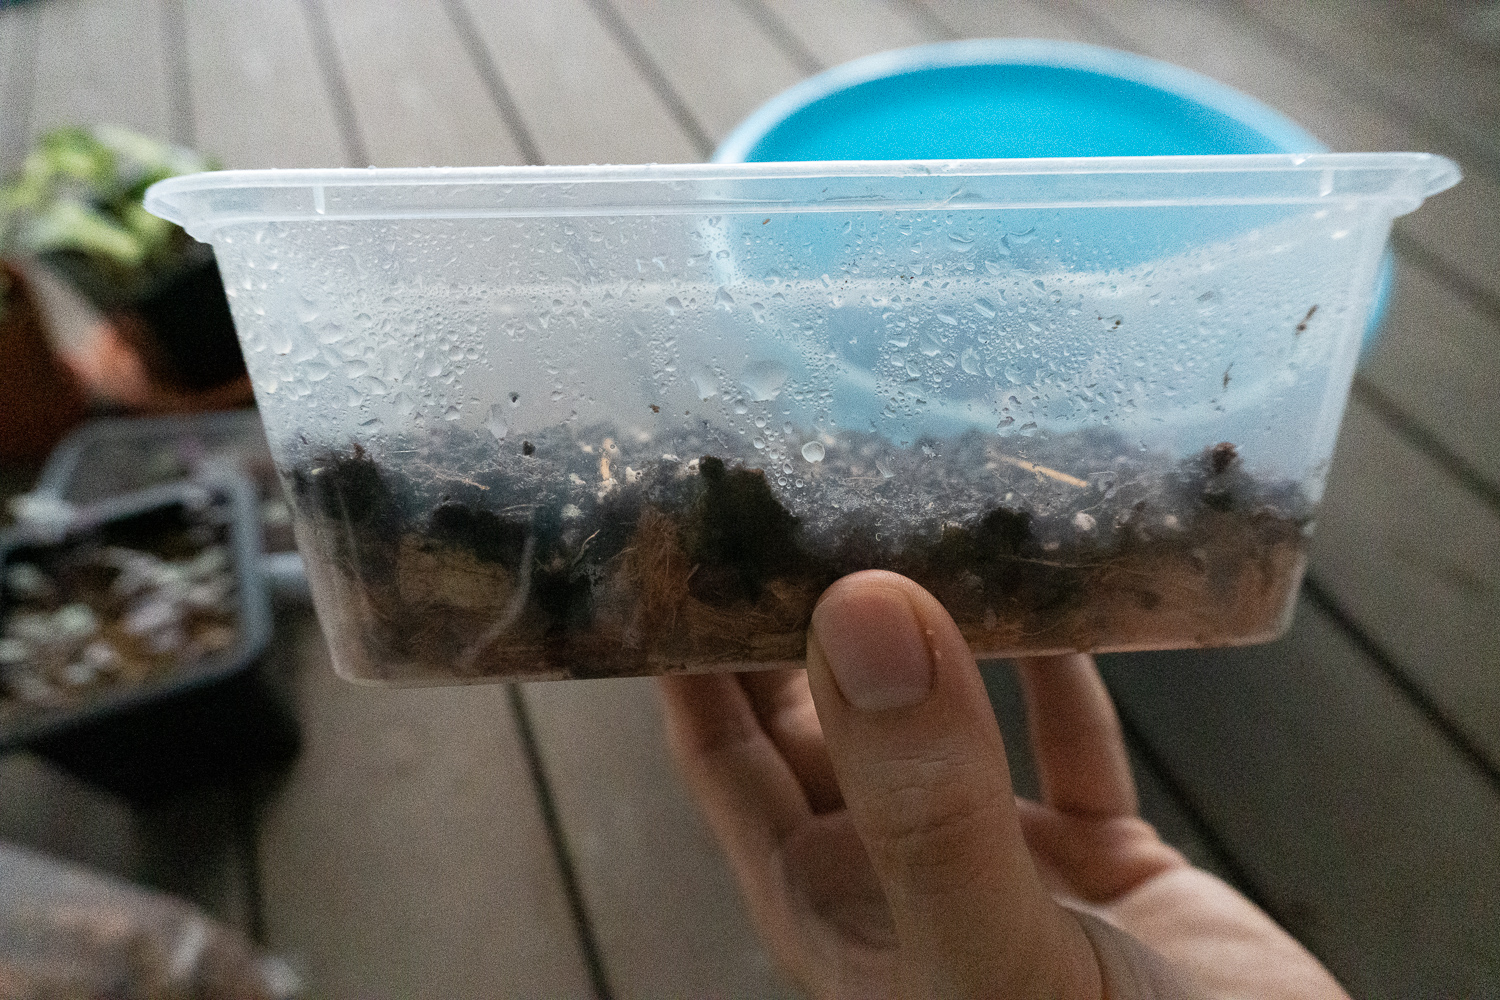
Here we are looking for shallow containers that we have a way to close and trap humidity. We usually go with used transparent take-away food boxes as they come with a cap. If those are not available for you, you can go with normal pots but wrap it with a plastic bag. A shallow container will reduce the media wastage since the little seedlings don’t have a long root system.
As opposed to common gardening practice, the plastic containers should not have any drainage holes. At this stage of the plant’s life cycle, they need as much humidity as possible. Having drainage holes will dry up the media too quickly. We are aiming for the seedlings to stay in the box undisturbed for more than six months. Opening the box too often to water only increases the chance of introducing harmful fungi or bugs that will destroy your entire batch.
3. Prepare a suitable media
Most guides we read use purely inorganic substrate like fine river sand, pumice or perlite. From our experiments, we found that a media with some organic substrate, if prepared correctly, works best. Our go-to mix right now is a combination of vermiculite, peat moss and perlite. We don’t usually add fertilizer at this point since having too much Nitrogen in the soil encourages algae grow which competes with the seedlings for nutrition.
An important step is to sterilize the soil. There are a bunch of ways to do it like microwaving and baking the soil right before sowing the seeds. However that requires us to mix the tools that we use for food and gardening. Instead, we just soak the media in boiling hot water, wait for it to cool down then strain it with a wire mesh. We learn this the hard way and almost had to throw away a bunch of seedlings due to rust.
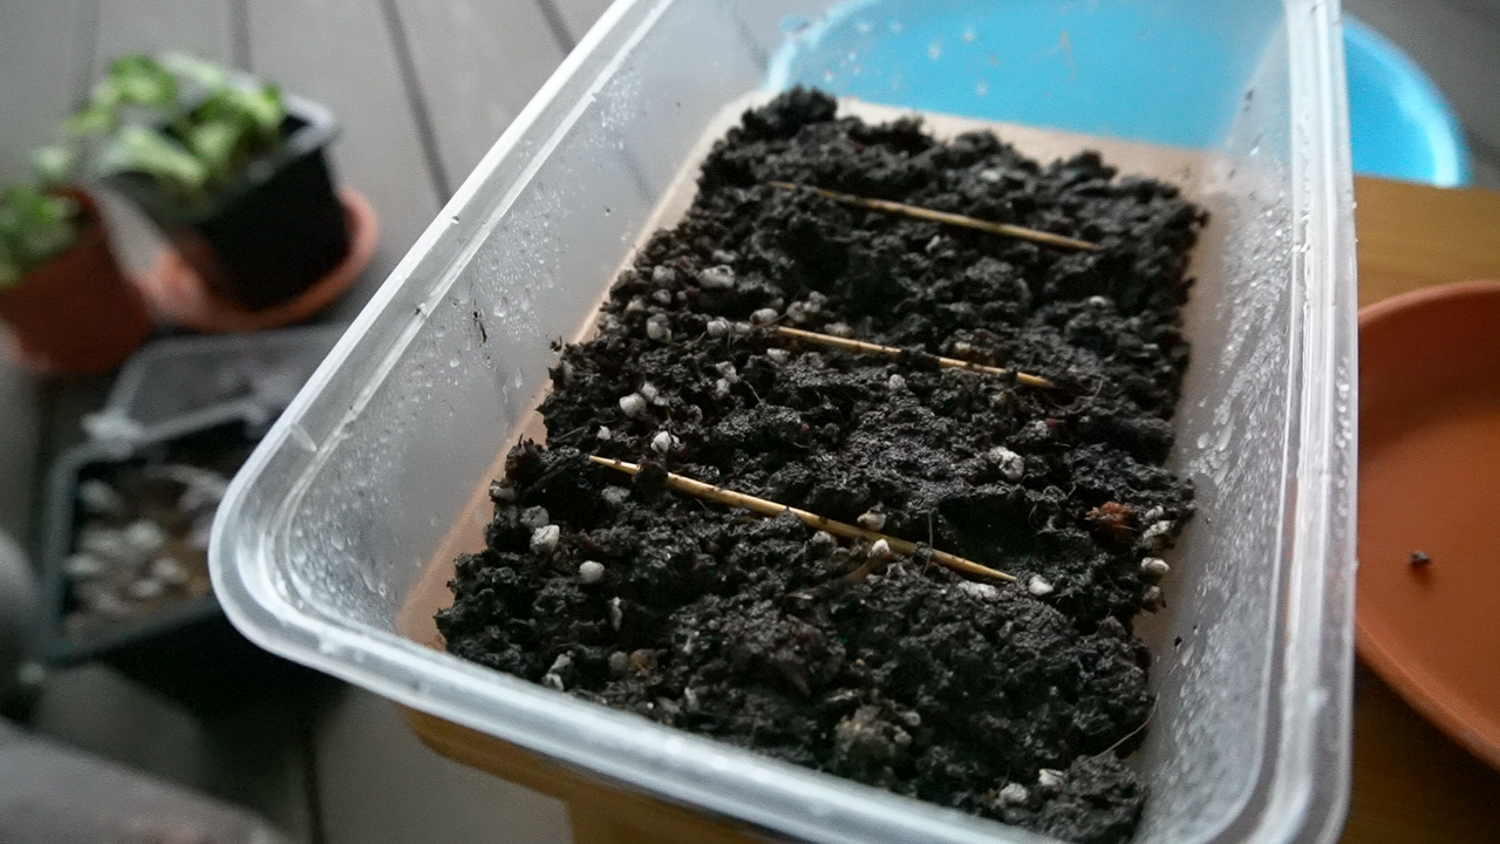
We first fill a single 1-2 cm layer of stones or chunks of coconut husk at the bottom of the pot. Since we don’t have drainage holes, we add this layer so that excess water does not saturate the soil but gradually sit at the bottom of the container. Then, add a layer of soil and use a fine spray to wet it. We do this layer by layer so that we don’t have any dry spots in between the soil. For the spray, we add some Captan power at half the recommended strength. This helps to kill the fungus spores left in the soil and reduces the pH to aid germination.
Stop once you have 2-3 cm of air space. Use a wet toothpick to pick up the seeds and distribute it evenly around the soil. It would help if your soil is slightly on the wetter side so the seeds will stick better. If you have too many seeds to sow or lazy like me, just pinch the seeds up and spread it like ‘Salt Bae’.
4. Create a warm and humid environment
Water the container until you see a little layer of water flowing around your stones/coconut husk. Cap the container or tie the plastic bag to cut off the air circulation to the outside. Place it somewhere warm with bright indirect light. A good place would be under your plant racks. If you are staying in a temperate climate, it would help if you place it above a heated mat.
Next steps
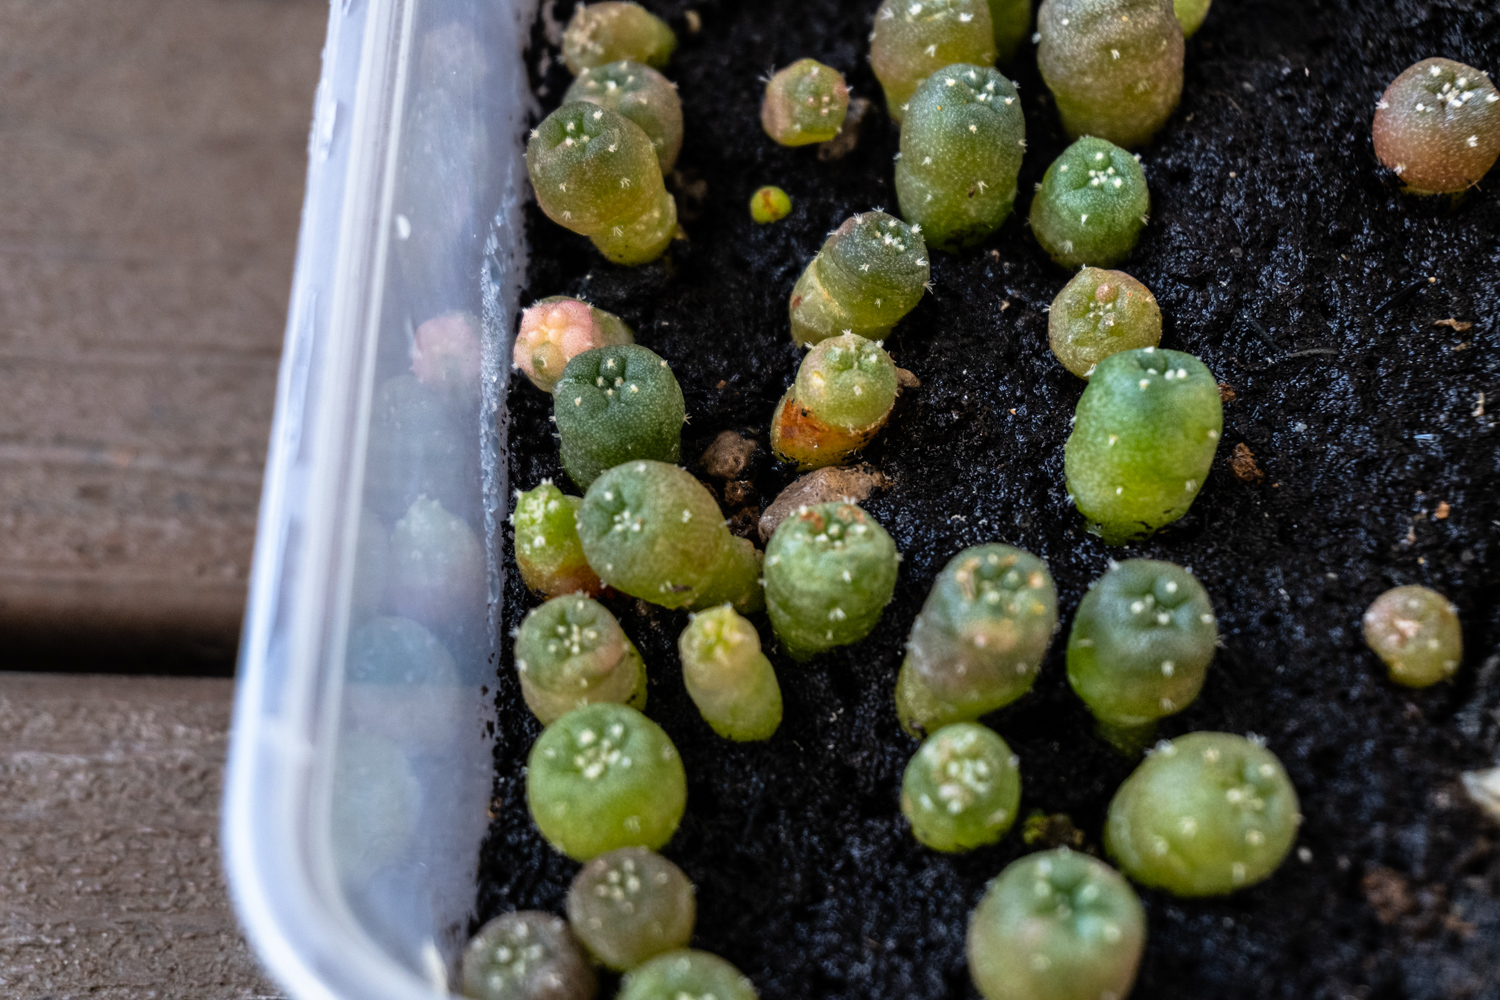
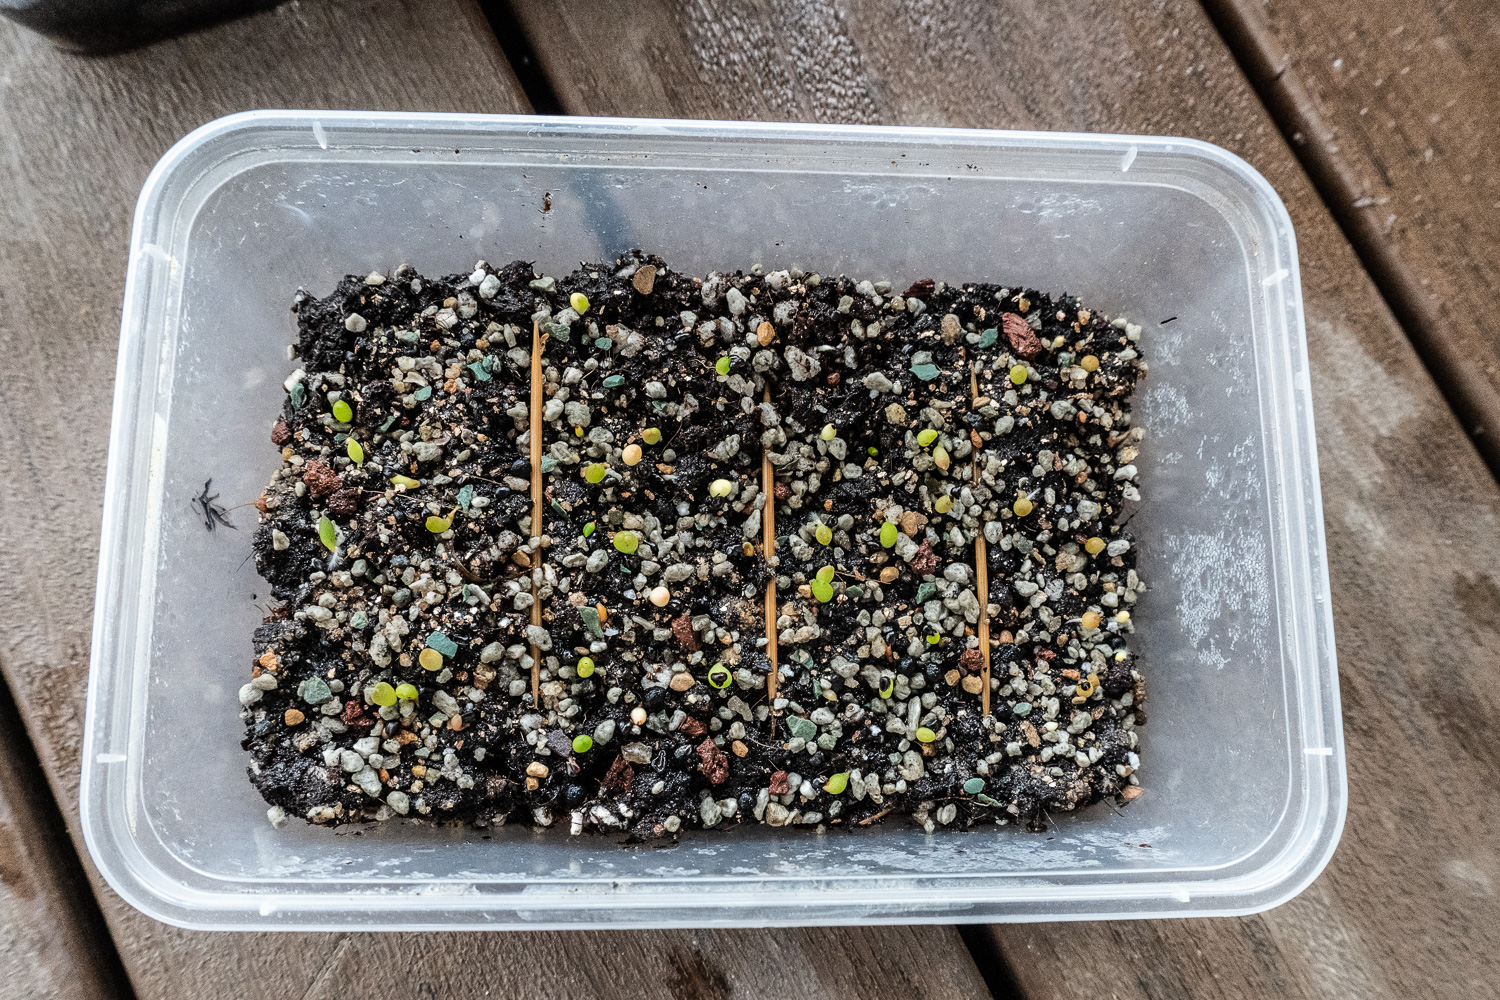
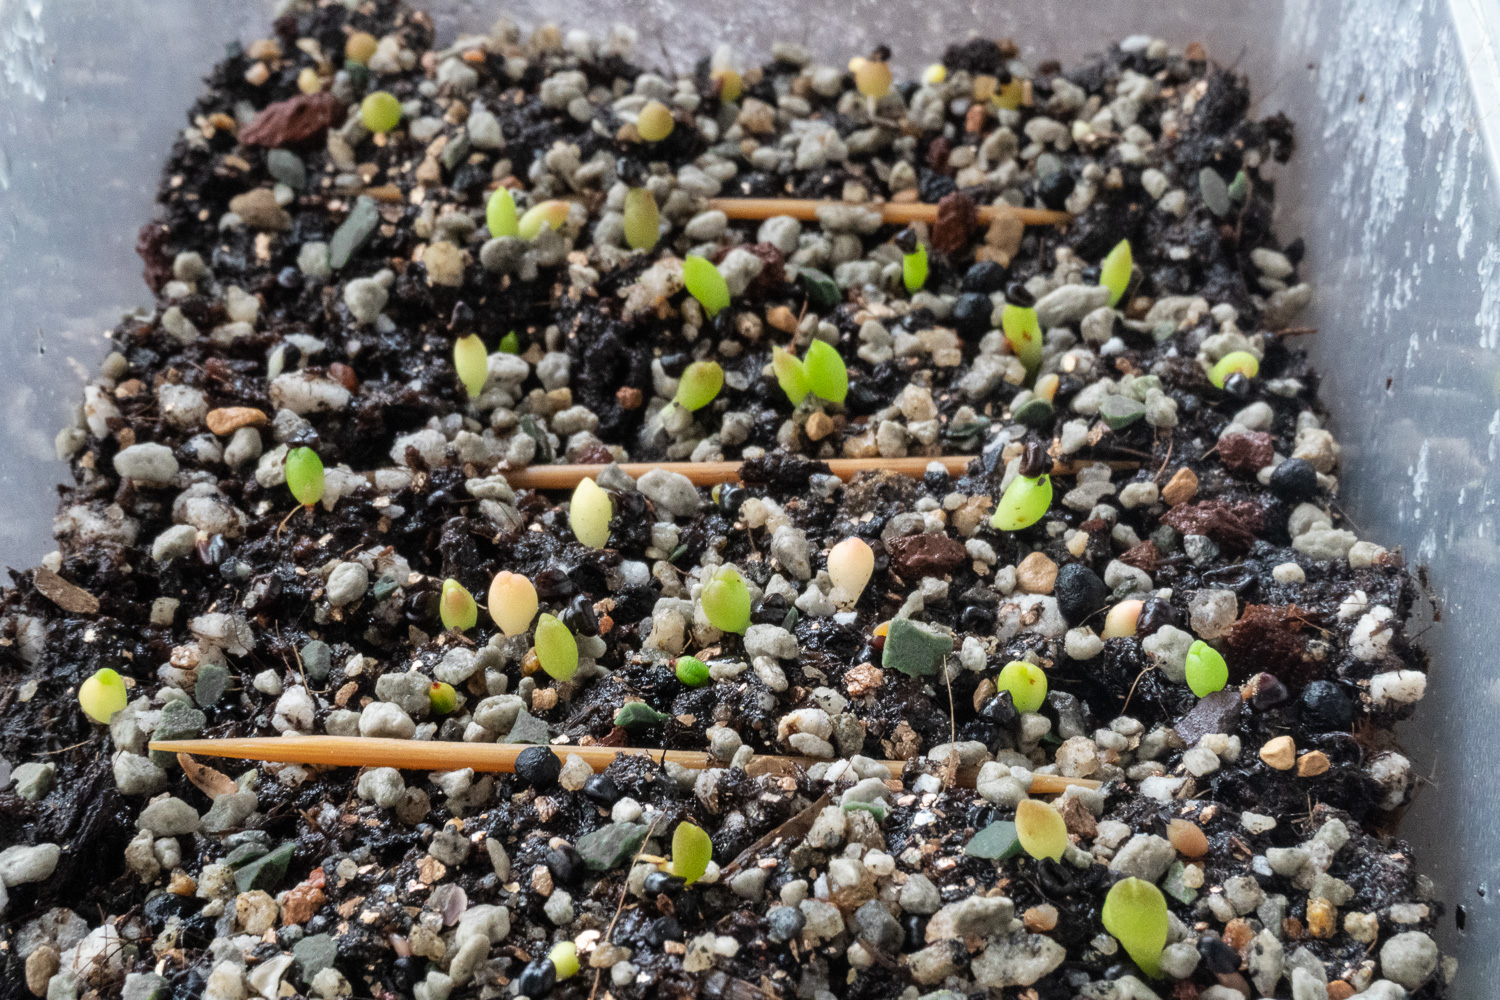
If your seeds are viable, you should start seeing little green Astrophytum sprouts after one week. I would gradually move the box to a brighter spot after a few weeks so that the seedlings get acclimatized to the light. Once in a while, it is good to open up the box to check for any fungus or algae problems. Spray copper or tilt fungicide to deal with fungus or powdery mildew. Use hydrogen peroxide (3%) for serious algae issues.
Video tutorial
Here is a video we made with a slightly different propagation method. Enjoy!
Update – 1 August 2020
It took almost two weeks for most of the seeds to germinate. Looks like this batch had pretty good quality seeds as ~ 80% sprouted into little green babies. Will check on them in another two weeks!
[1] https://www.bctfpg.ca/resources/reference/pesticide-resistance-management/
3 thoughts on “How to grow Astrophytum from seed”