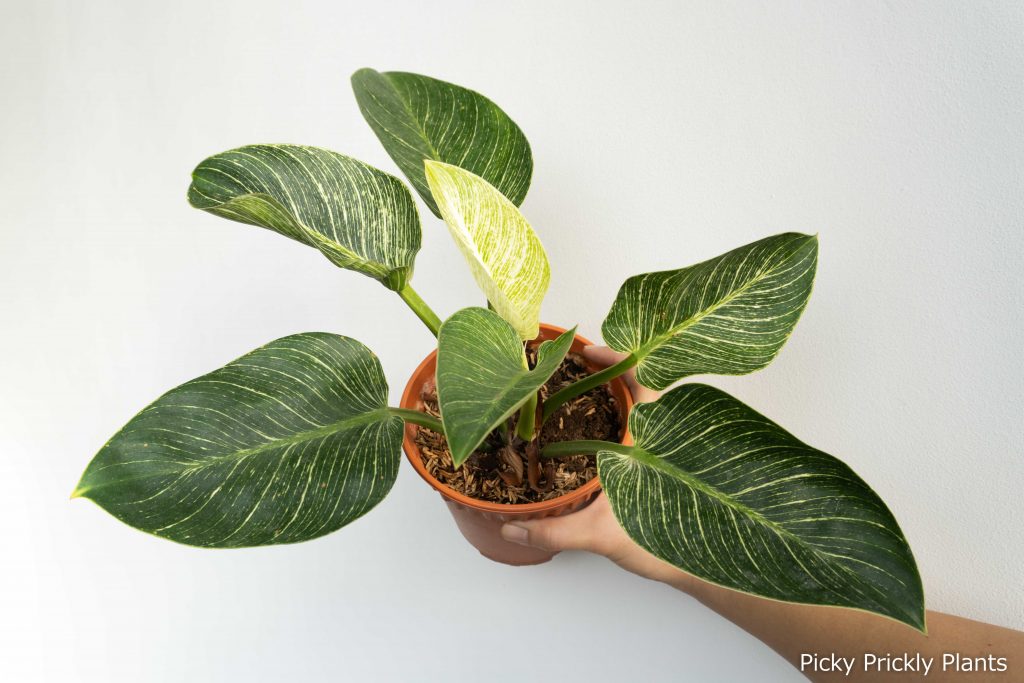
For the past 2 months or so, we have been putting off repotting or propagating our overgrown Philodendron ‘Birkin’. Whenever I walk past this fella, I would lament at how we really should split this plant soon as it was already growing out of its pot. 😅
So last weekend, we finally did it. How did we propagate our birkin?
Check out our complete guide to caring for a Philodendron Birkin if you have one. We share all the mistakes we made so you won’t have to.
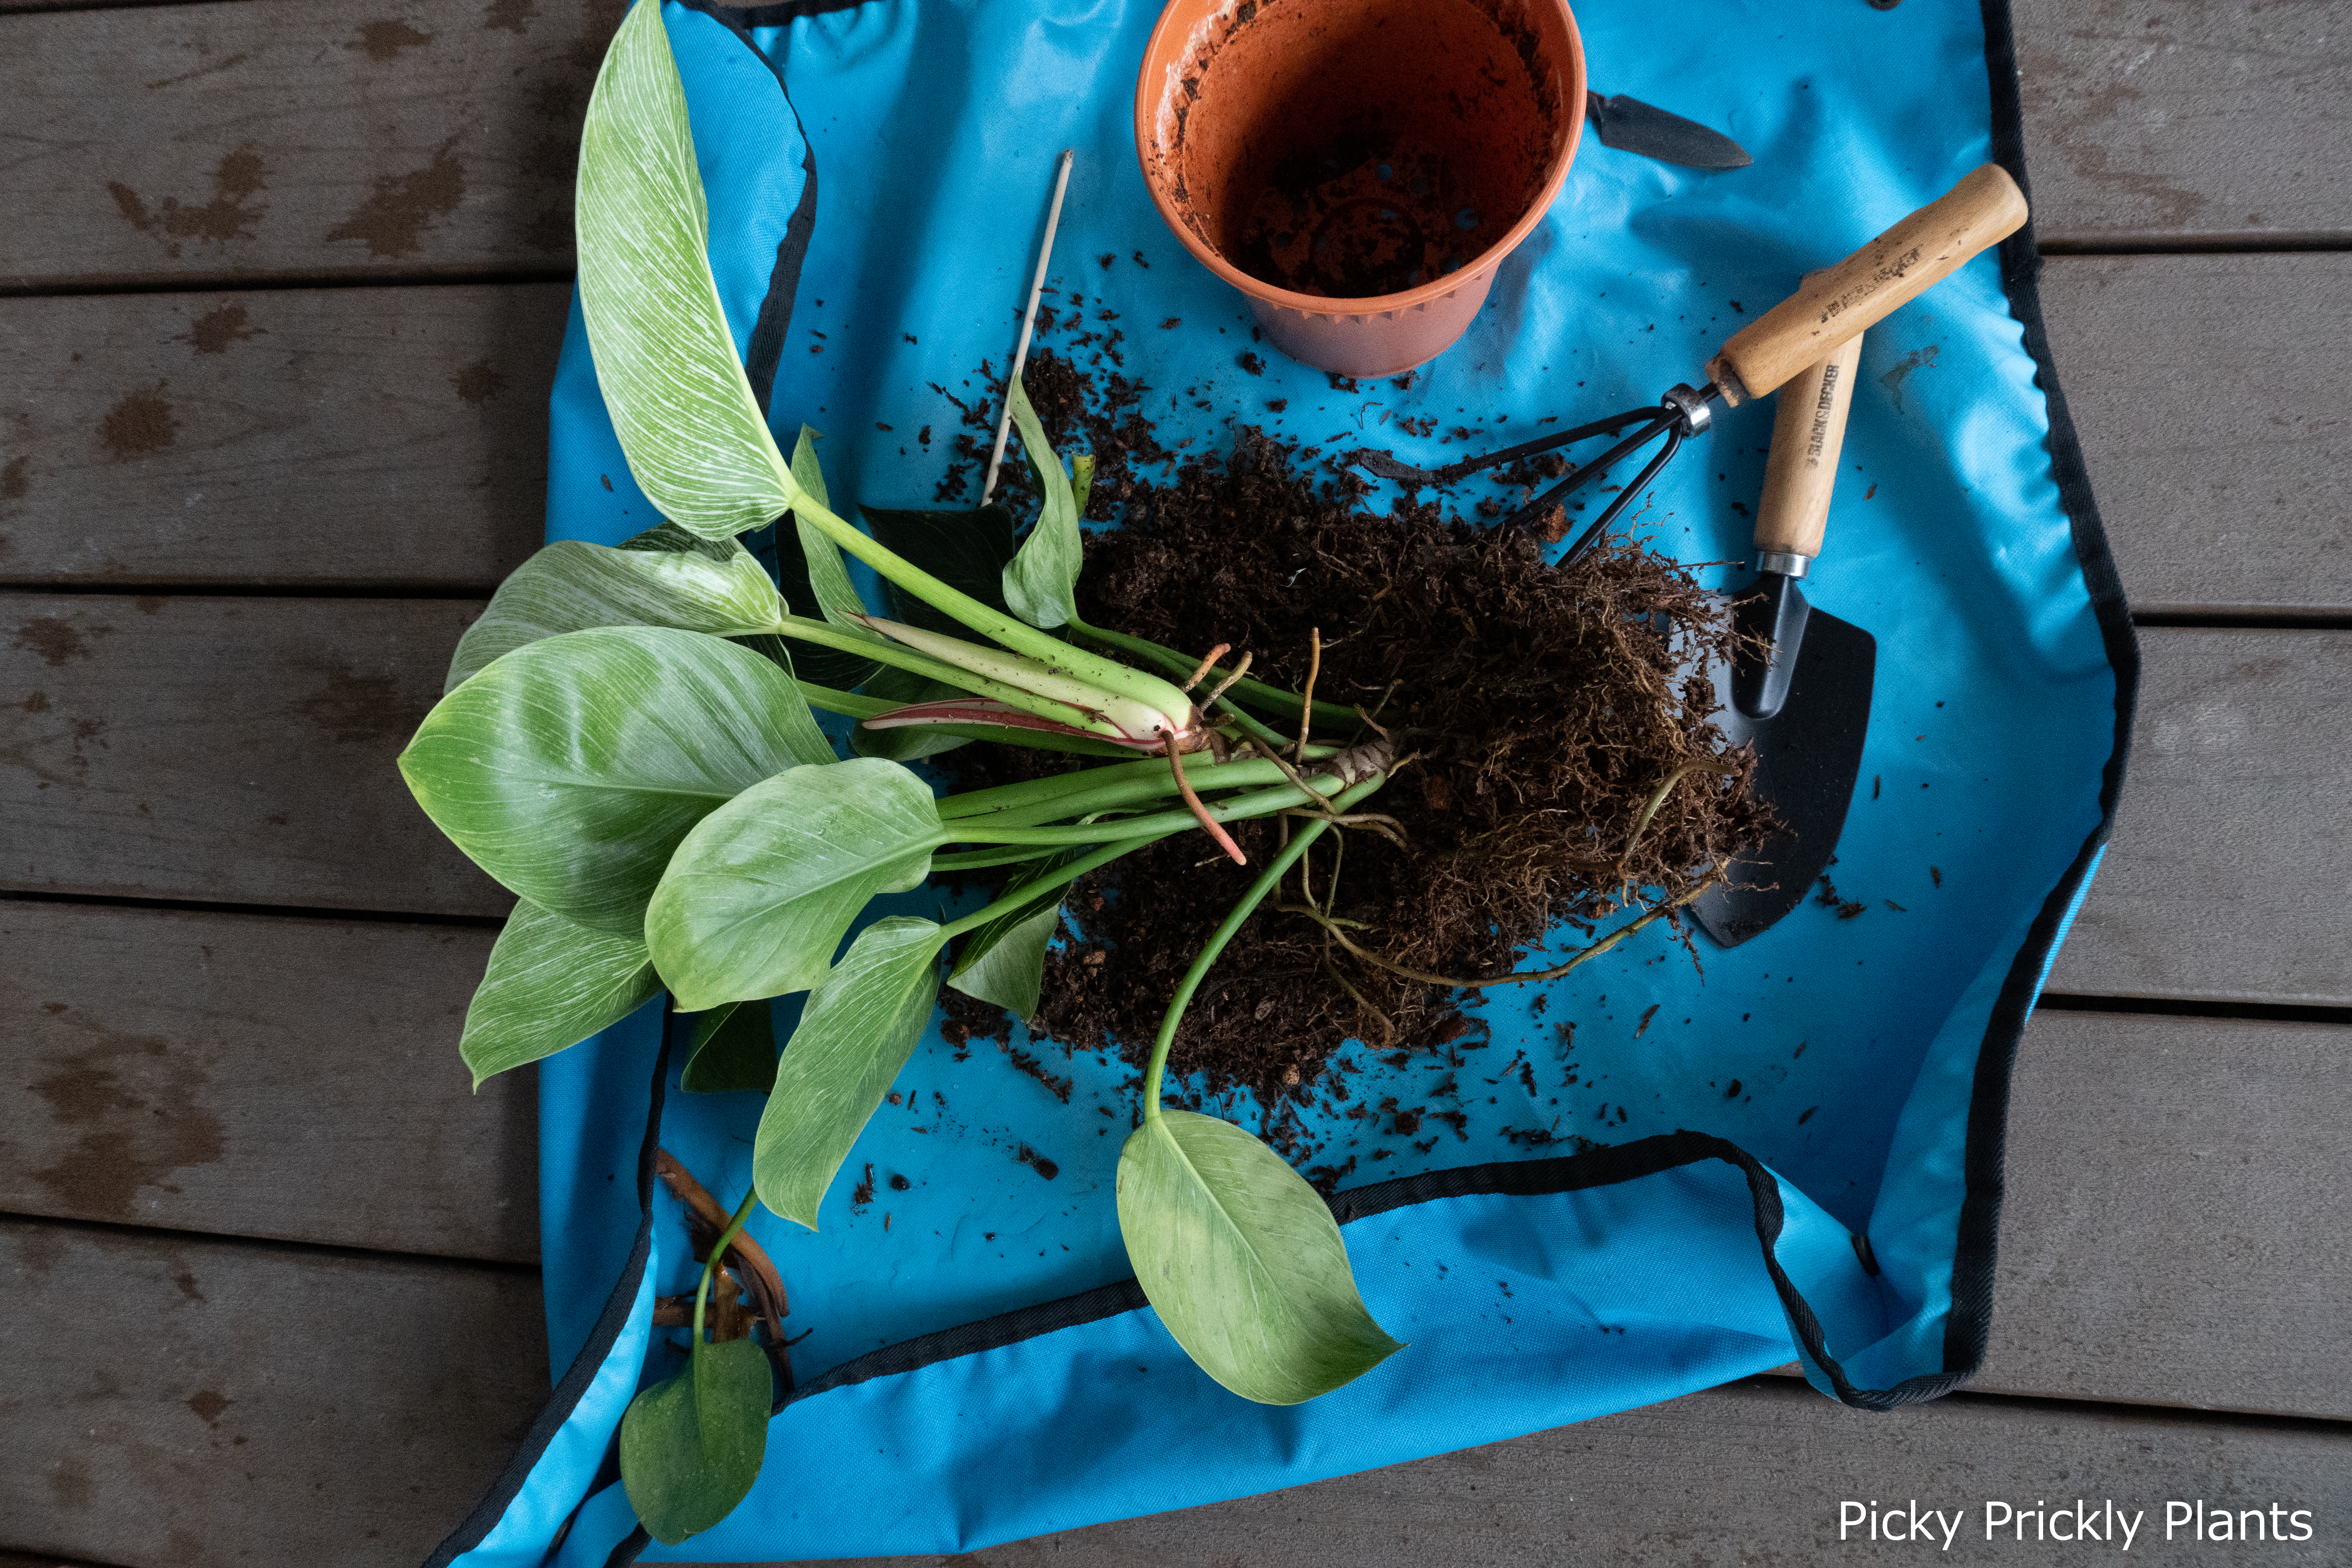
1. If there’s an offshoot or pup, gently separate the two
In our case, there were two distinct shoots growing out from the same pot so it was pretty straightforward.
We unpotted the birkin, untangled the roots, and gently pulled them apart. If it’s difficult to separate them or if they are attached, just slice them apart with a pair of sharp gardening scissors or a knife.
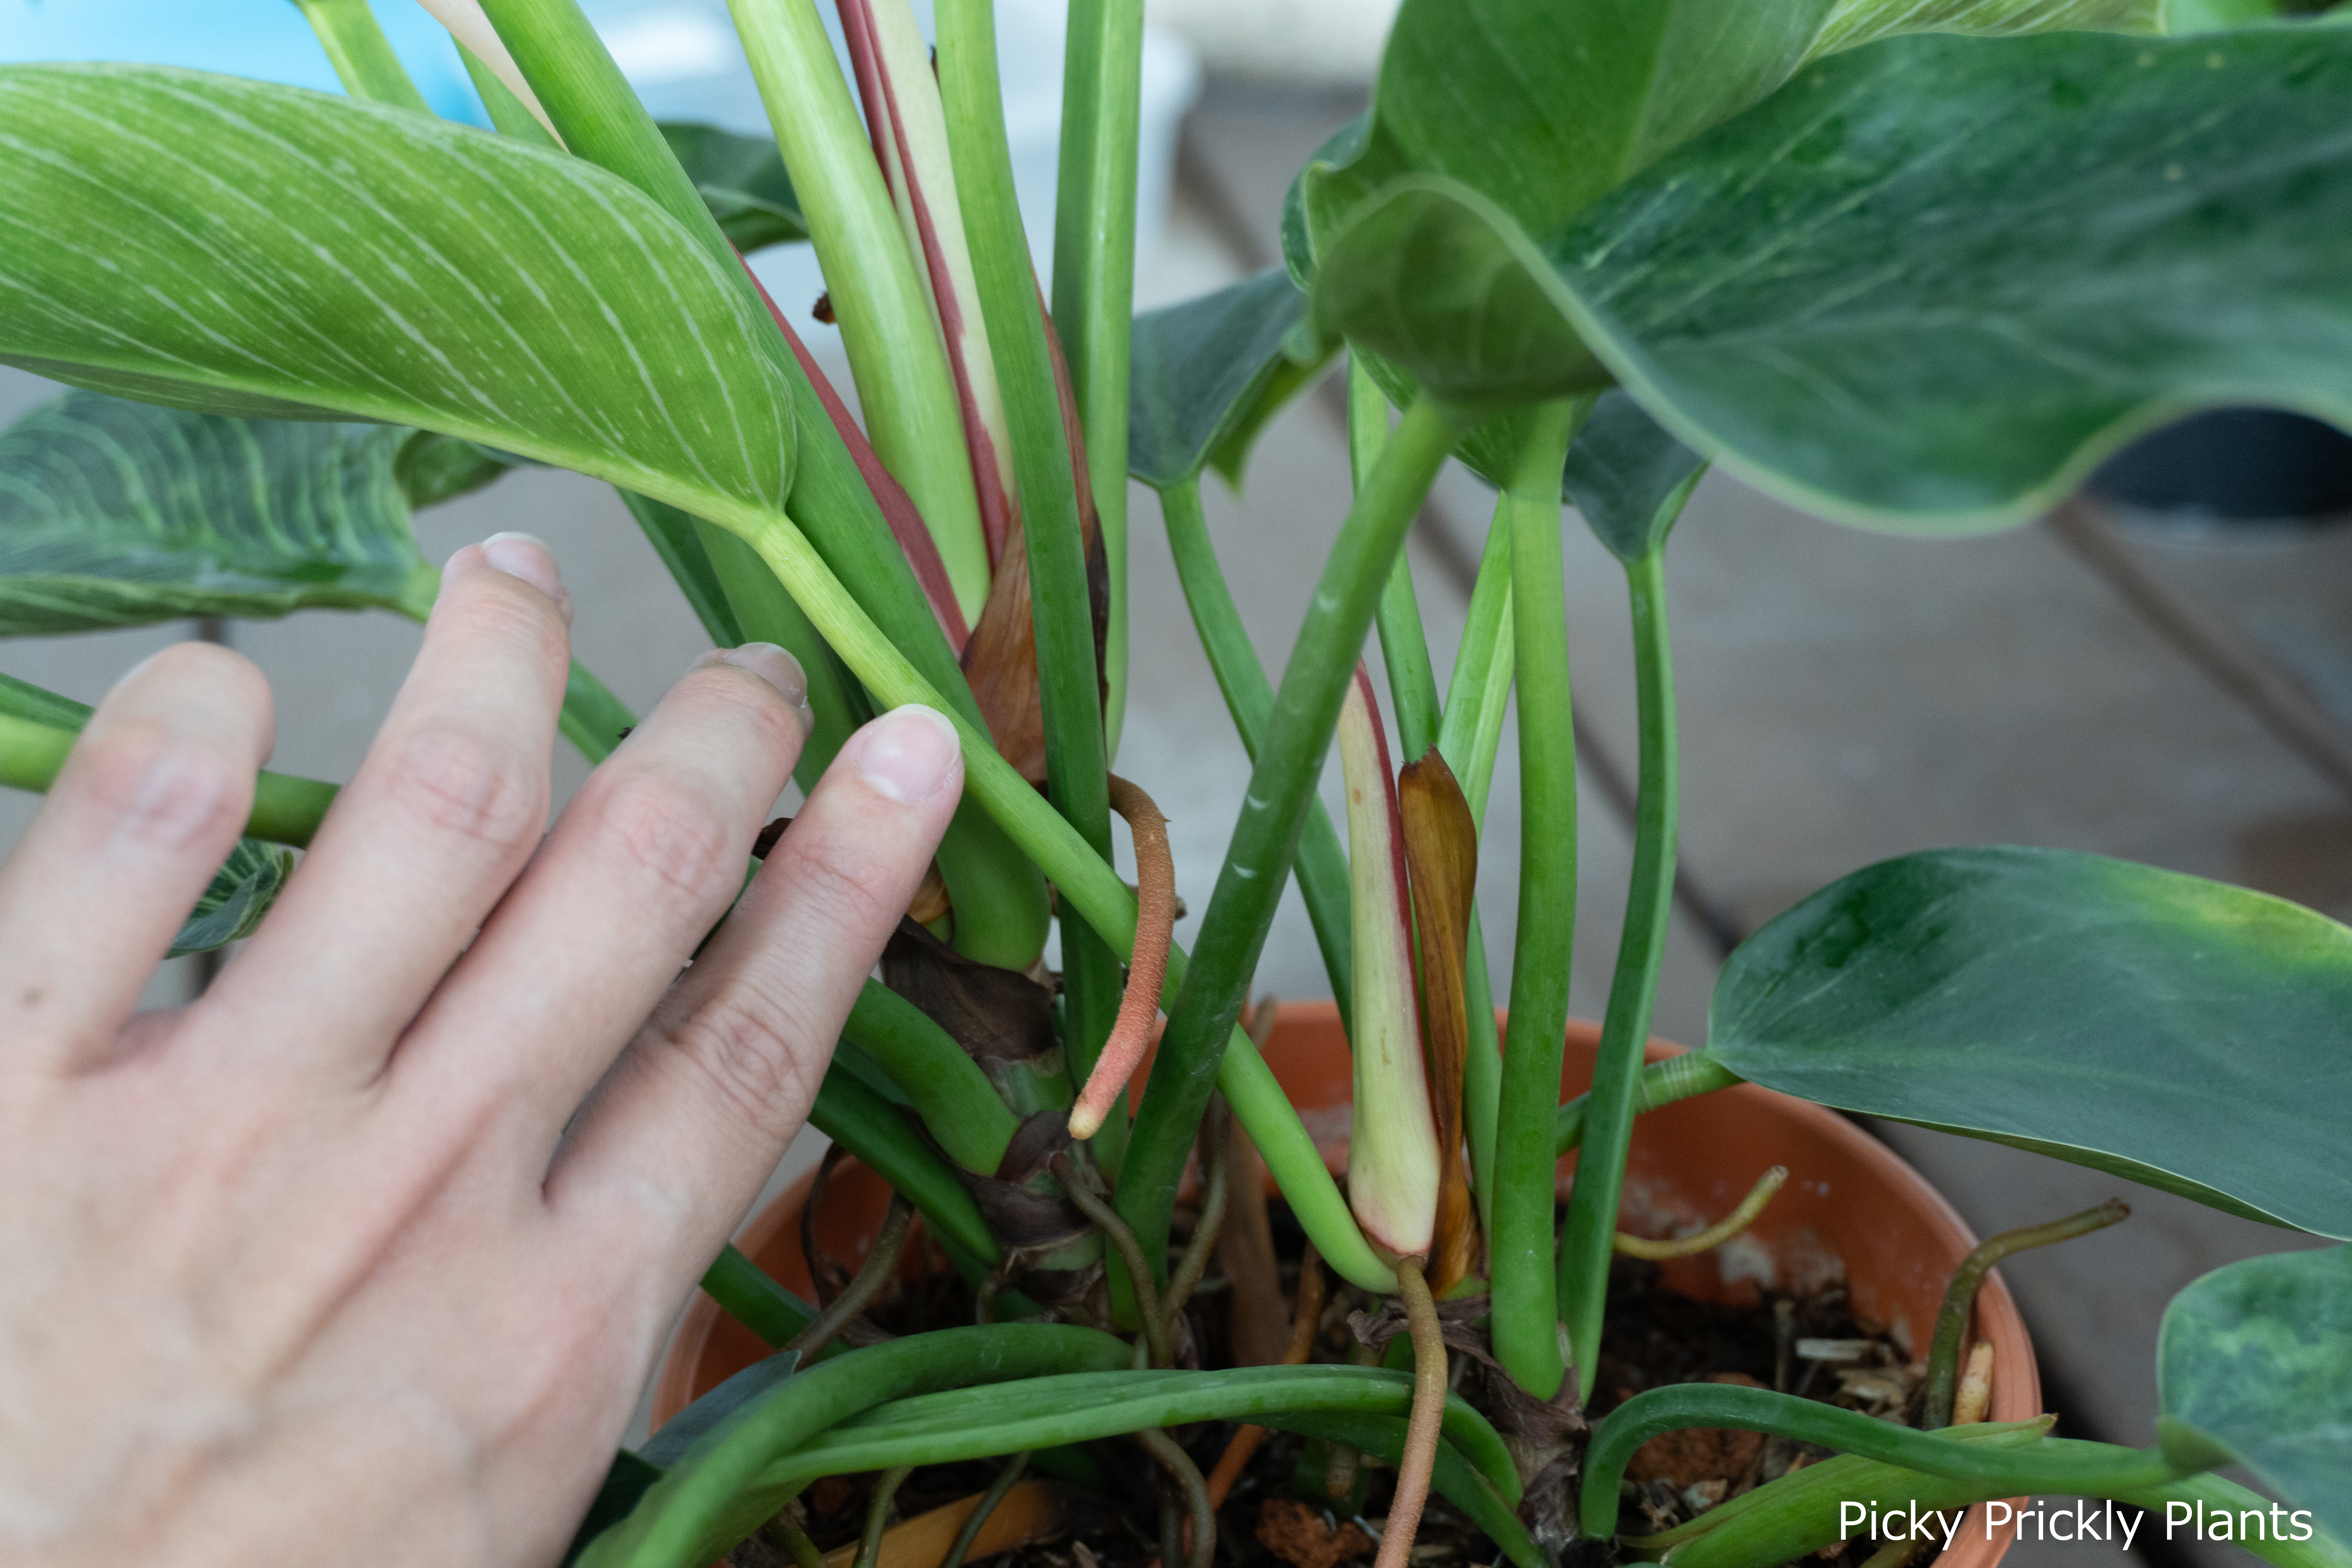
2. If there’s a clear growth point, slice the plant at the node
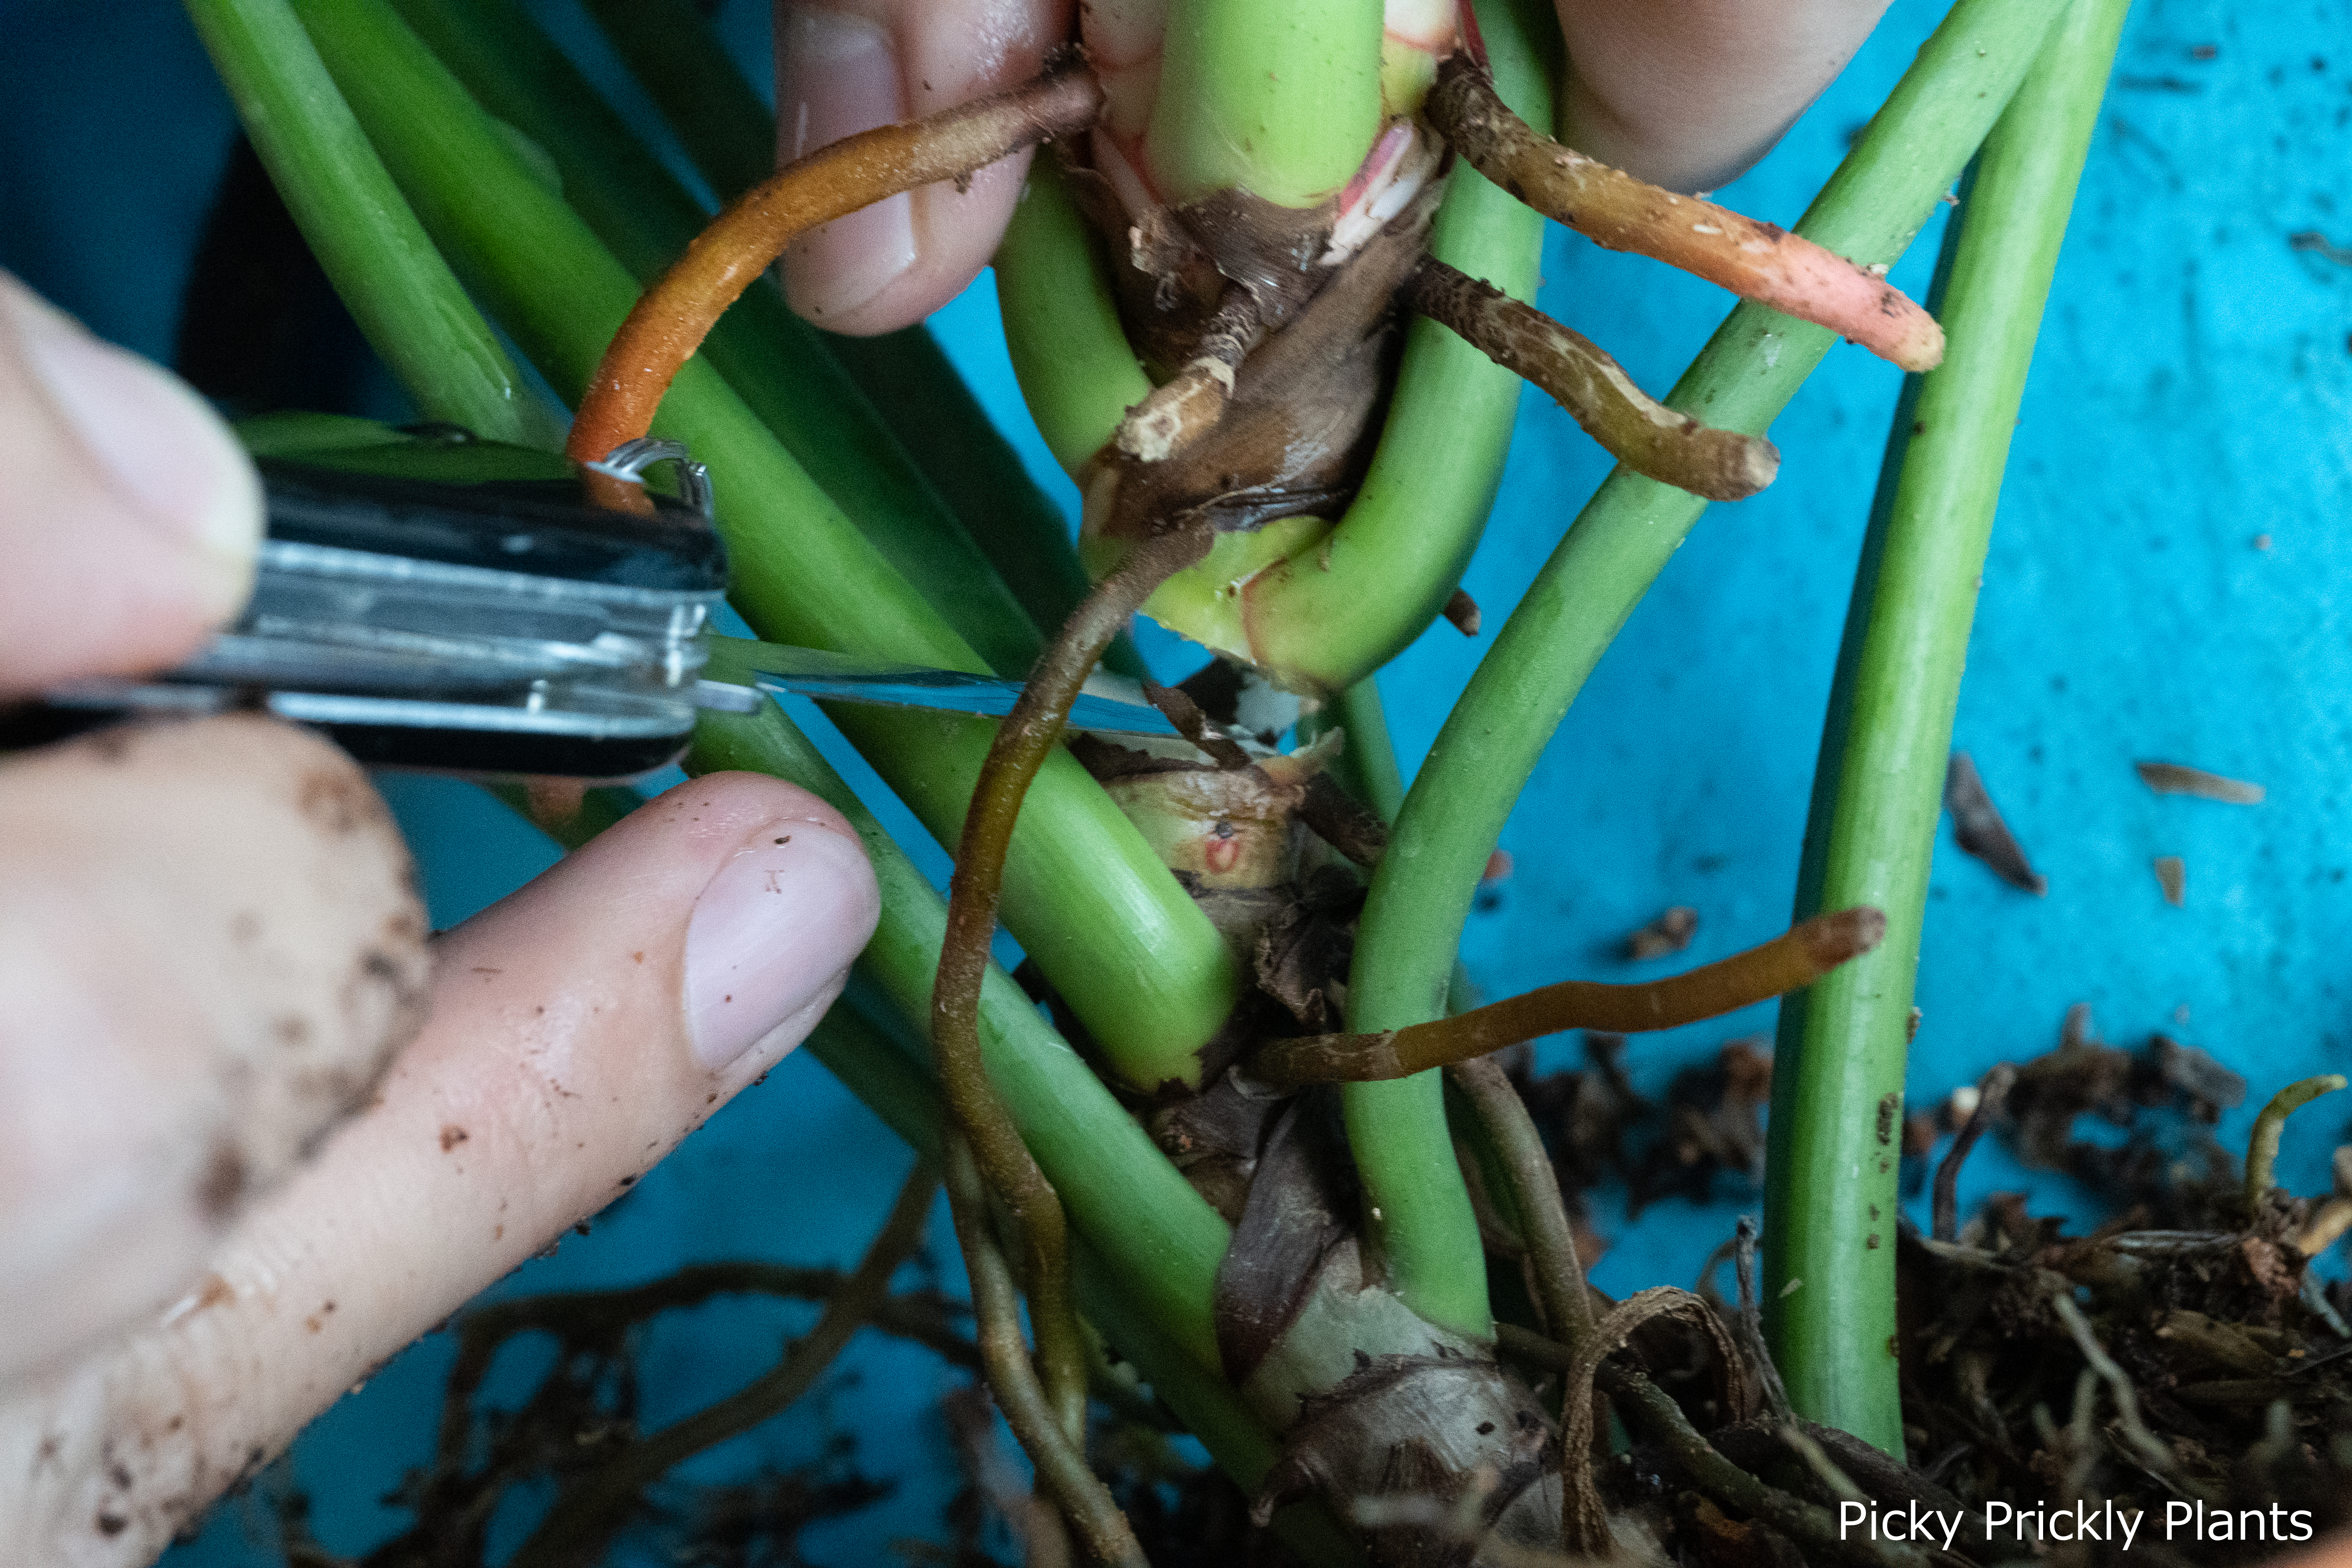
After a closer examination, we noticed there was a separate growth point at one of the nodes. So we did a clean cut with a sharp swiss army knife, removed the cutting, and potted it directly. (This is similar to how we propagated our Syngonium ‘Three Kings’.)
💡 Tip! From the image below, you would notice that we chose a section that had a good amount of air roots. Planting a cutting with air roots attached helps to reduce the time taken for your propagated plants to take off.
3. After potting the cuttings, avoid direct light and keep media damp for 1-2 weeks
All plants go through some form of shock after repotting or propagation. During this time, the plant is especially weak and exposing it to too much light might prolong its healing process or even cause damage to the plant.
We usually keep our cuttings in a shaded area that receives occasional light for at least 1-2 weeks. During this time, do not let the media dry out as you want to be providing enough moisture to promote root growth. However, do avoid over-watering it as well since this might lead to rotting. A good gauge is to poke your finger directly into the soil. The media should somewhat feel like a damp cloth or rag (not dripping wet). If it feels as moist as freshly used coffee grounds, it’s best to hold off watering until the media dries out a little more.
To be on the safe side, we tend to wait until the plant grows a new shoot or leaf after repotting or propagating – since this is a rather good indication that the plant has recovered and is already growing.
4. What potting media to use for philodendron cuttings?
Potting media is always a challenging question to answer. It depends on a variety of factors; from climate, environment, to your own watering habits. We are always experimenting with what kind of potting media works best for different plants. Some factors we take into consideration include: how moisture-retaining or well-draining does the media need to be, pH and nutrient requirements.
From what we’ve learned, philodendrons prefer a slightly acidic mix and grow well in relatively humid environments.
Currently, for most of our foliage plants, we are using a combination of:
- Peat moss (for its acidic and moisture-retention properties)
- Coco chips
- Perlite
- Unburnt rice husk (we also use this as topsoil since it keeps the surface relatively dry. This helps to prevent pests like fungus gnats)
Recently, we’ve discovered that unburnt rice husk really helps to keep the media airy and fluffy, so we’ve newly incorporated this into our mix.
Okay, so that’s all for today! We now have 3 pots of birkins and no more space left. 🙈 Will update this post in a couple of months once our cuttings take off. 😁. We recently added a post about brown spots on leaves of philodendron birkin – if you are facing this common problem, do check it out.
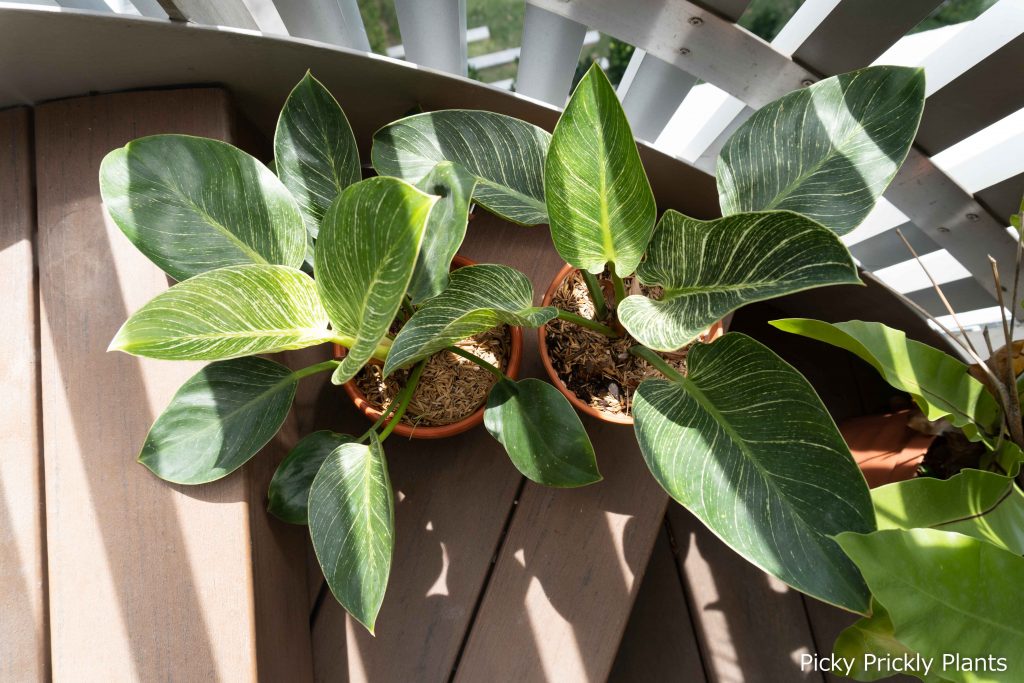
Update: 3 months later (with photos)
All three pots that we propagated have been growing new leaves with really nice variegation. They seem to be loving their new pots.
Let’s Grow Together 🌱
Jiamin
Check out our complete guide to caring for a Philodendron Birkin if you have one. We share all the mistakes we made so you won’t have to.