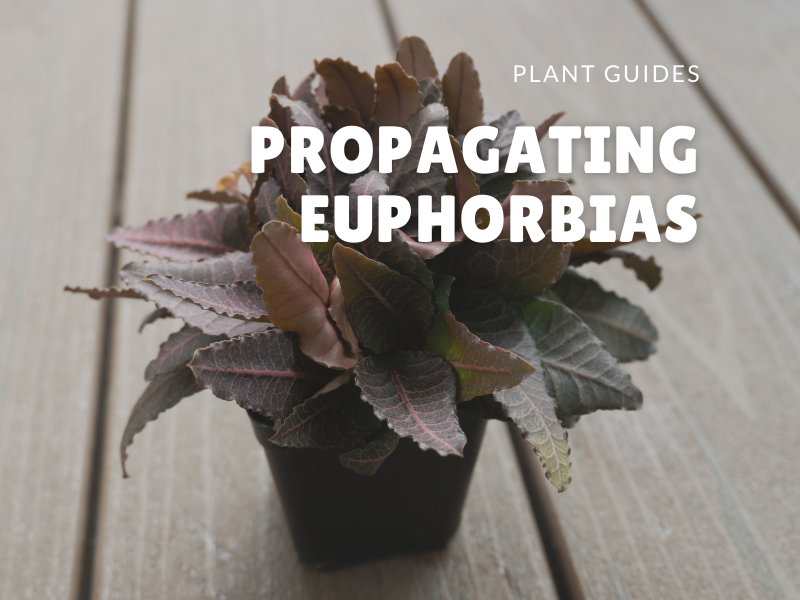
The Euphorbias we will be working on
Today we will be propagating three euphorbias. One of them is a decaryi var decaryi and the other two are francoisii. We got them from local growers here in Singapore that are also into these beautiful plants.
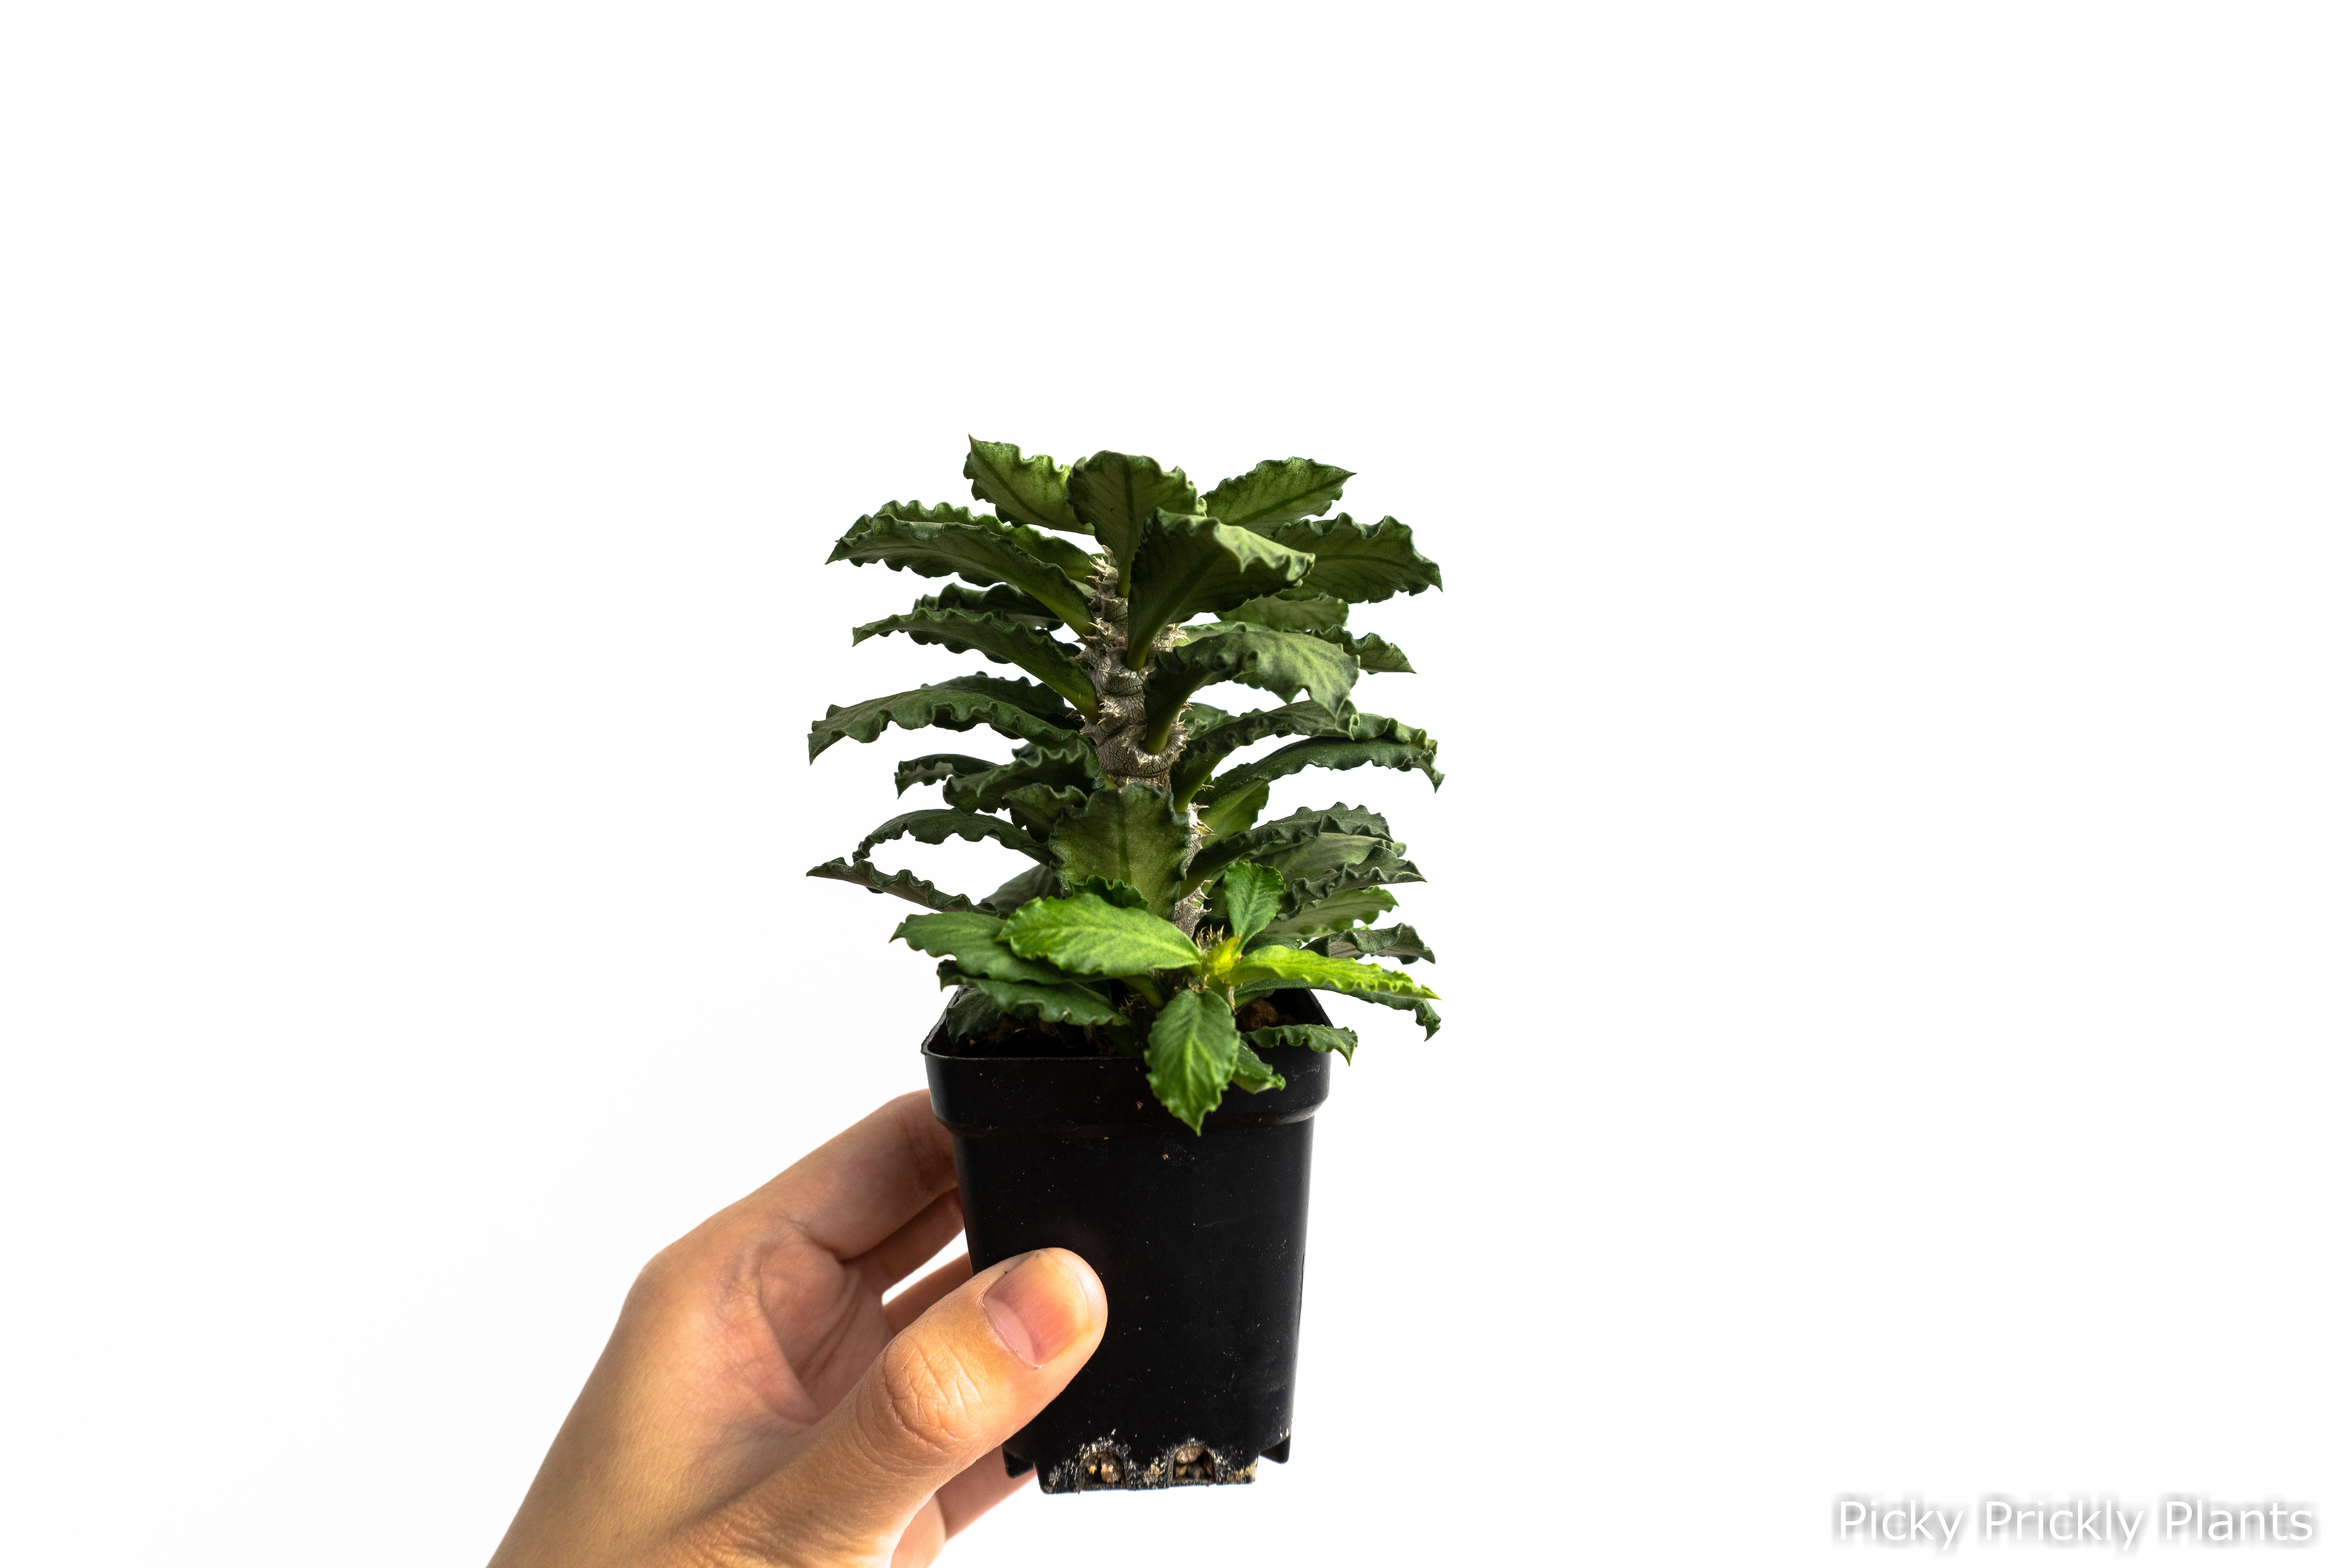
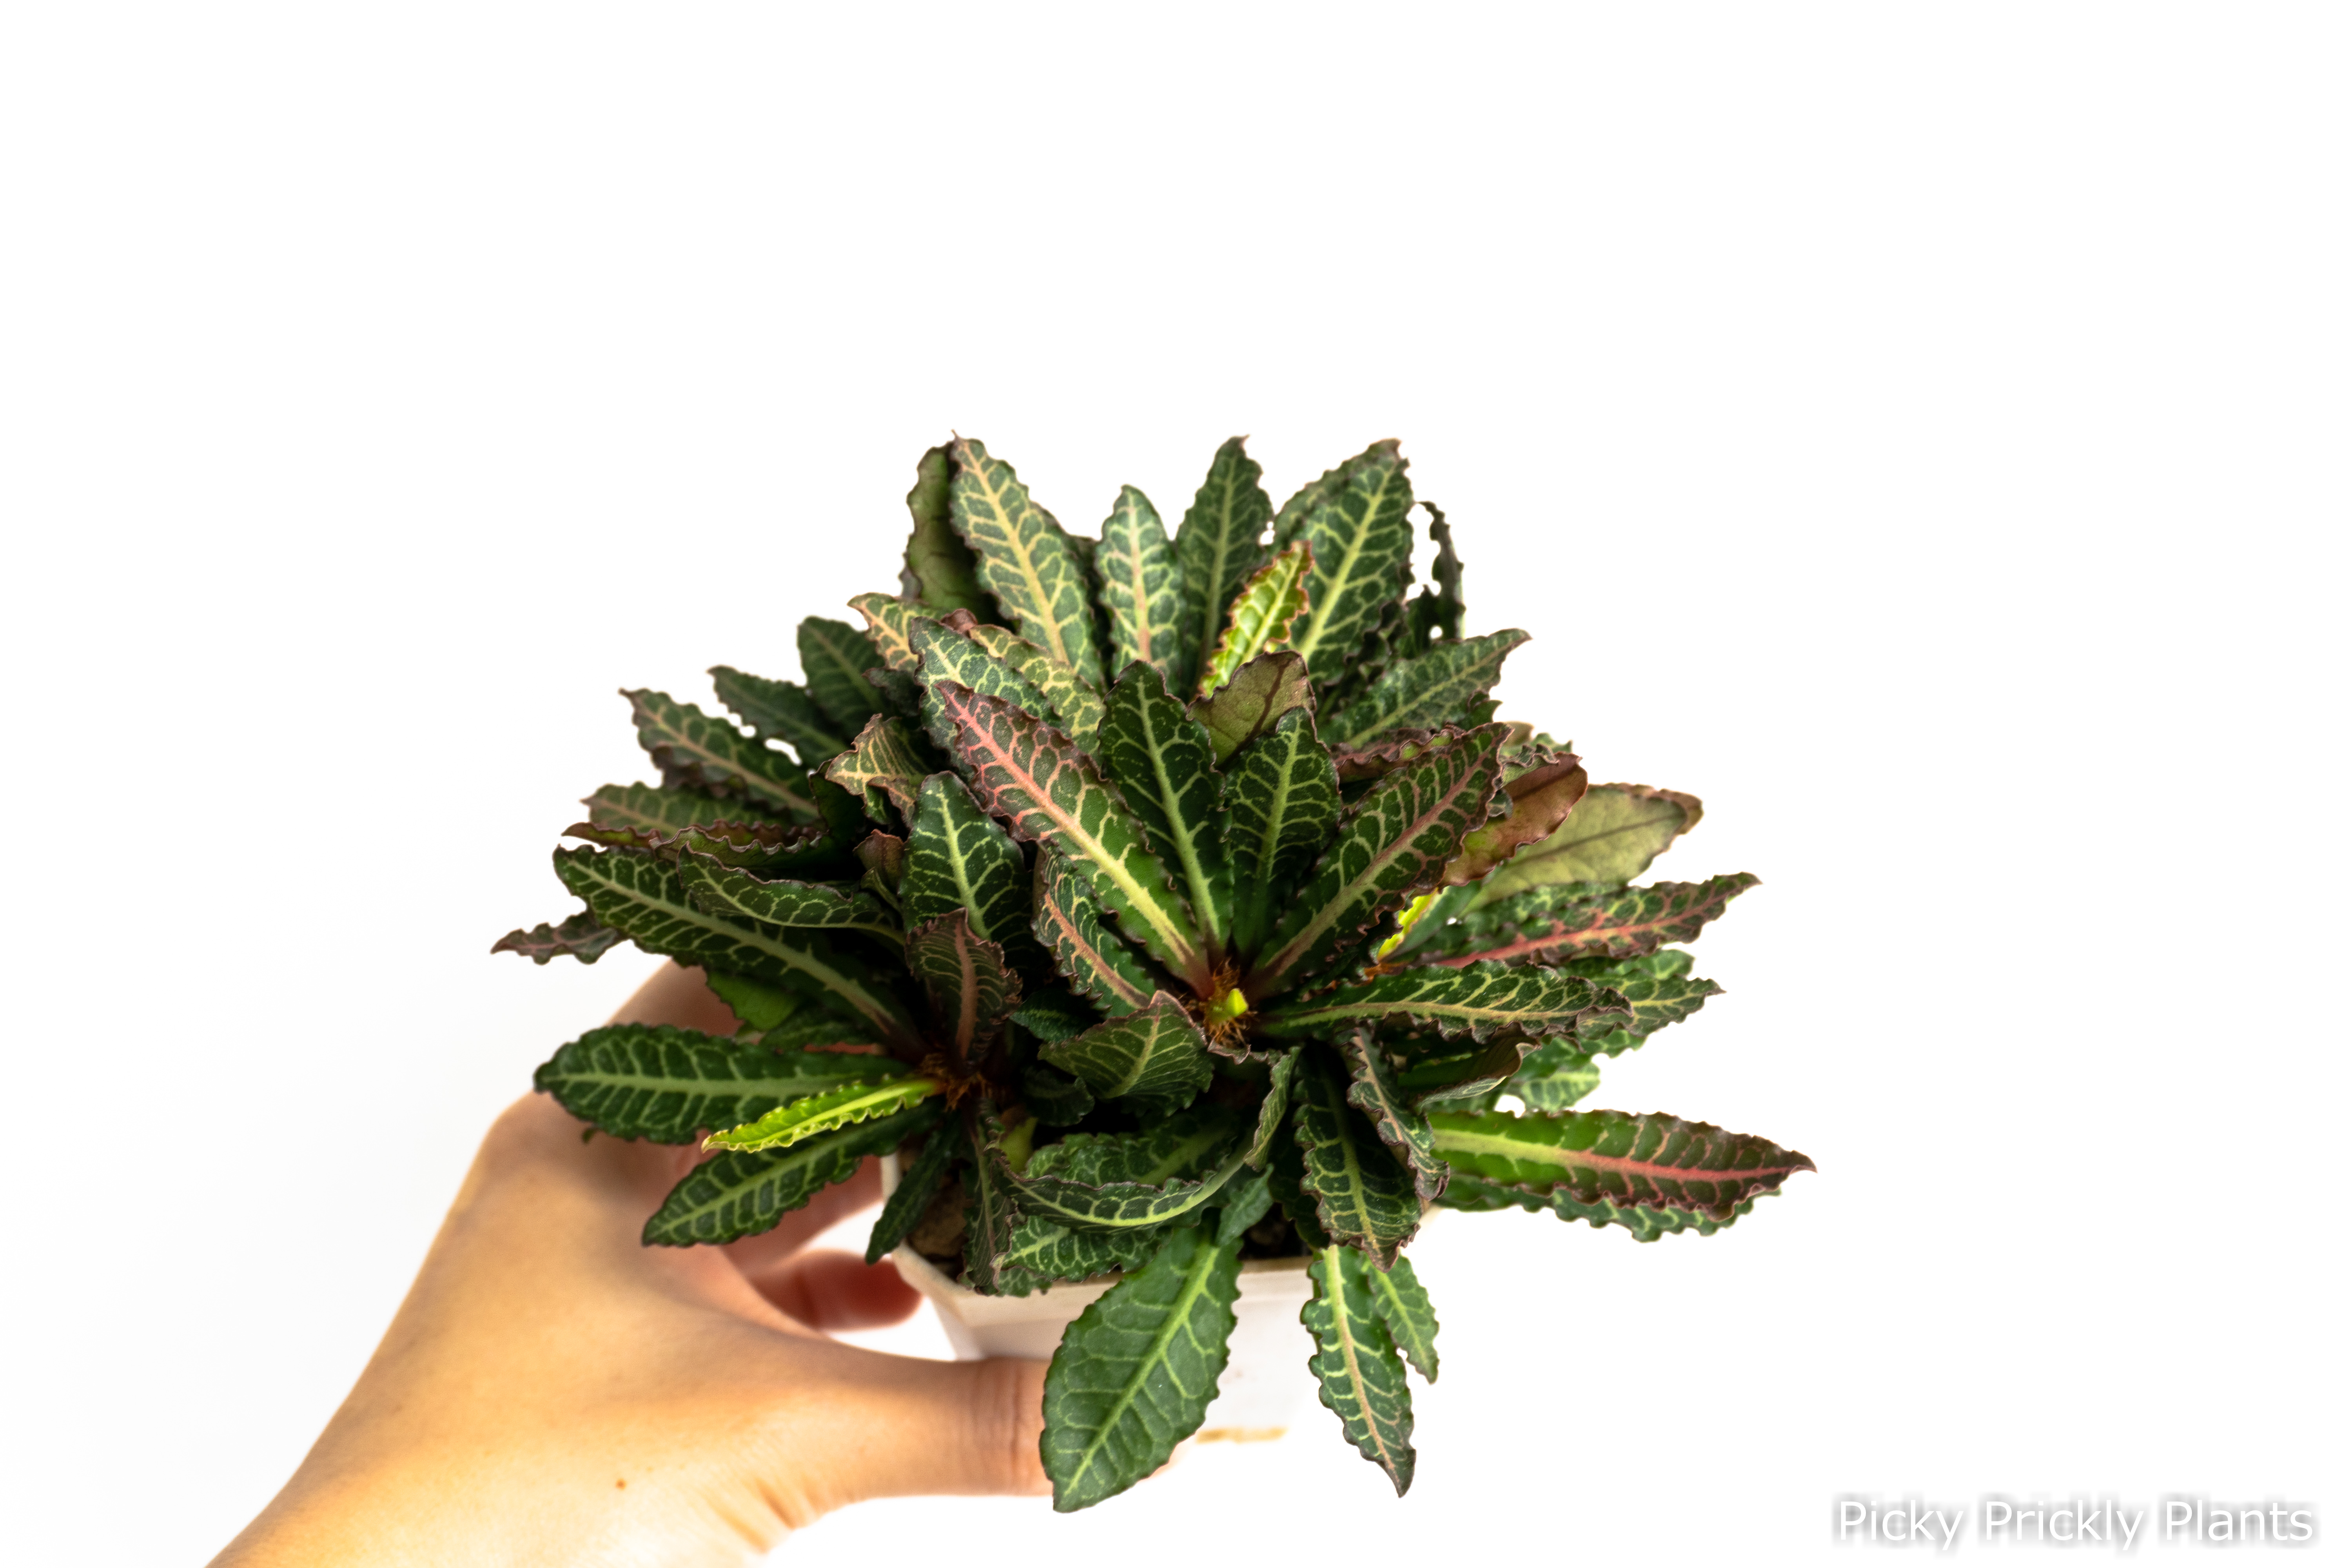
We love them for their colourful and patterned leaves. Also, if trimmed nicely, they can have a bonsai-esque look with a silvery caudex (which you will see later 😊).
Basic care tips
We treat them like succulents and pot them in a very well-draining mix made up of mainly pumice, akadama and volcanic rocks. So far, they seem to do really well without much organics in the soil. We water them every 4-5 days depending on how dry the media is.
We find that they are really easy to take care of and can take afternoon sun without a problem. They are definitely a good plant to start with.
How to propagate?
There are three ways to propagate them (listed in order of difficulty):
- Leaf-cutting (Most difficult)
- Seeds
- Stem cutting (Easiest)
We have only tried stem cutting and they took off with 100% success rates. For leaf cuttings and seed propagation methods, you can take a look at the videos made by Little One Plant Nursery. They have great tutorials on everything you want to know about euphorbia francoisiis.
Stem cutting
We chose these three euphorbias because they grew side branches from the main caudex. We removed these branches either by twisting it off or used a sterilized knife to make an incursion before tearing it off.
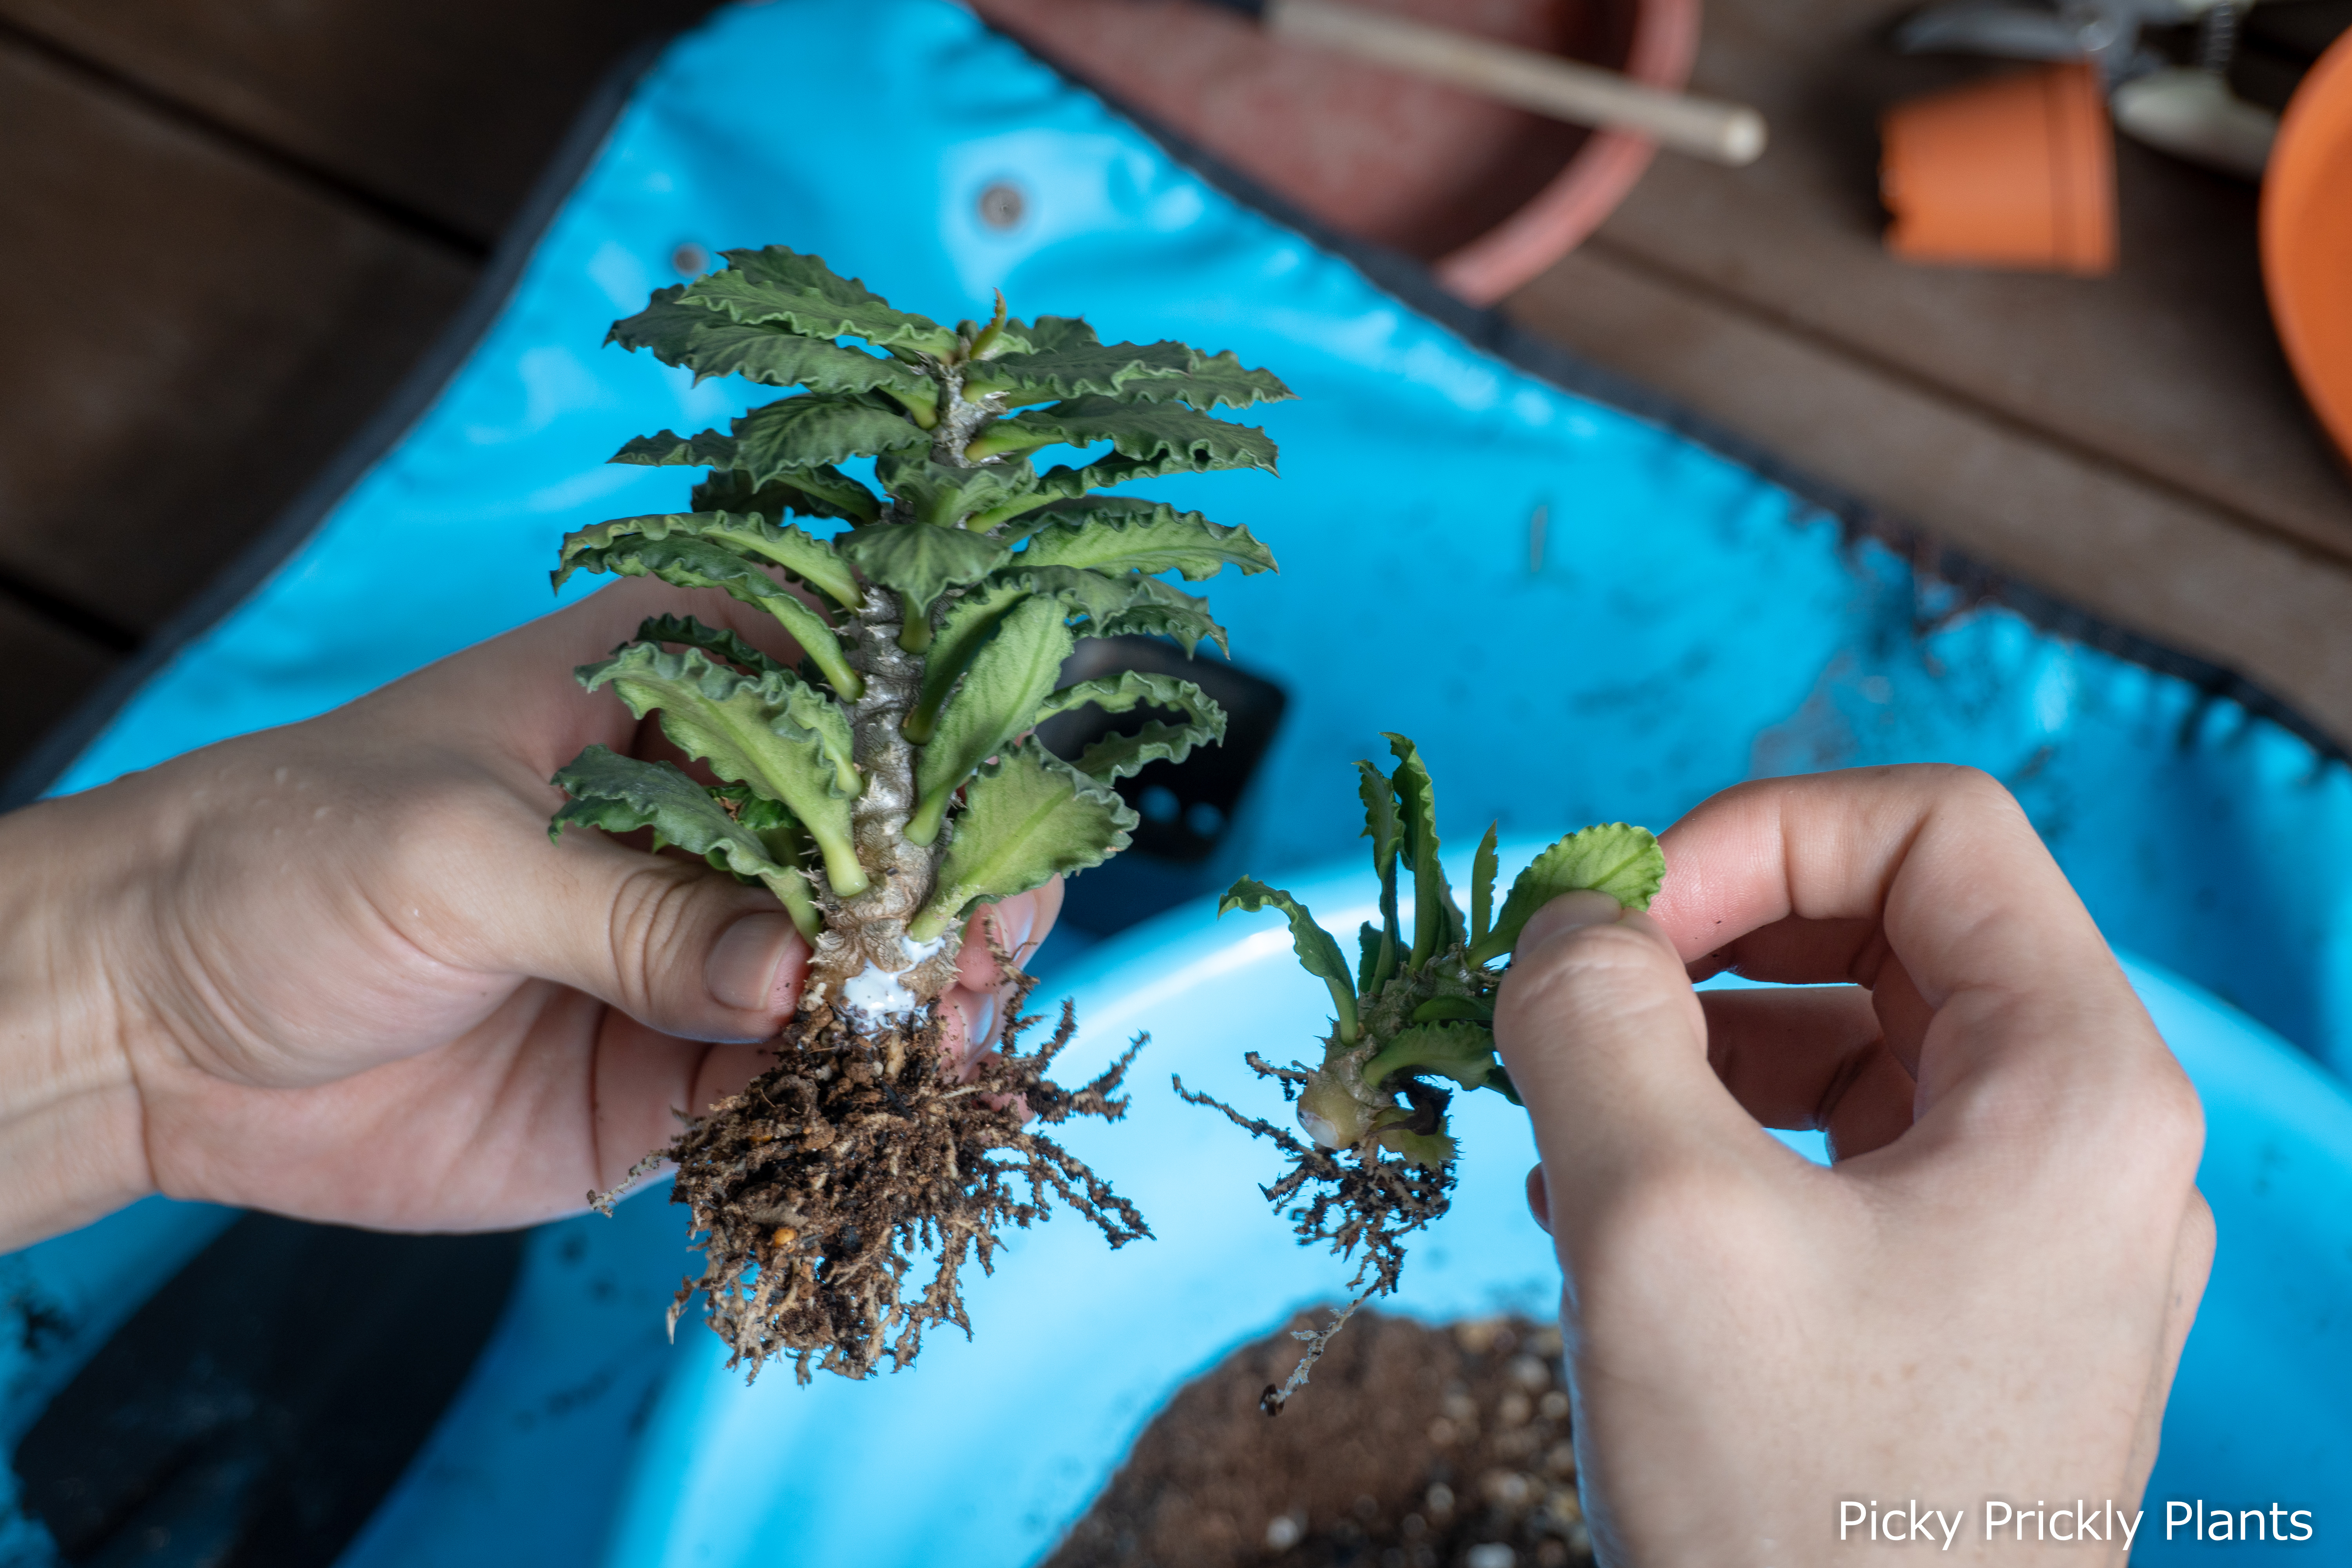
Like all euphorbias, they give out a white sticky sap when cut. The sap is mildly toxic and can cause skin inflammation. It helps the wound to heal faster so we usually just leave it be unless it drips all around.
Rooting the cuttings
Dry the wound
Having a wet and exposed wound increases the chances of infection and rot 😱. The recommendation is to leave it out in a cool and dry place for at least a day. However, being impatient gardeners, we dapped the wound in rooting powder and placed it in front of a fan for 30 minutes before potting them.
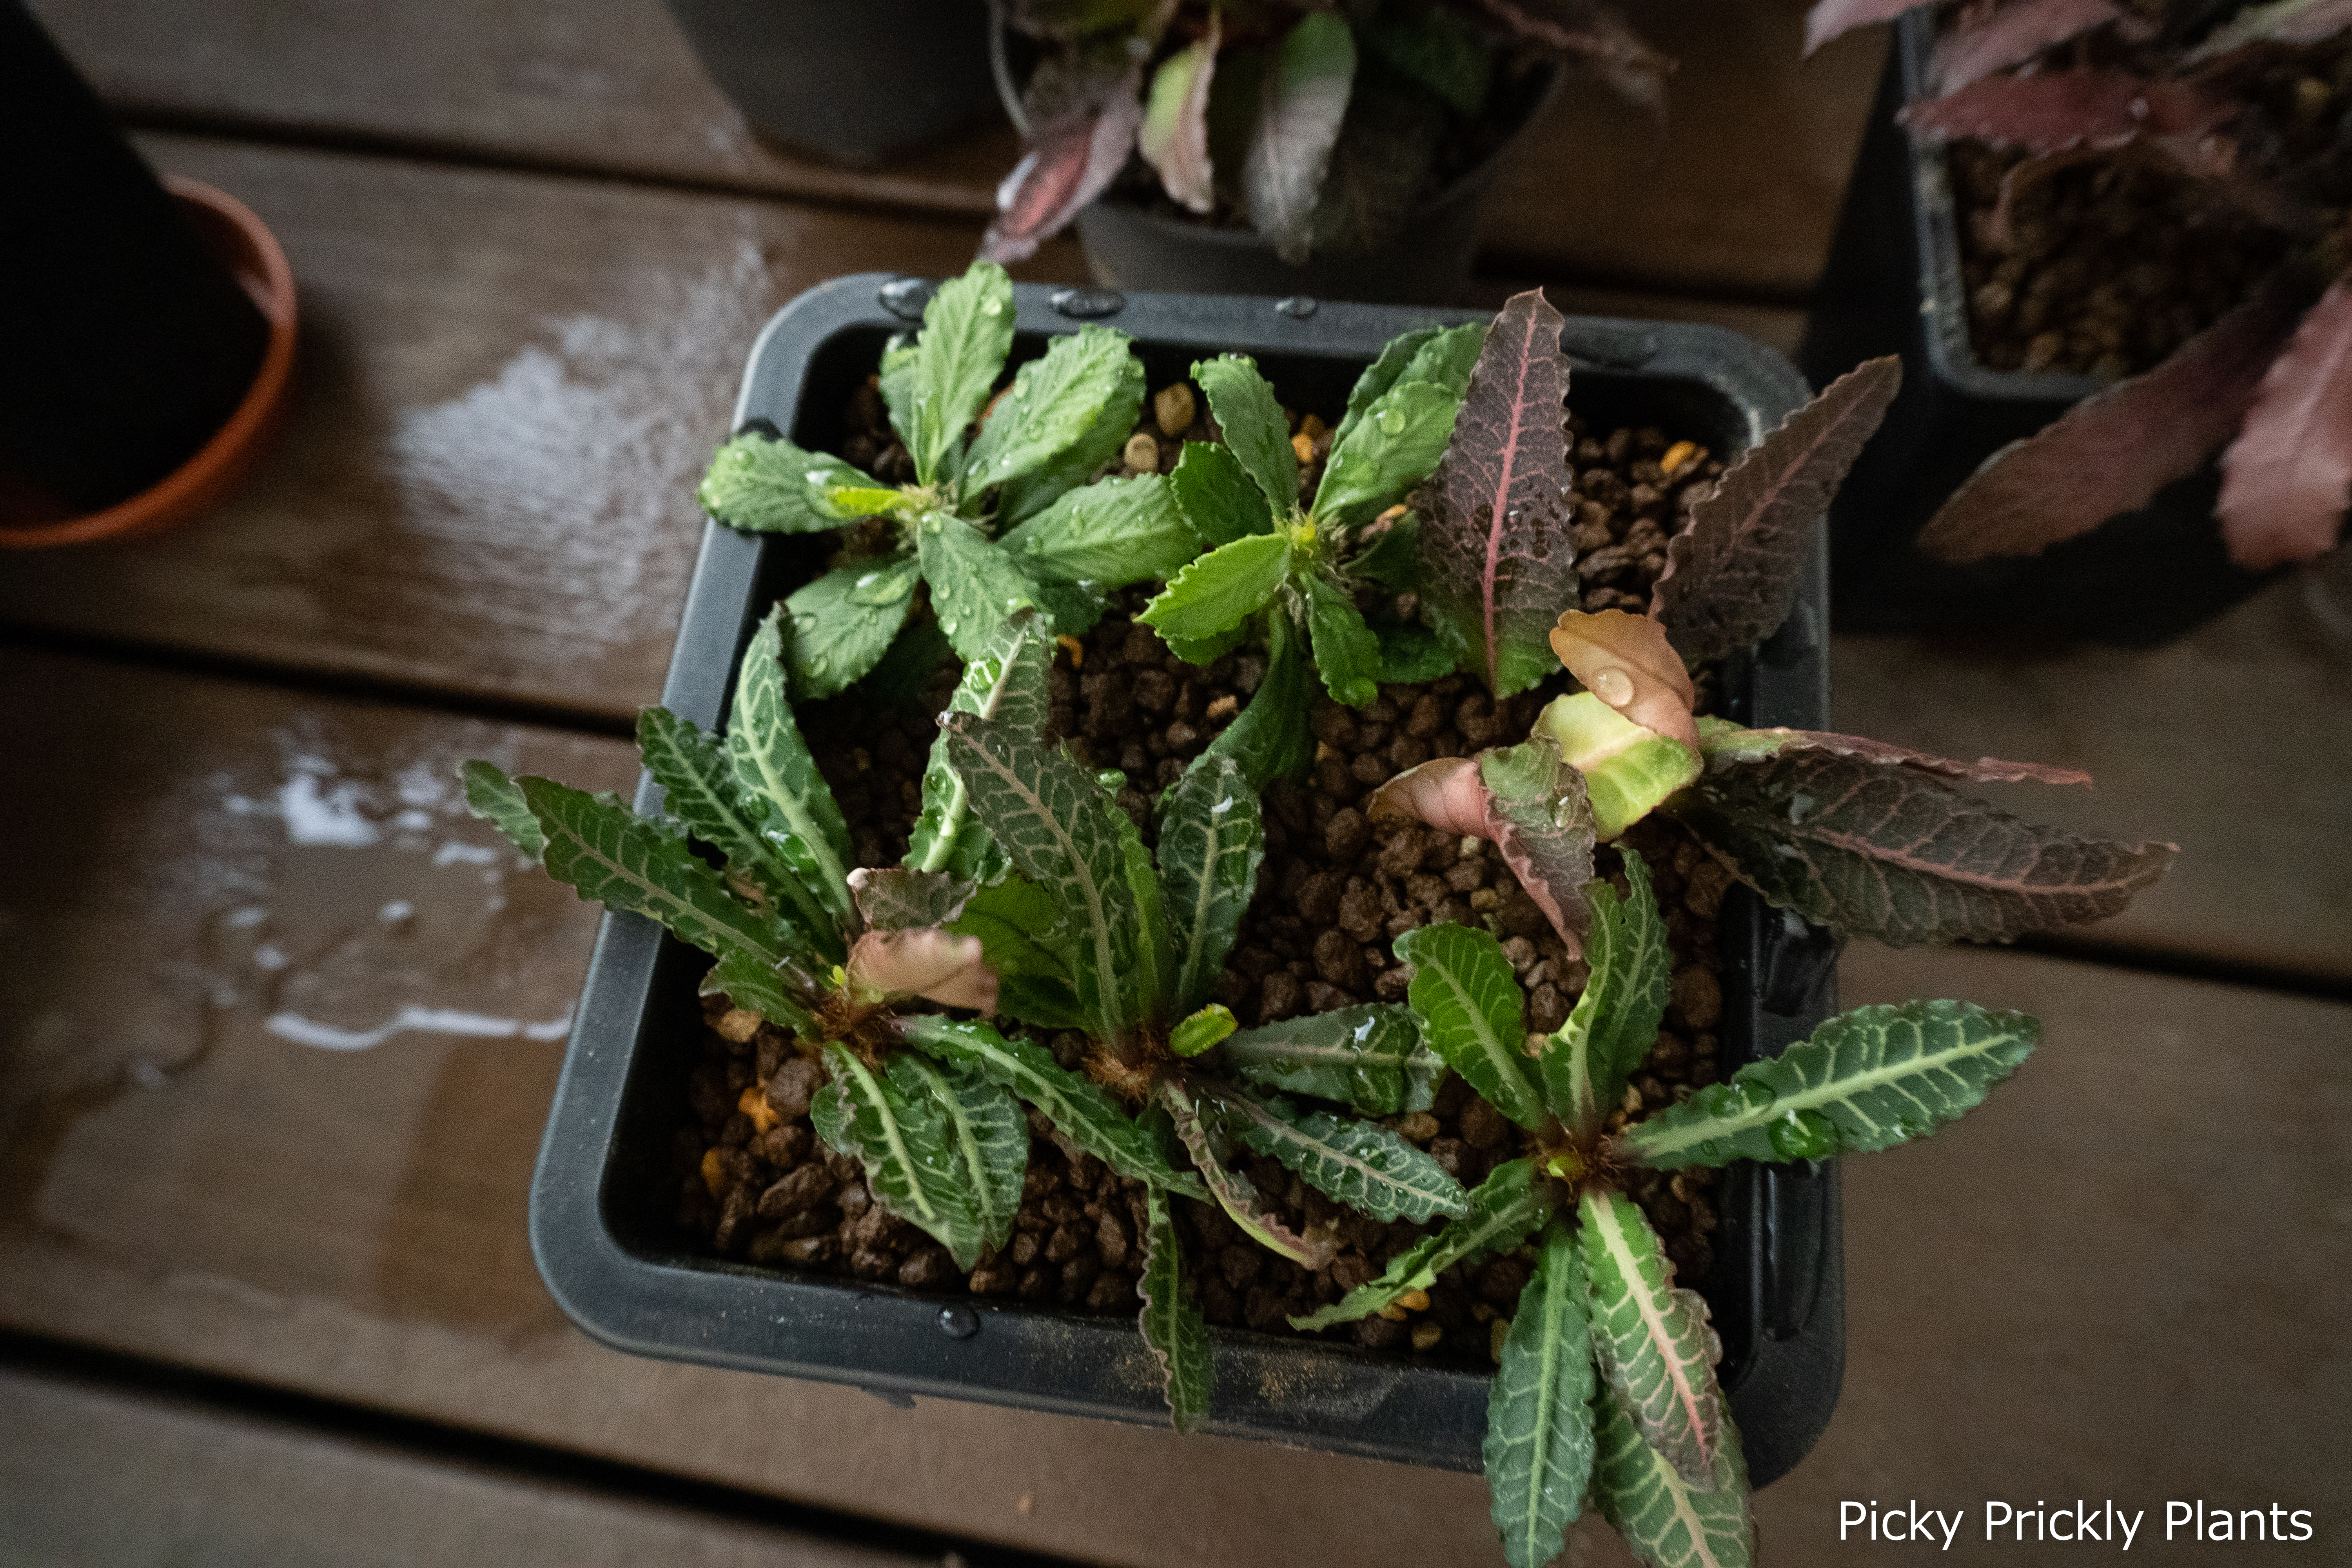
Prepare the media
Ideally, use a pot that is not too big compared to the cutting. This helps to prevent the soil from being too wet before the plant can grow roots. In our case, we ran out of pots and we improvised by only using inorganics to improve the drainage.
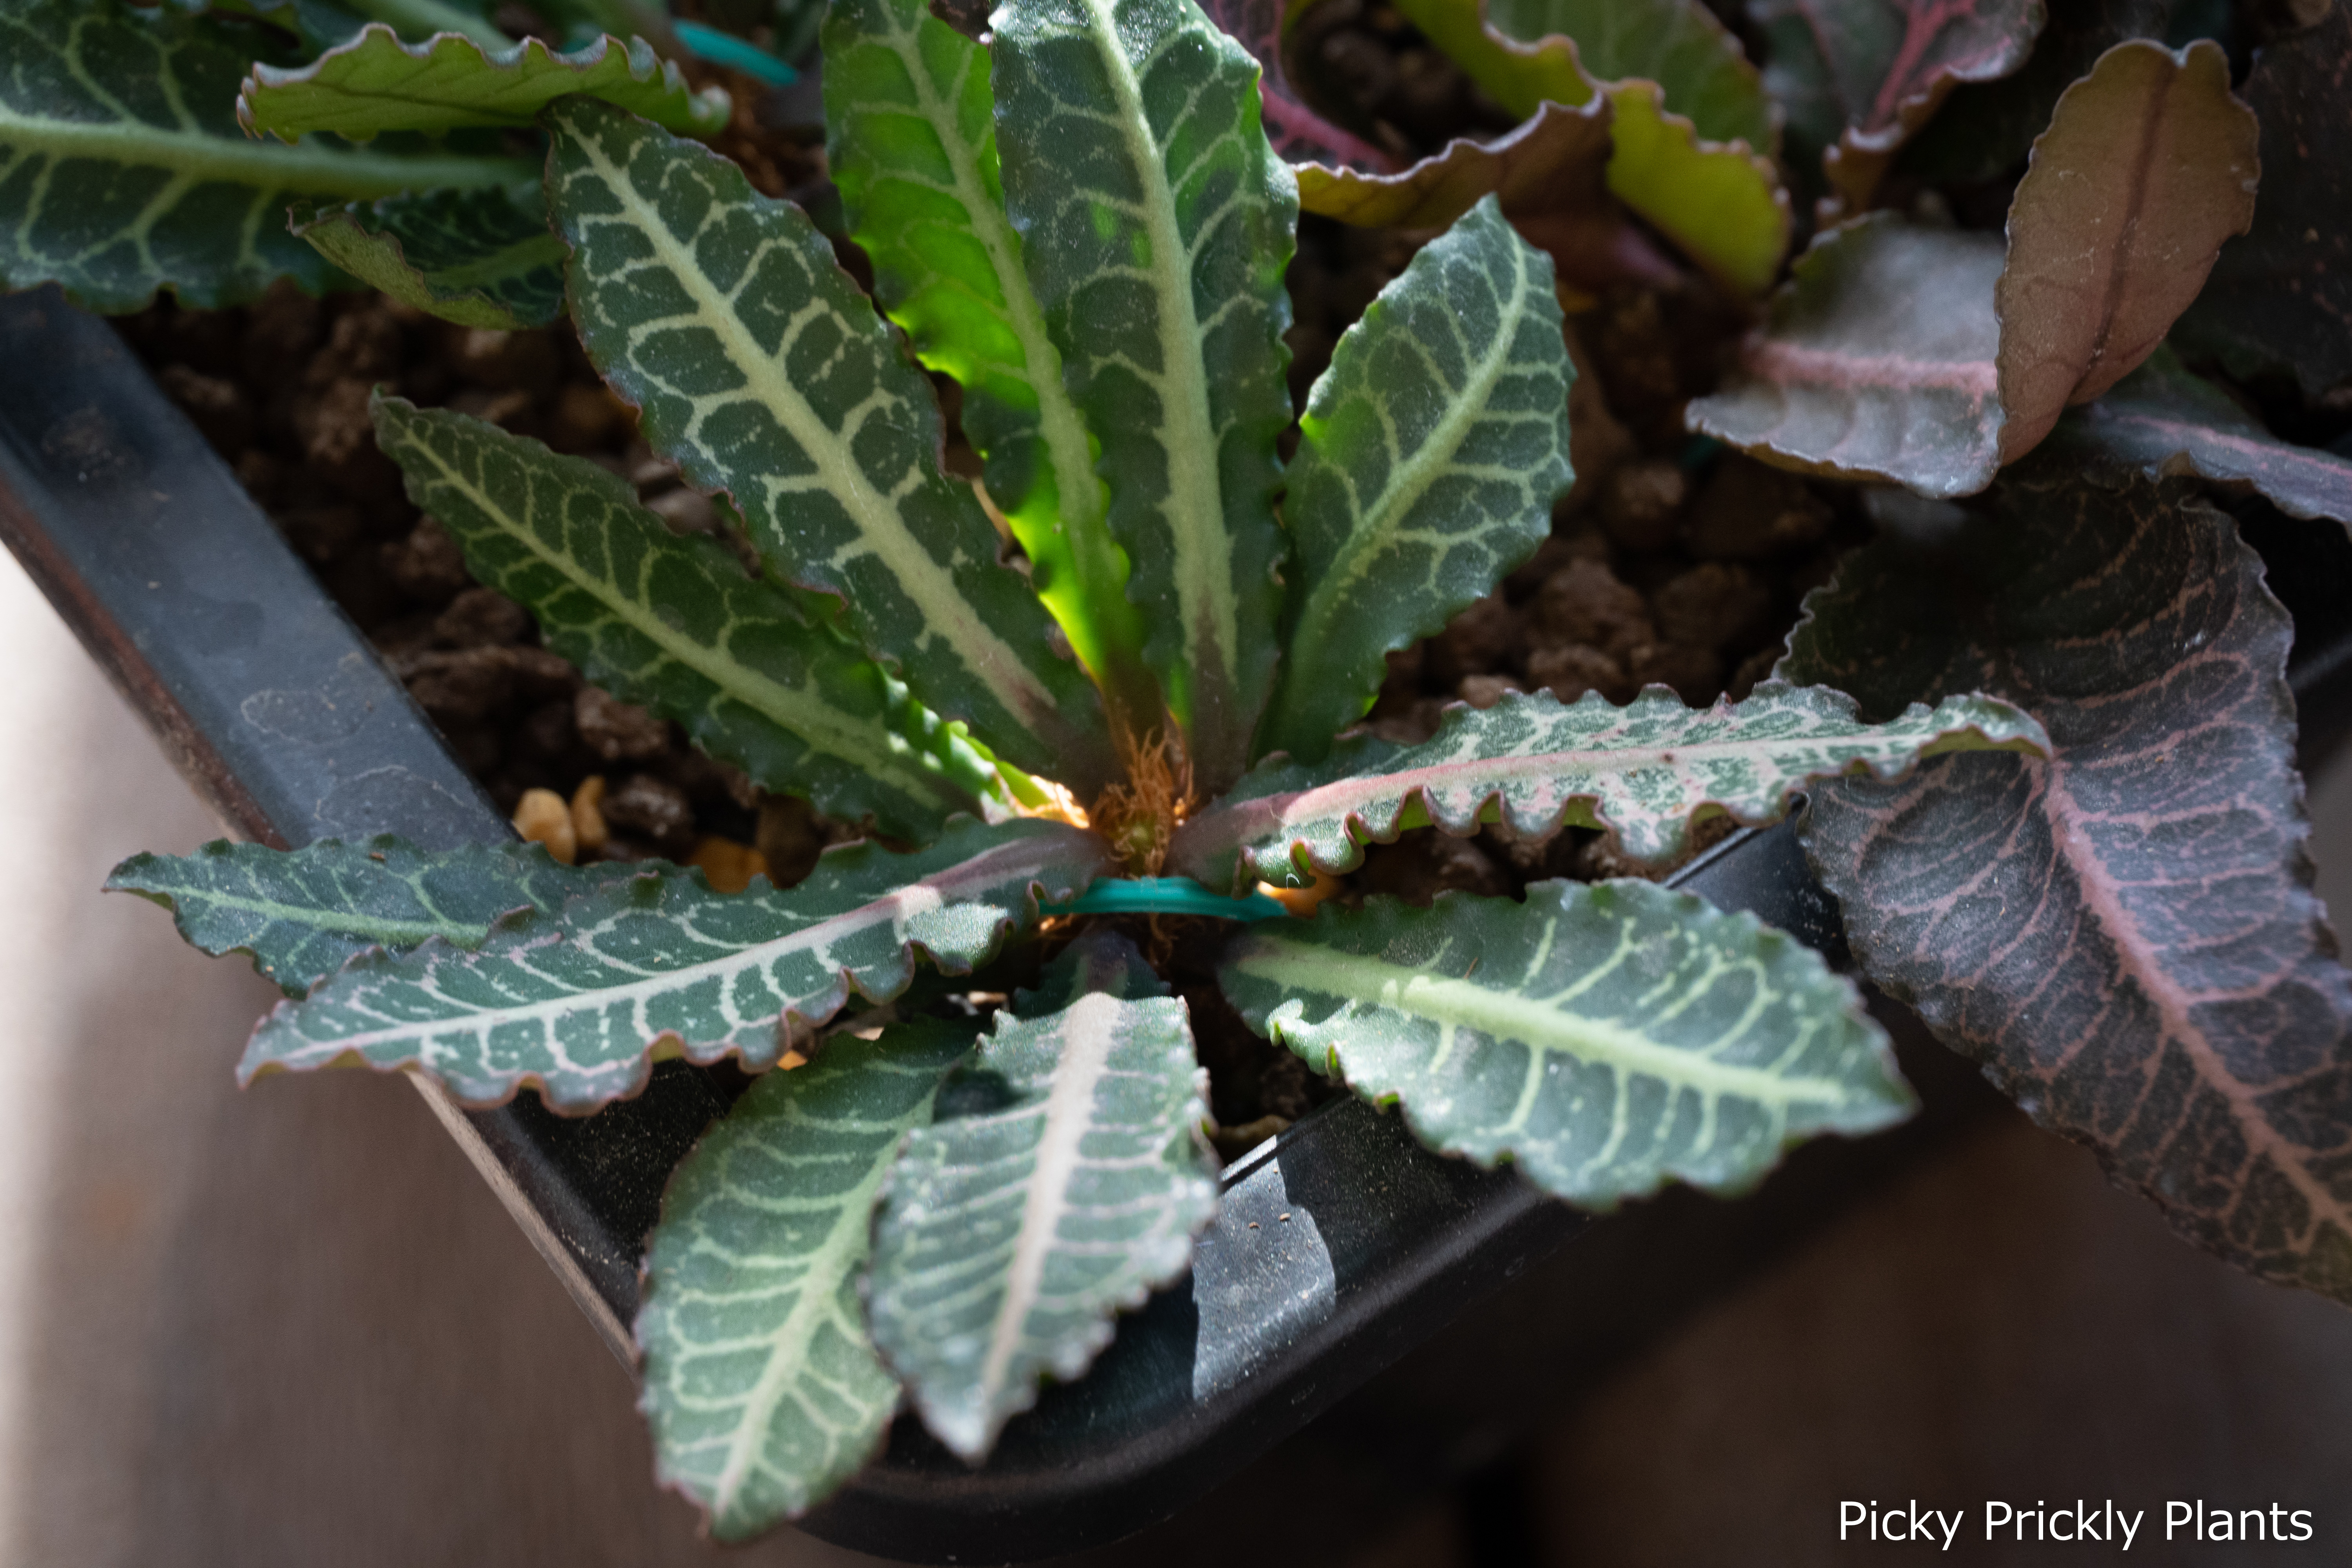
We first lined the bottom half of the pot with huge chunks of coco-chips so that we don’t have to fill the entire pot with the media. Then we added the pumice, akadama and volcanic rocks before placing the cuttings in. Lastly, we used a thin layer of akadama as top soil for aesthetics and a soil moisture indicator.
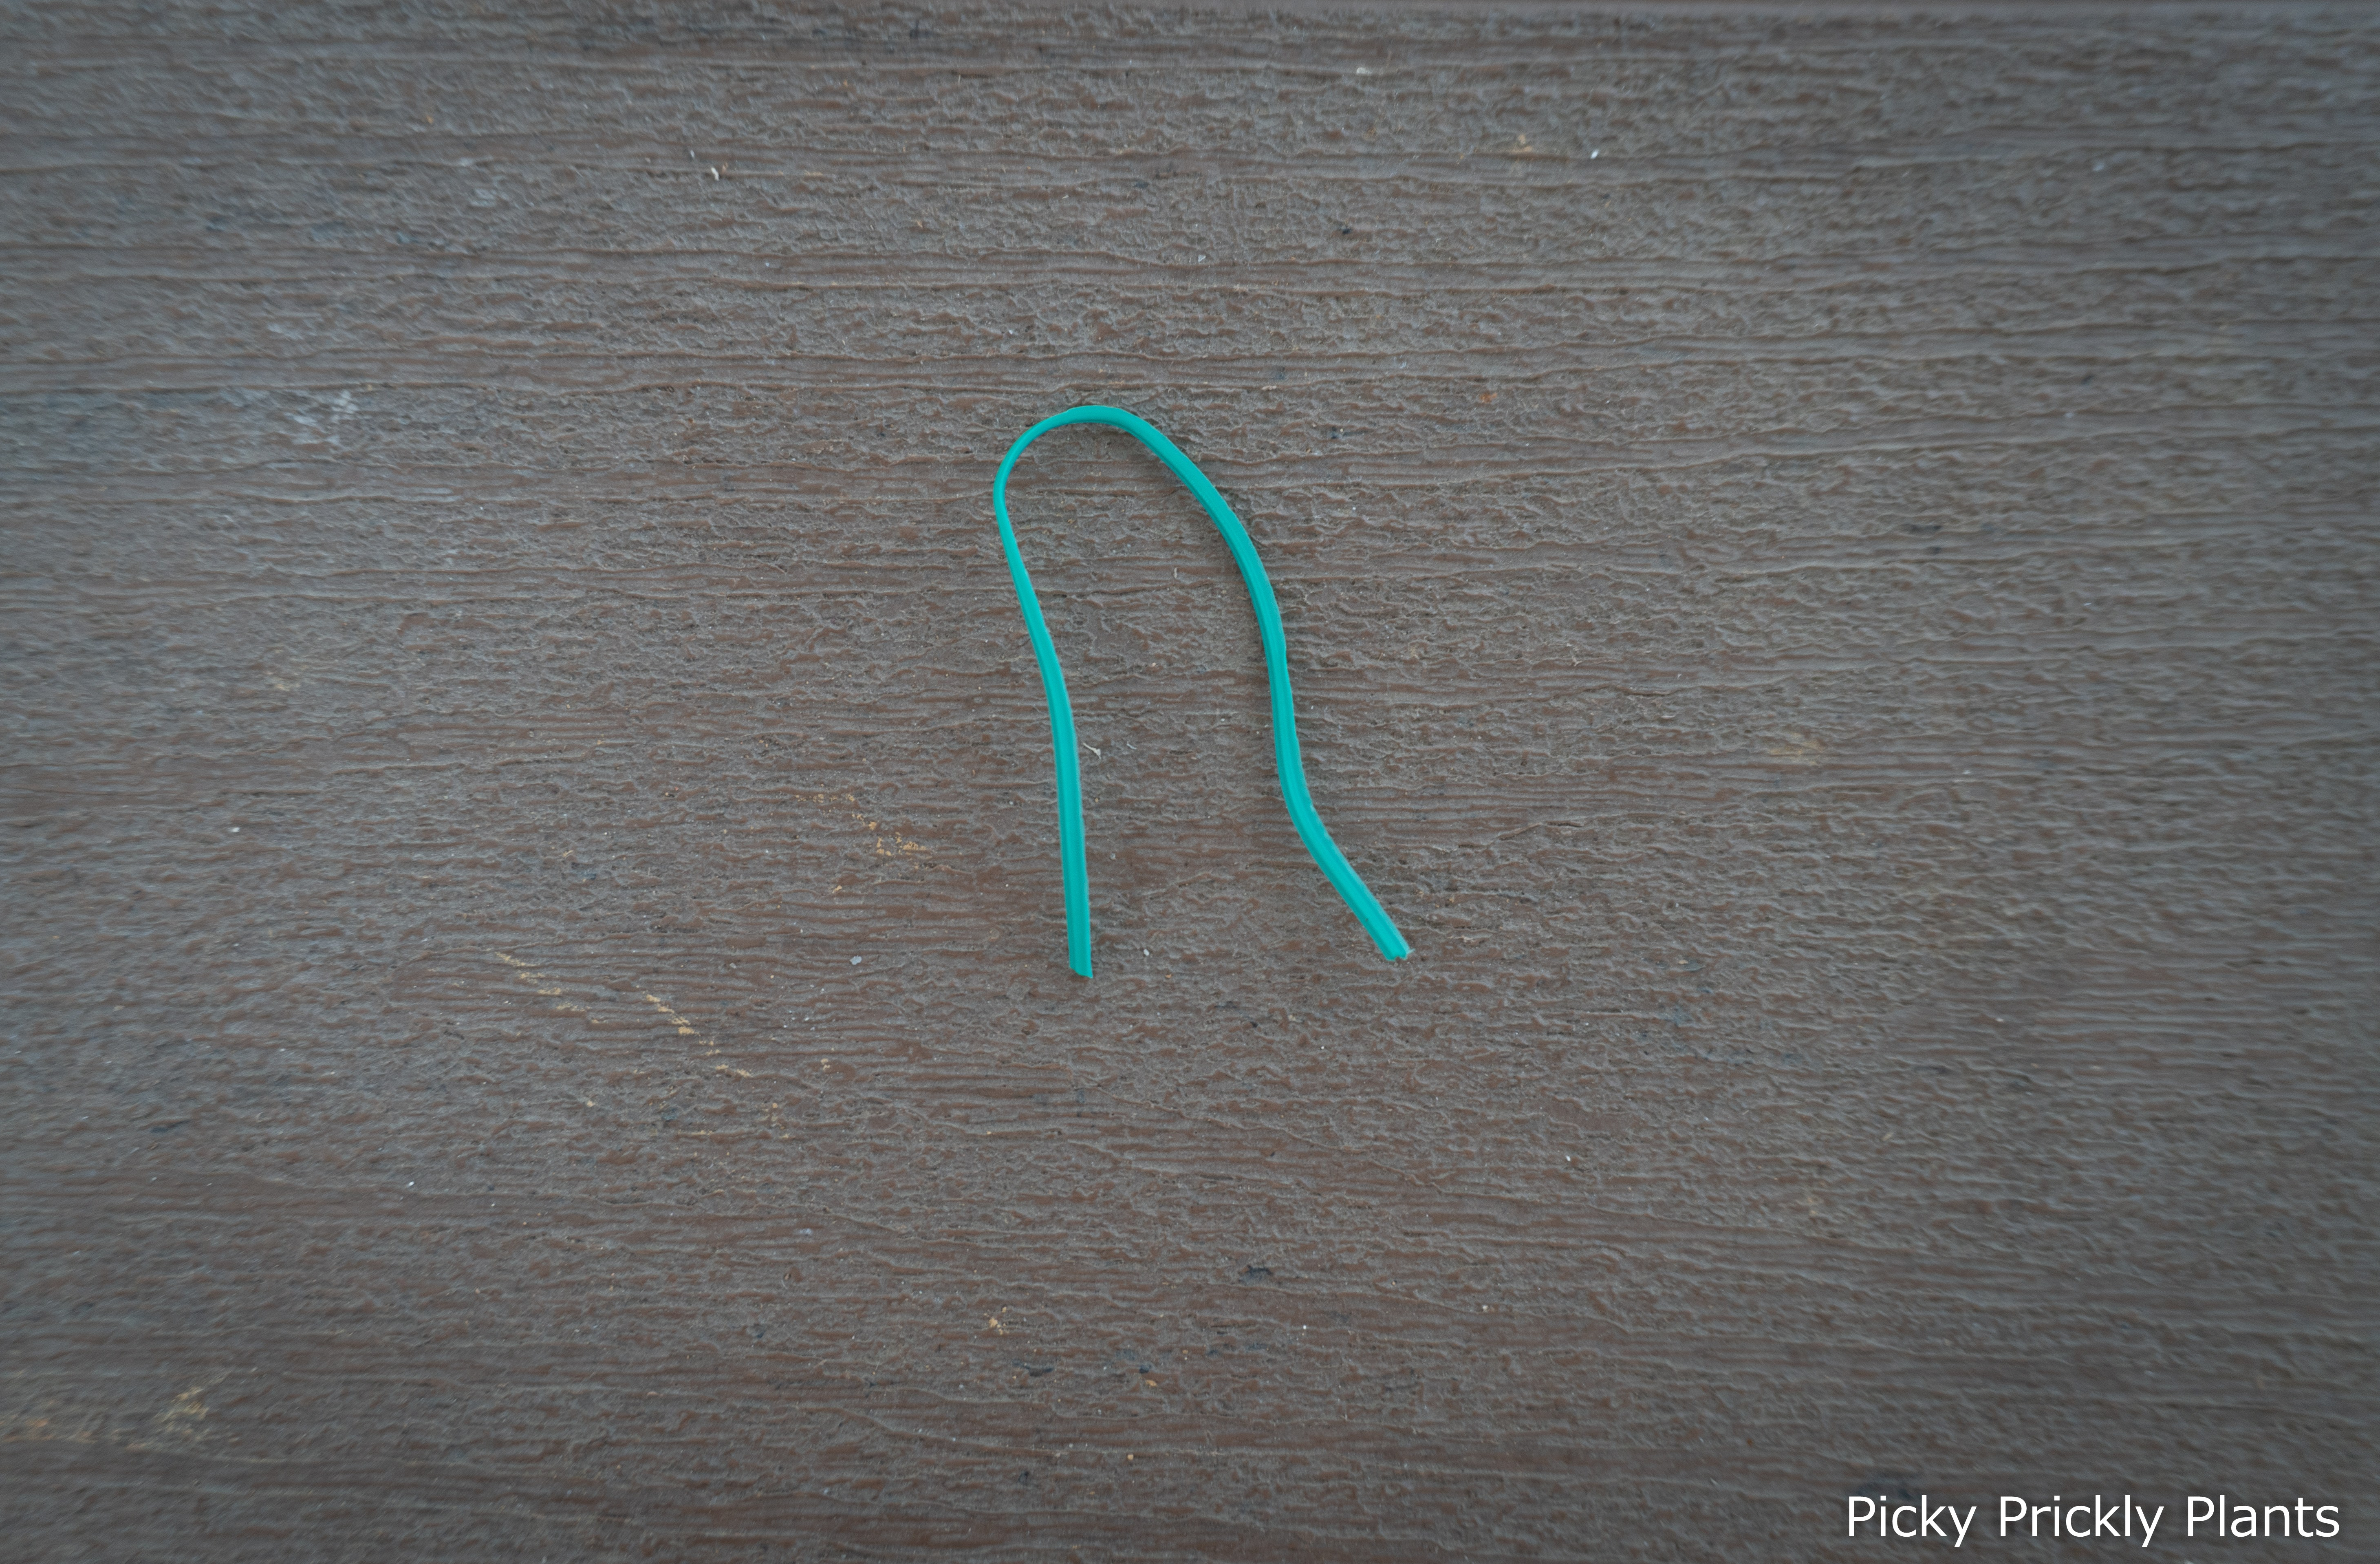
Secure them in the soil
At this stage, most of our cuttings did not have roots so keeping it securely in the media is a problem. We solved this by using twist ties that we bought from Daiso. Twist it into a ‘U-shape’ and stick it into the media to fasten the cutting.
Water with fungicide
Since we did not wait a day for the cuttings to completely dry out, we fully saturate the pot with a diluted mixture of Captan powder. This is so that we can minimize the chances of fungal infection. 🤞
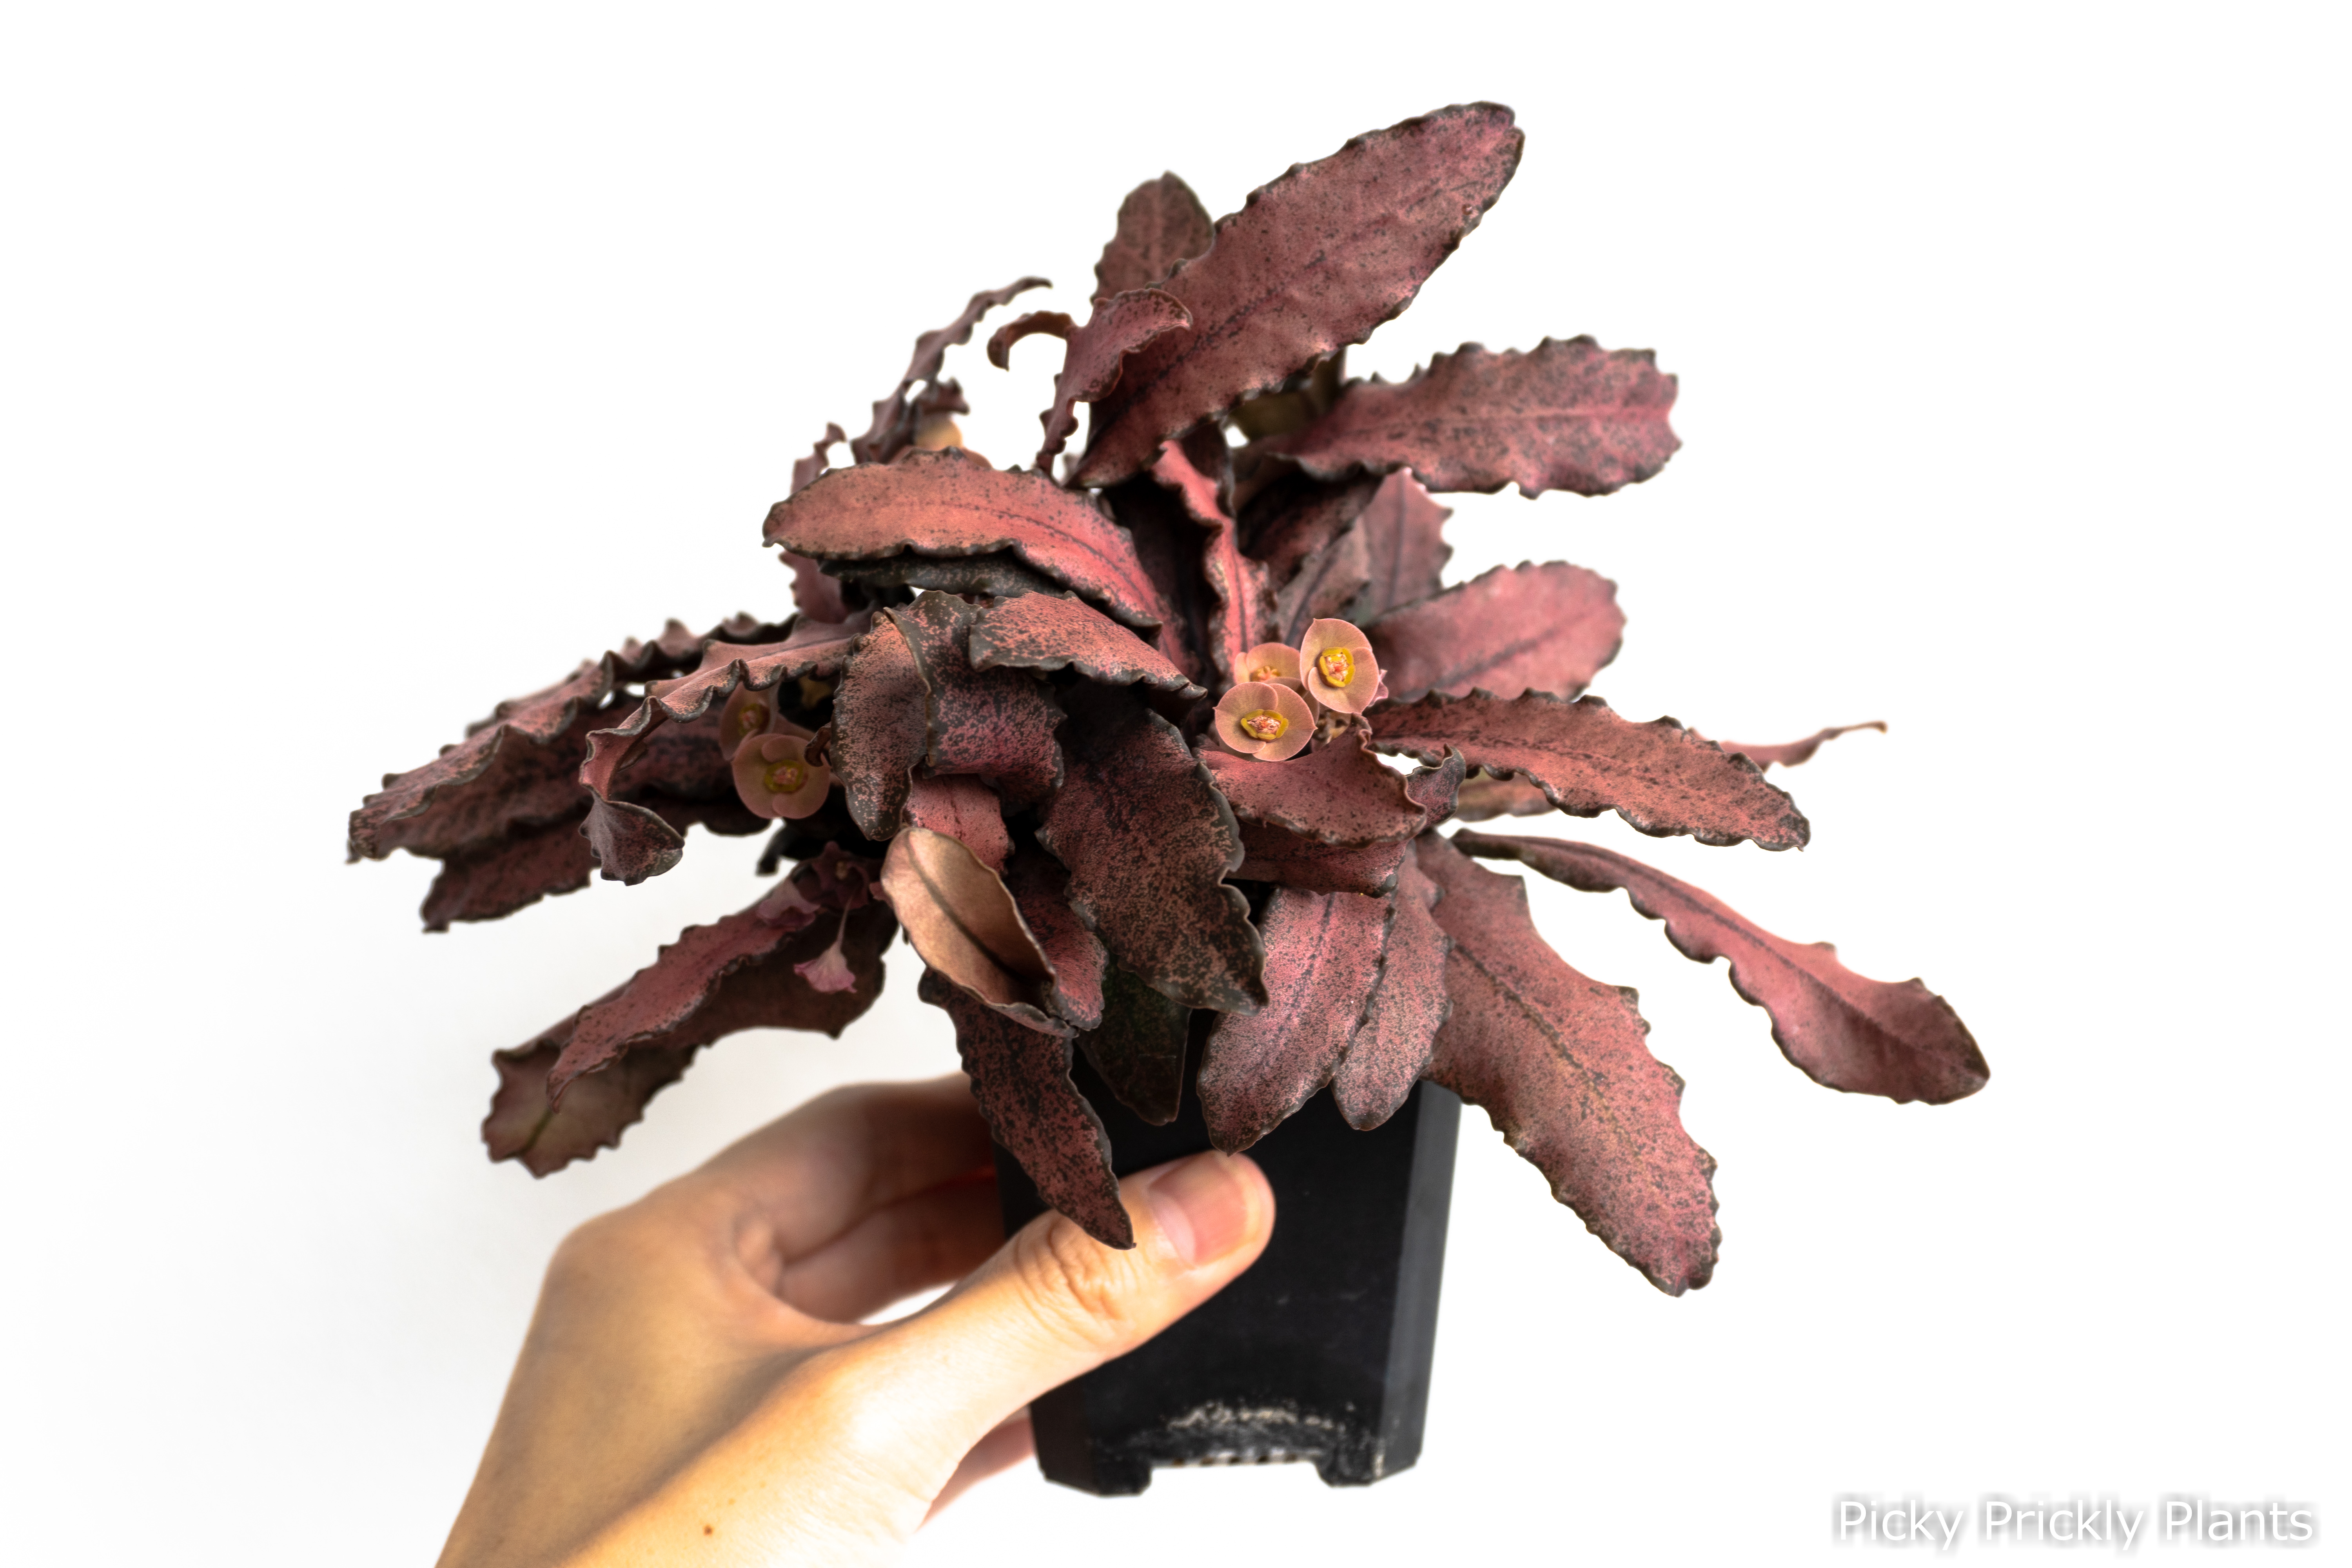
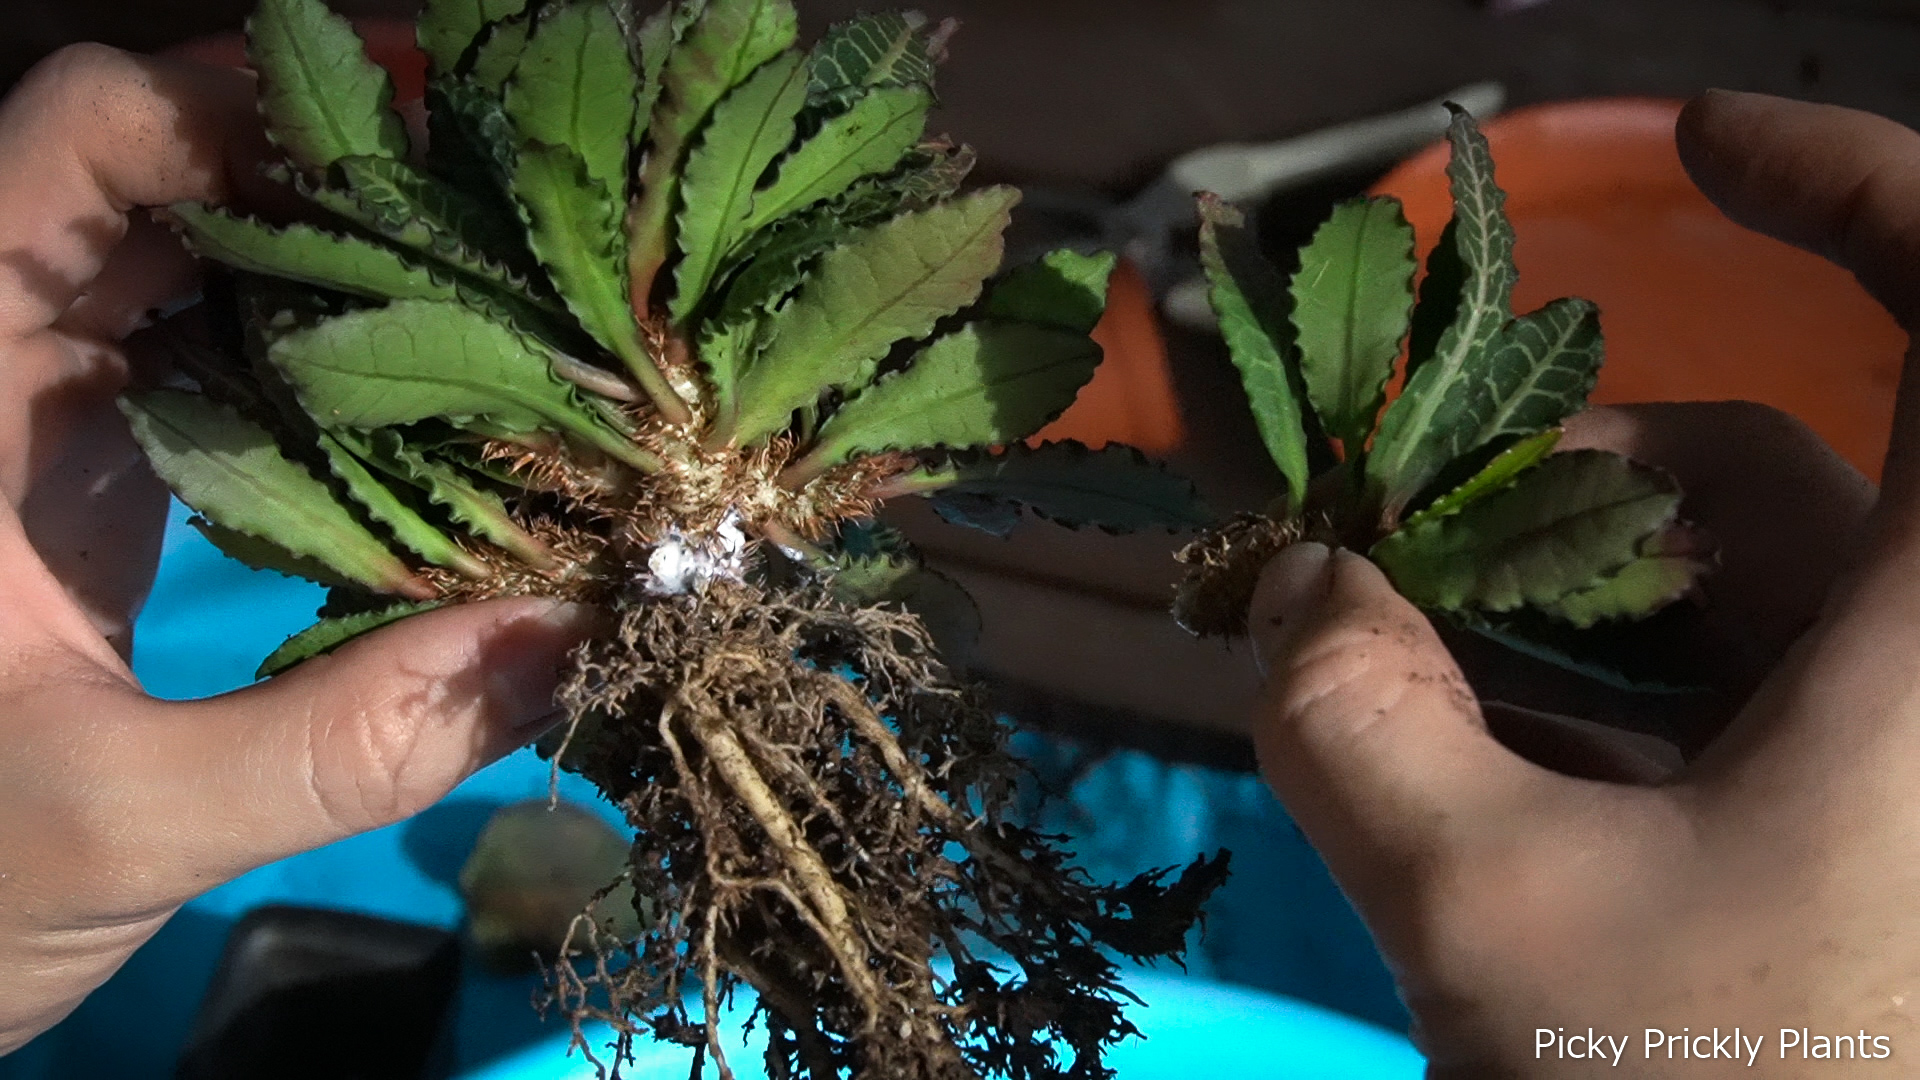
Re-potting the mother plants
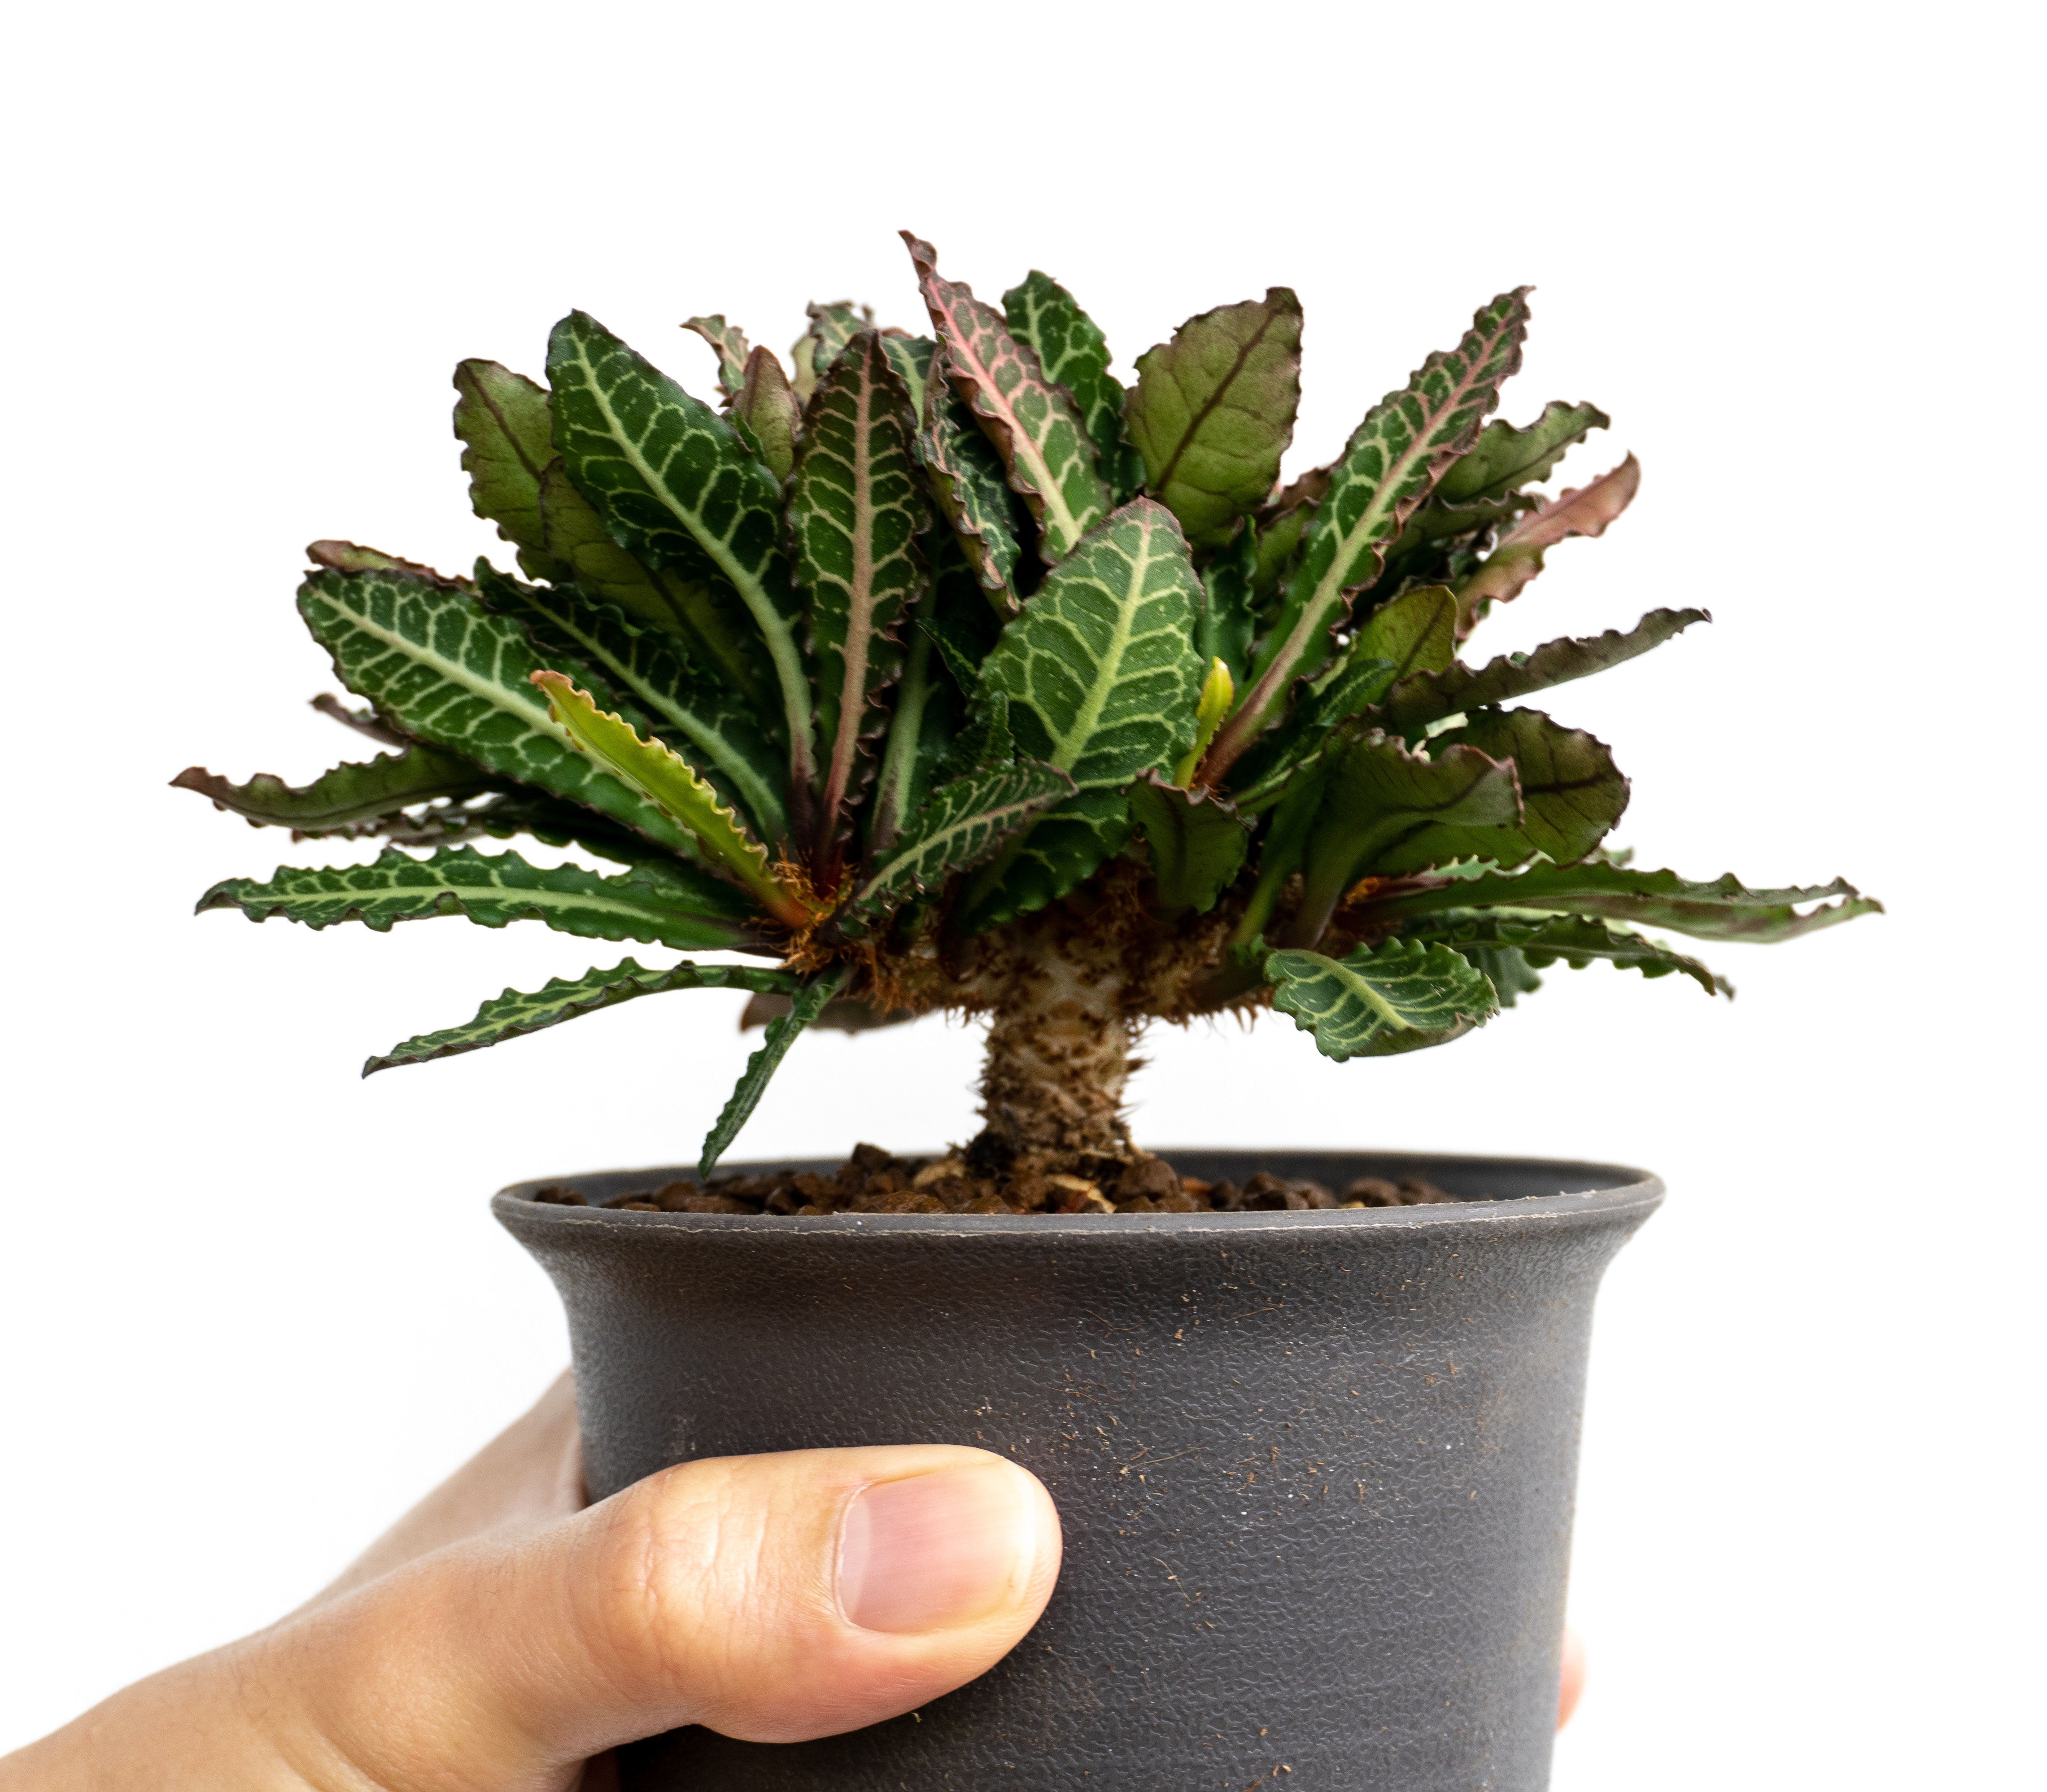
We trimmed the roots a little and pot them back in a similar media. Here a photo of one of the francoisii. We potted it such a way that revealed the nice caudex and the whole plant looks totally different now. We love how it is like a bonsai 🌳.
That’s all for today! Hope you find this interesting and helpful.
Let’s learn together.
Javier