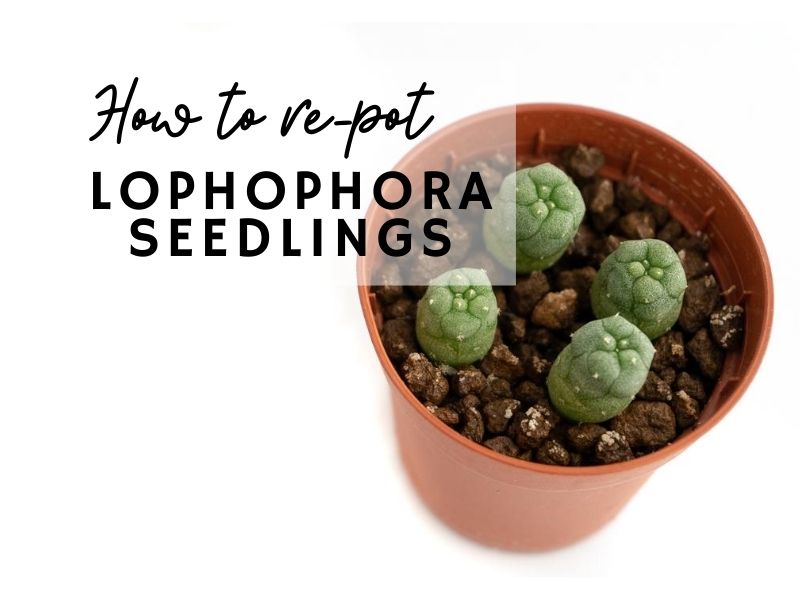
So today we finally decided to re-pot a batch of Lophophora seedlings that was sowed around 8 months ago.
At 8 months old, these seedlings could have stayed in their germination box for a few months. But sadly we spotted some rust growing on some of the seedlings, and didn’t want the rust to spread. Plus this box was made up of seedlings with variegated parents and some of them were already showing signs of variegation! We couldn’t afford to let them die.
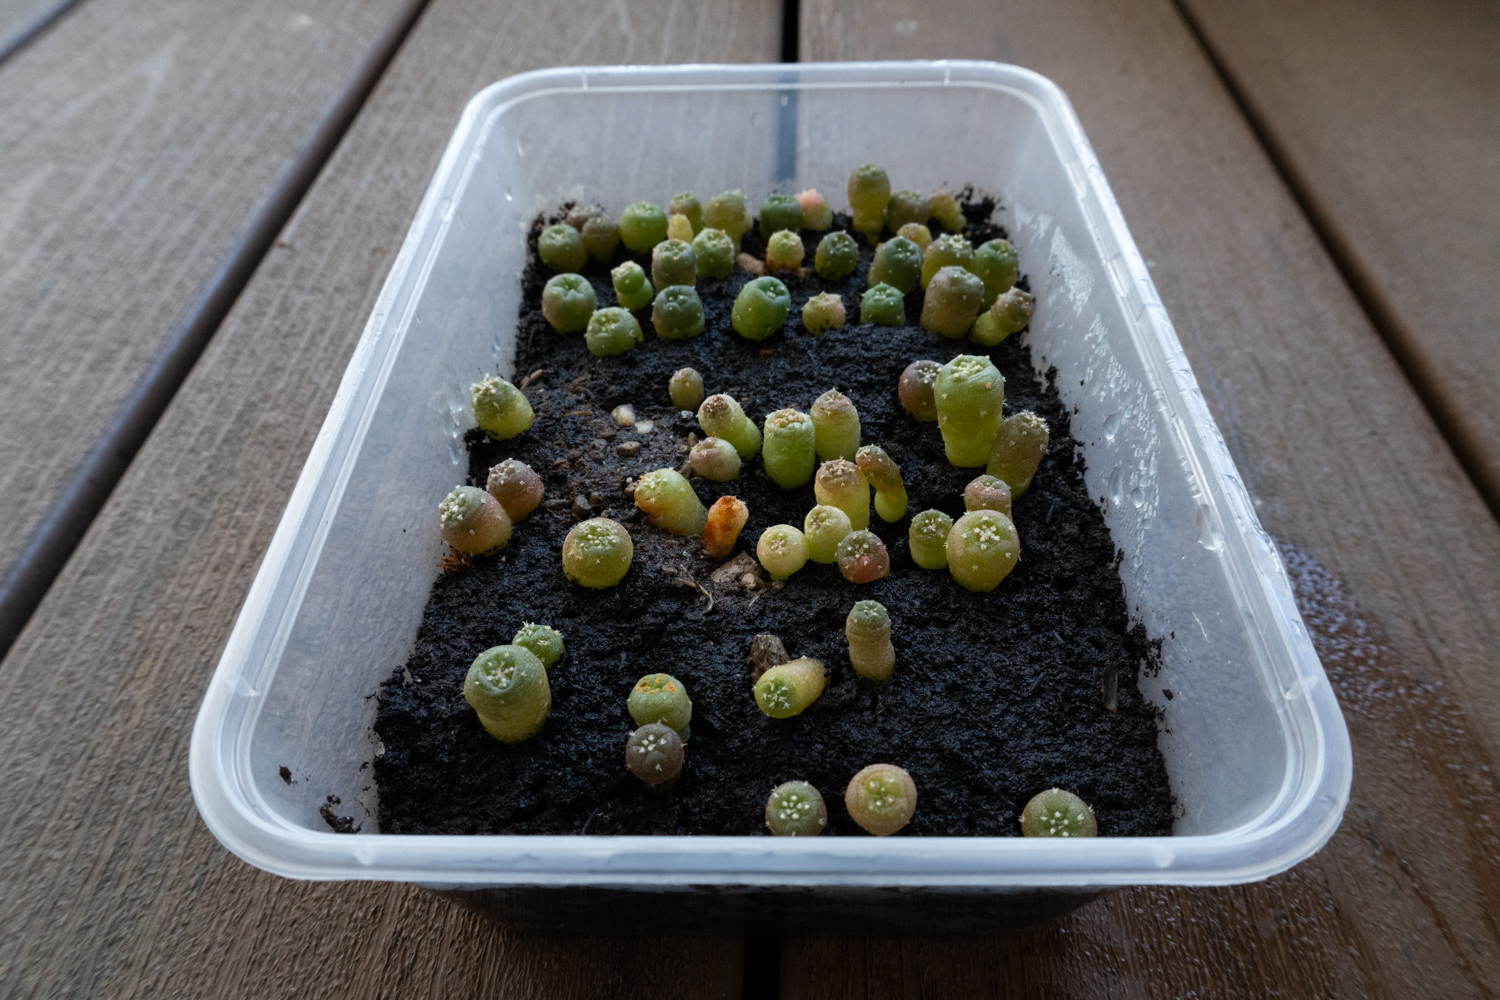
Rust on lophophora seedlings
Is this the same kind of rust that appears on metal?
Although the red splotches do look like rust found on metalware, they are not related in any way. Rust is a type of fungus that specialises in attacking plants. The fungus first appears as spores; once germinated, the fungus then invades the host plant.
Where does this rust (fungus) come from?
For our seedlings, I suspect that these fungus spores were already in the soil that the seeds were sowed in. Since rust thrives in humid environments, this is a very common problem during seed germination where the seedlings are kept in an airtight and humid environment for a long period of time. Even a small number of spores can start to multiply in numbers within a short period of time.
How do we get rid of rust (fungus)?
Copper solution or Tilt are fungicides that are effective against rust. [1] However, since we didn’t have them on hand, we decided to just remove the badly infected seedlings and let the rest of them dry out. Reducing humidity is another good method to control the spread of rust. [2] As a preventive measure, we also soaked the seedlings in a solution of Captan to kill off other fungus spores that could have been lurking in the soil.
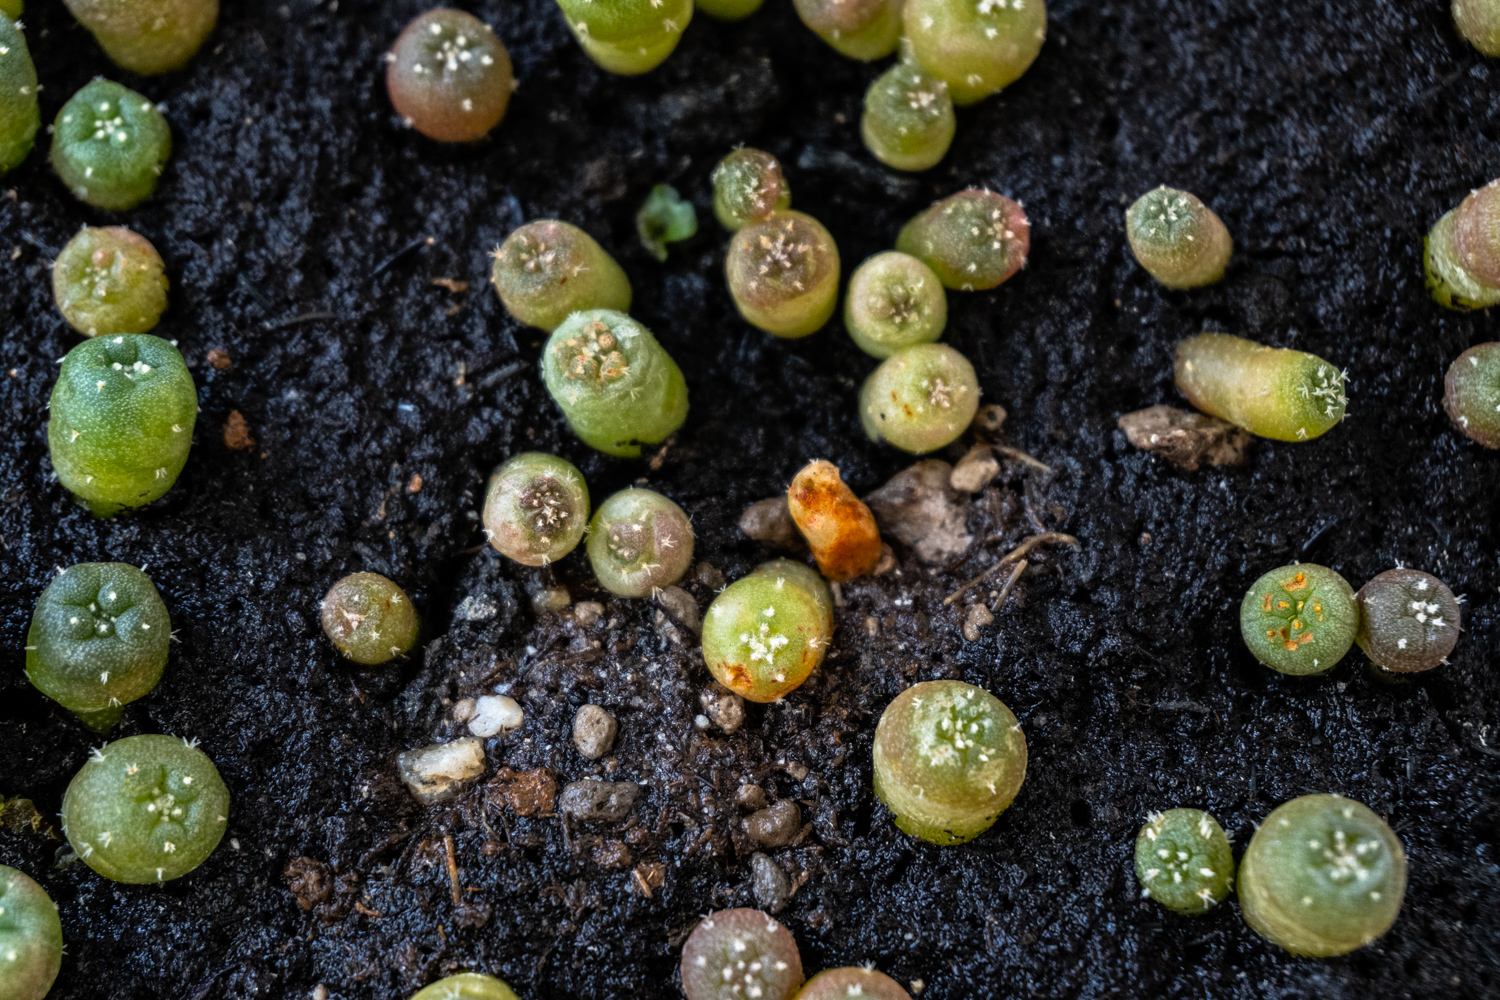
Un-potting and cleaning up the seedlings
Since the seedlings have been in a very humid environment for the past 8 months or so, a lot of the soil has hardened. To avoid damaging the fragile roots of these seedlings, we first use a toothpick to portion the soil into chunks and then wash off the soil under running water. Do make sure that the water pressure is not too strong as you don’t want the roots to break off. Put the little seedling securely between your thumb and the index finger to gently rub around the roots to get rid of the soil. Remember that we are aiming for as little root damage as possible. If there is still some soil in the roots that can’t be removed easily via washing, it is alright to leave it as it is.
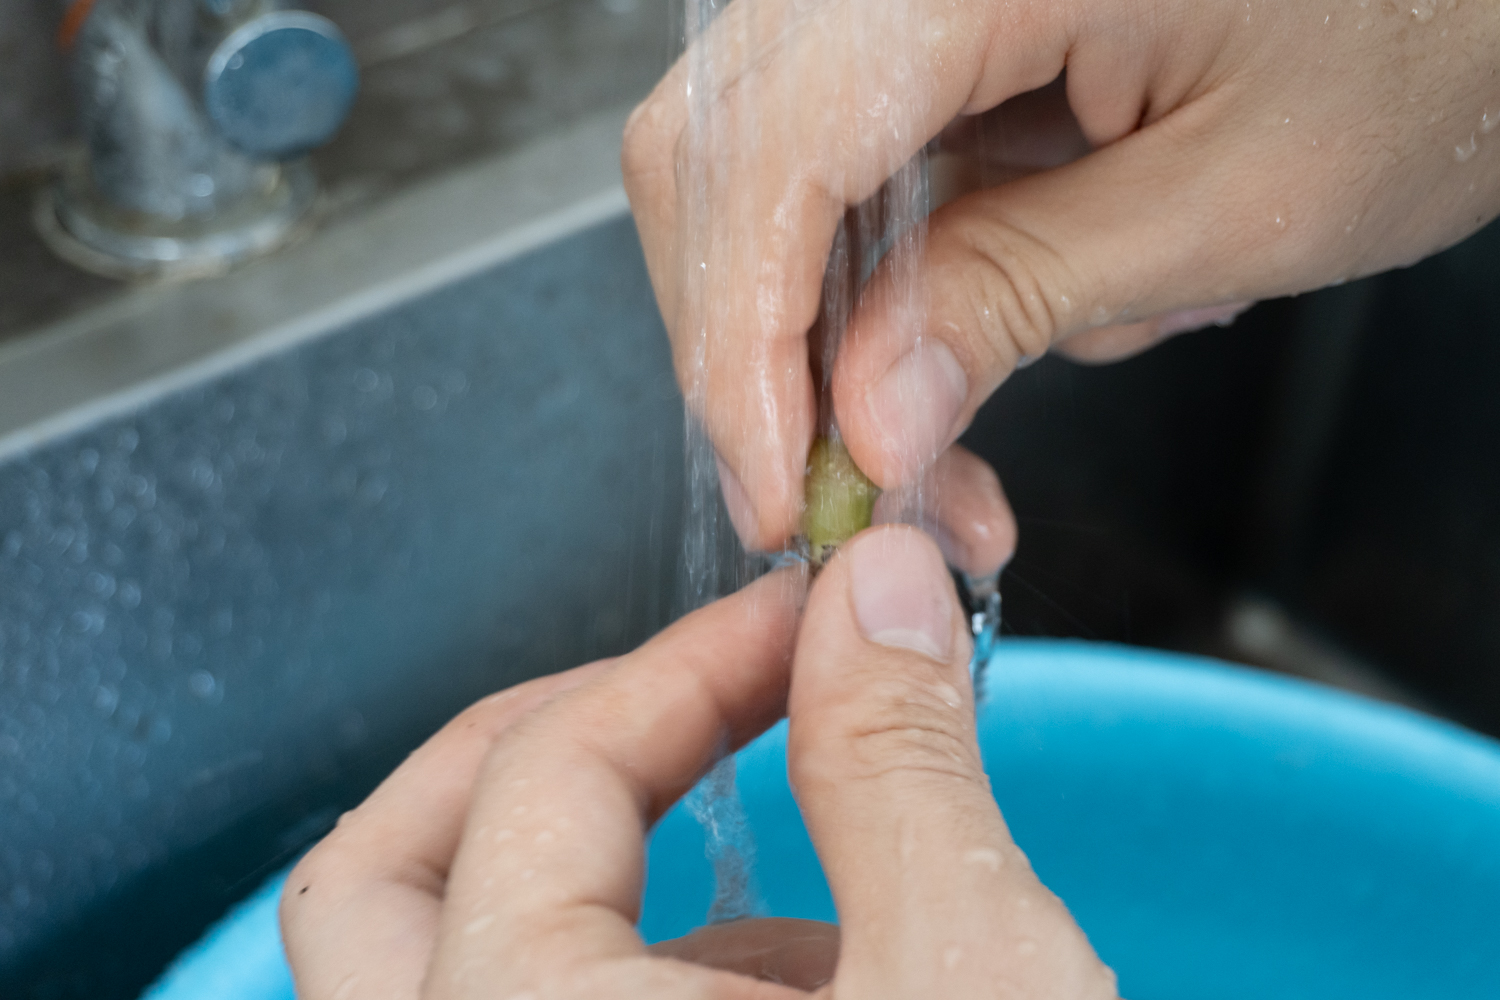
At this point, I was also looking to separate heavily infected seedlings from the ones which still have a chance of survival. In our experience, seedlings with just a couple of red dots are likely to survive after fungicide treatment. Anything larger than that needs to be removed from the healthy batch to prevent the rust from spreading.
And there you have a tray of young lophophora seedlings:
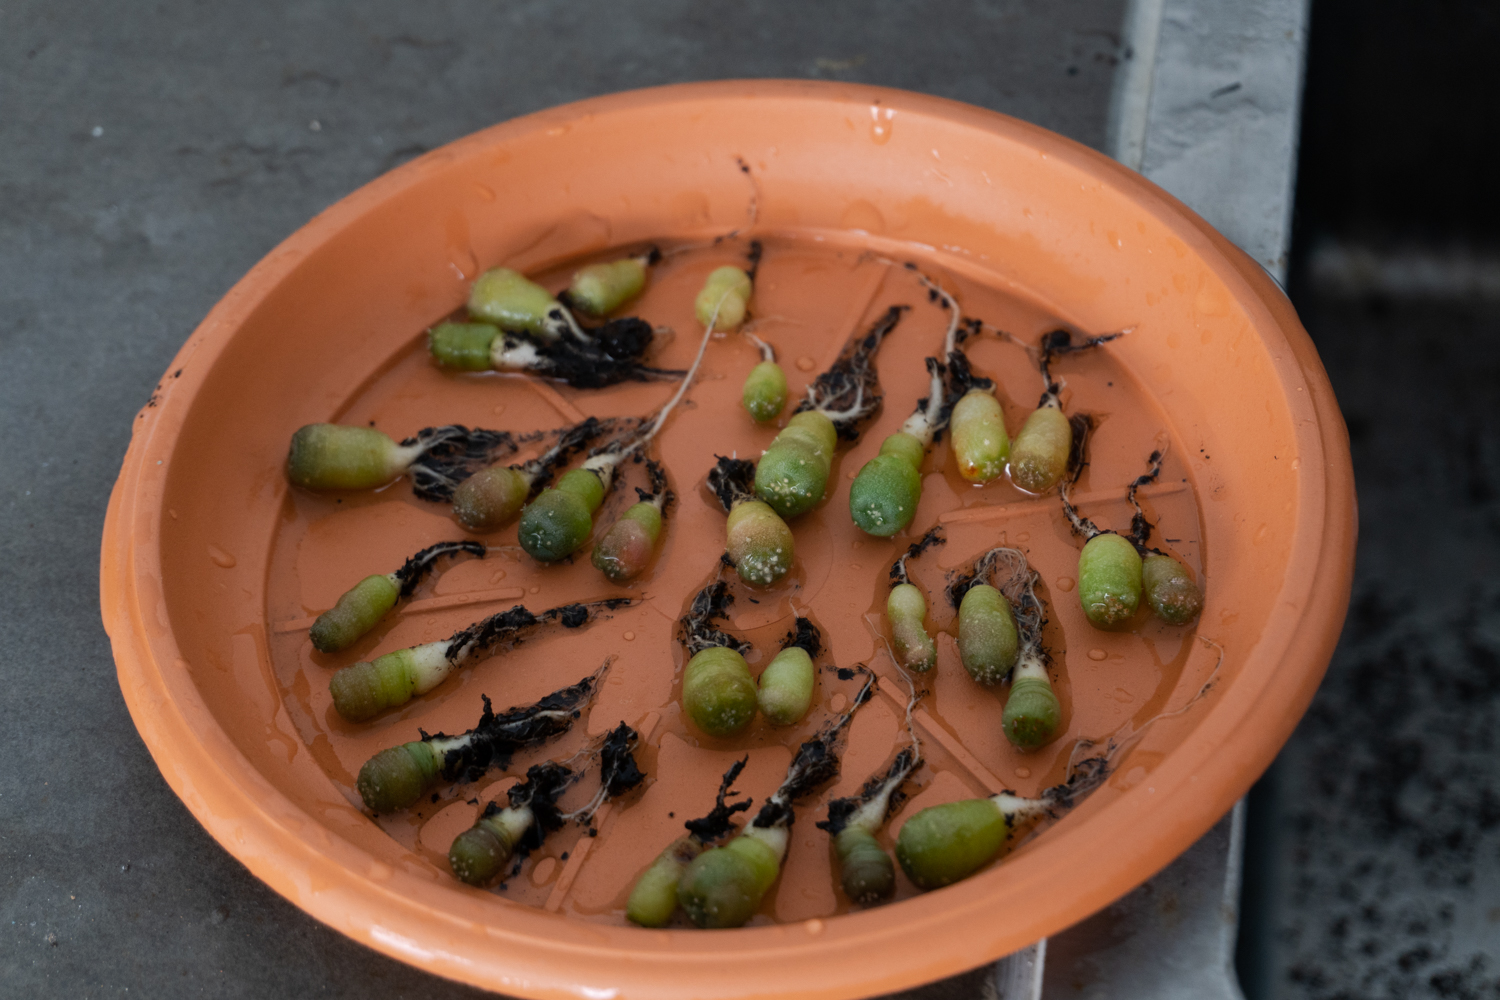
Look at the root growth for some of them! Thick, white, and long roots is a good indication that the seedlings were germinated successfully. Regardless, we’ve still had good survival rates for those with really short roots – and they’re still growing strong at this point in time. 🙂
Repotting soil for Lophophora seedlings
1. Mix of mostly organic media with some inorganics
We used a pre-mix from a local nursery. From what we have observed, it seems to be made up of mainly:
- Fine sand
- Peat moss
- 10% Pumice (1-2mm)
- Shredded coco peat
It drains faster than pure potting soil but slower than the usual inorganic media usually recommended for cacti and succulents (grown in humid tropical environments like ours).
2. Fungicide, pesticide and fertiliser
Apart from the soil mix, we also added some:
- Captan powder to reduce the chance of root rot, since we will be watering immediately after re-potting without giving the roots time to heal.
- Systemic pesticide to kill the bugs that might still be around.
- MAGAMP K (6-40-6-15) slow release fertiliser to supplement the soil with some nutrients.
3. Akadama as top soil
Finally, we add a finishing touch of akadama as the topsoil. Not only does this hide the dirty-looking media, it is also a good indicator how wet the soil media is. For plants that we water top down, having an akadama layer also helps to prevent the soil from floating up and sticking onto our plants.
Protip: Trick to repotting seedlings with long roots
Ideally, we want the roots to go deep into the soil so that they are not squished or curled up at the top (without room to grow). If you have had repotted seedlings in the past, you would know how hard is it to stuff the long roots gently into the soil.
So here’s a tip! All you need is a bunch of rubber bands and a rectangular/square pot.
- Tie the rubber bands across the pot to create little rows (like a crossword puzzle). These bands should be soft so that they will not damage the seedlings during this process.
- Carefully and gently place the seedlings within these rows (be careful not to snap the bands or your seedlings will turn to juice).
- Once the seedlings look secure, start filling up the pot with soil. The roots are guaranteed to be happy this way.
- Carefully remove the bands – and you’re done!
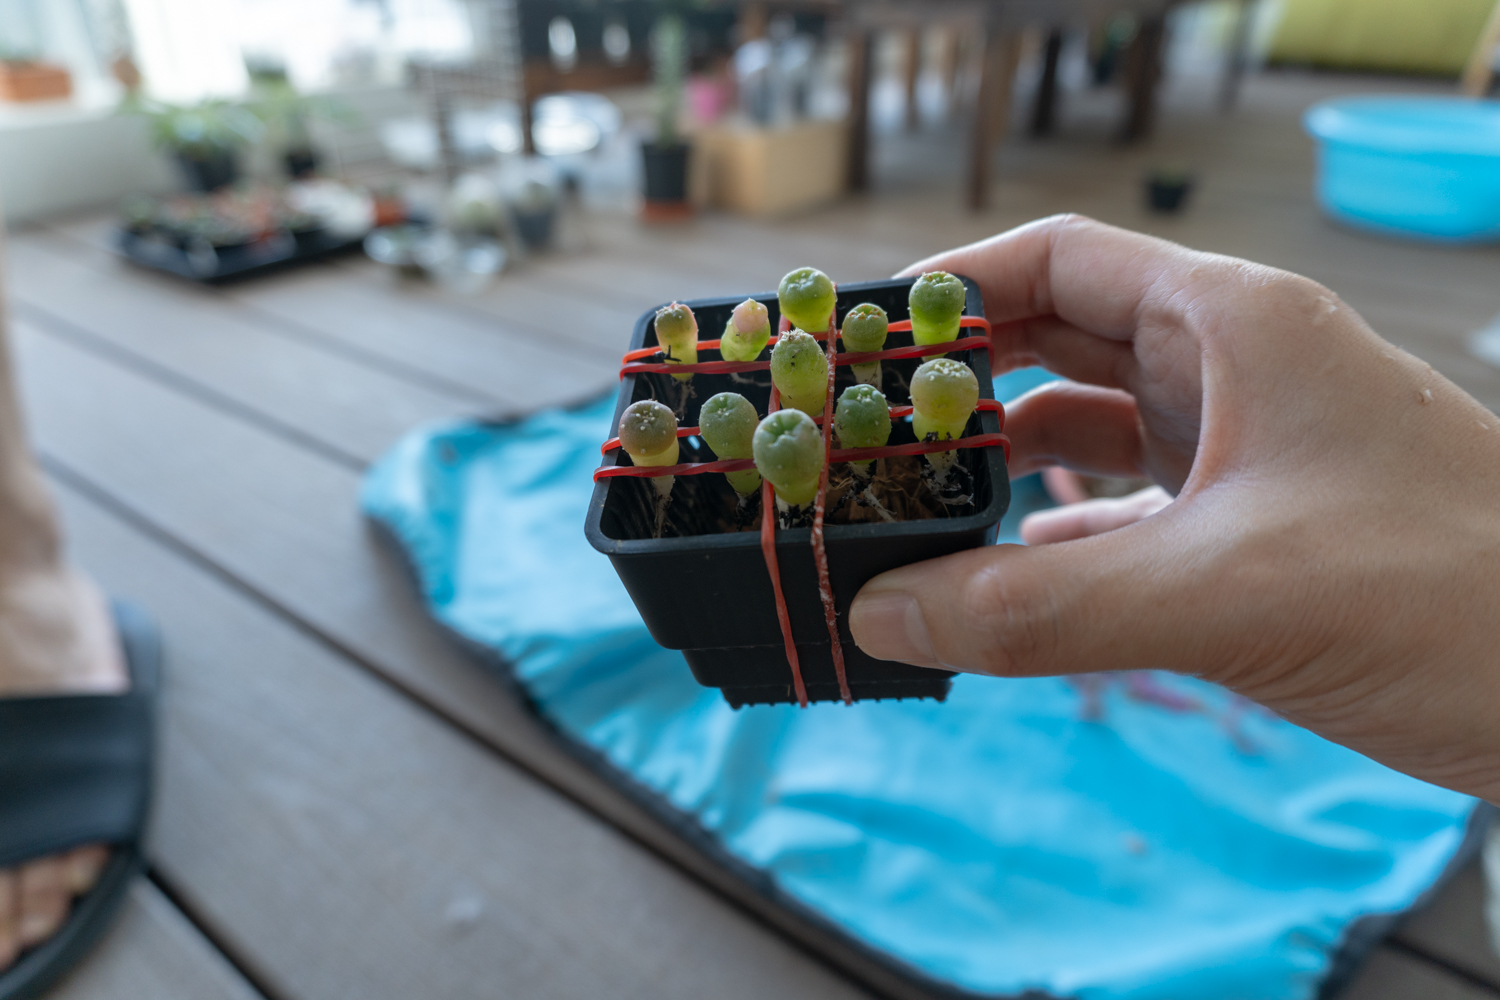
This method is pretty time-consuming so we only did it for the ones with long roots. For the rest of the seedlings, we simply used toothpicks to make some holes in the soil; then stuffed the seedlings in. Wetting the soil slightly before digging the holes also makes it easier to stuff and secure the seedlings into the soil during the process.
Results!
The small container box turned out to have more seedlings than expected – so we ended up using pots with different dimensions and materials. This is not ideal nor best practice as different pots require different watering schedules. Having pots that dry faster (e.g. terracotta pots) would mean that we would need to give extra attention to them.
Not so easy when we have a few hundred pots to water during each cycle…
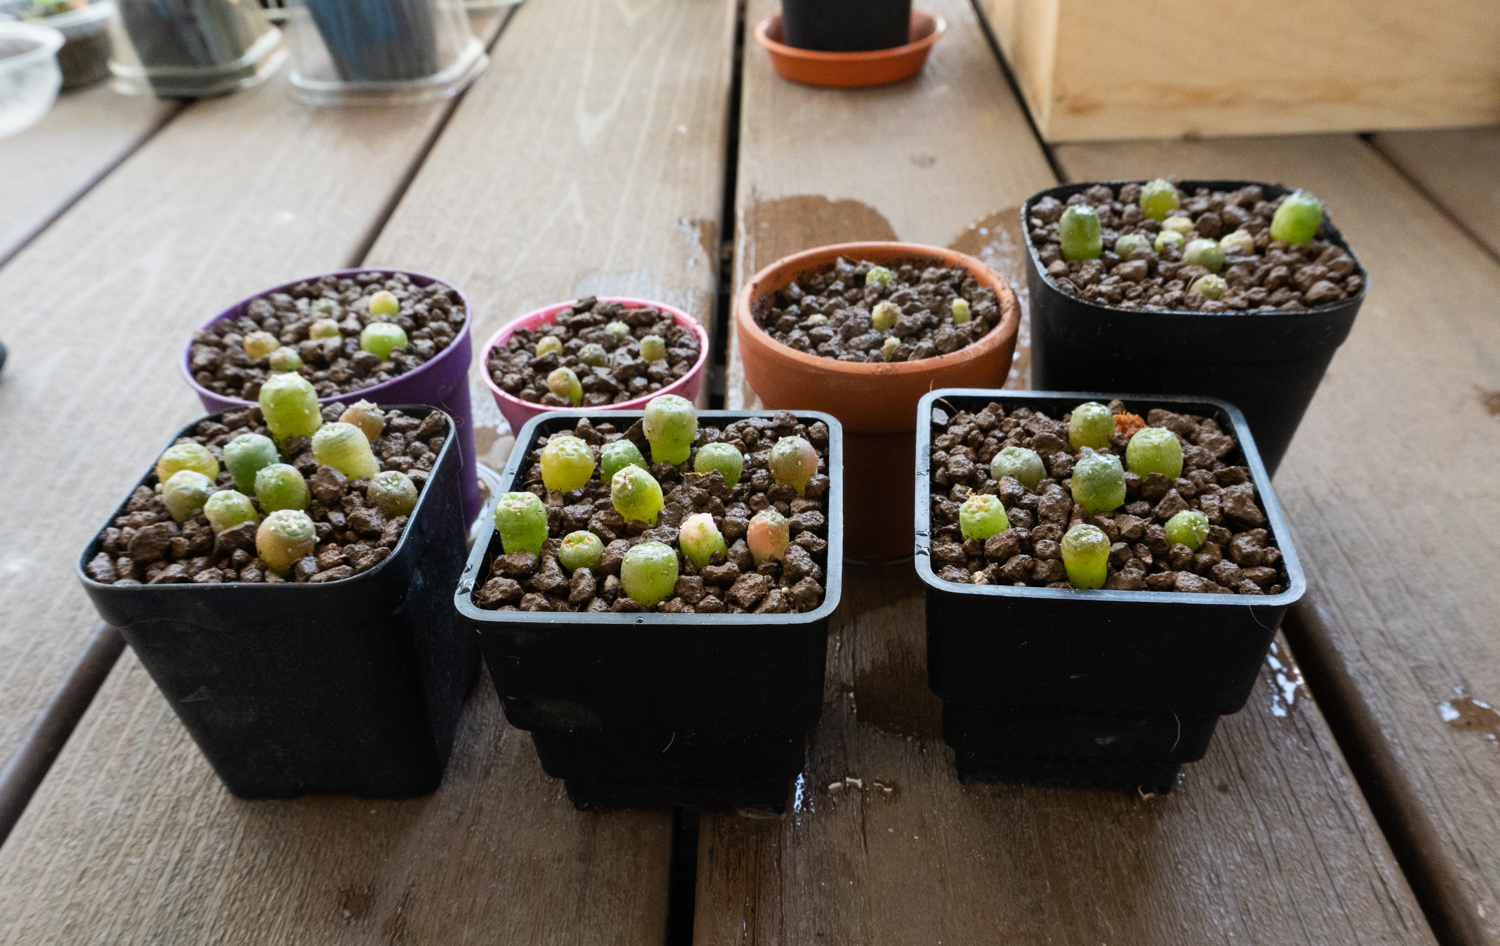
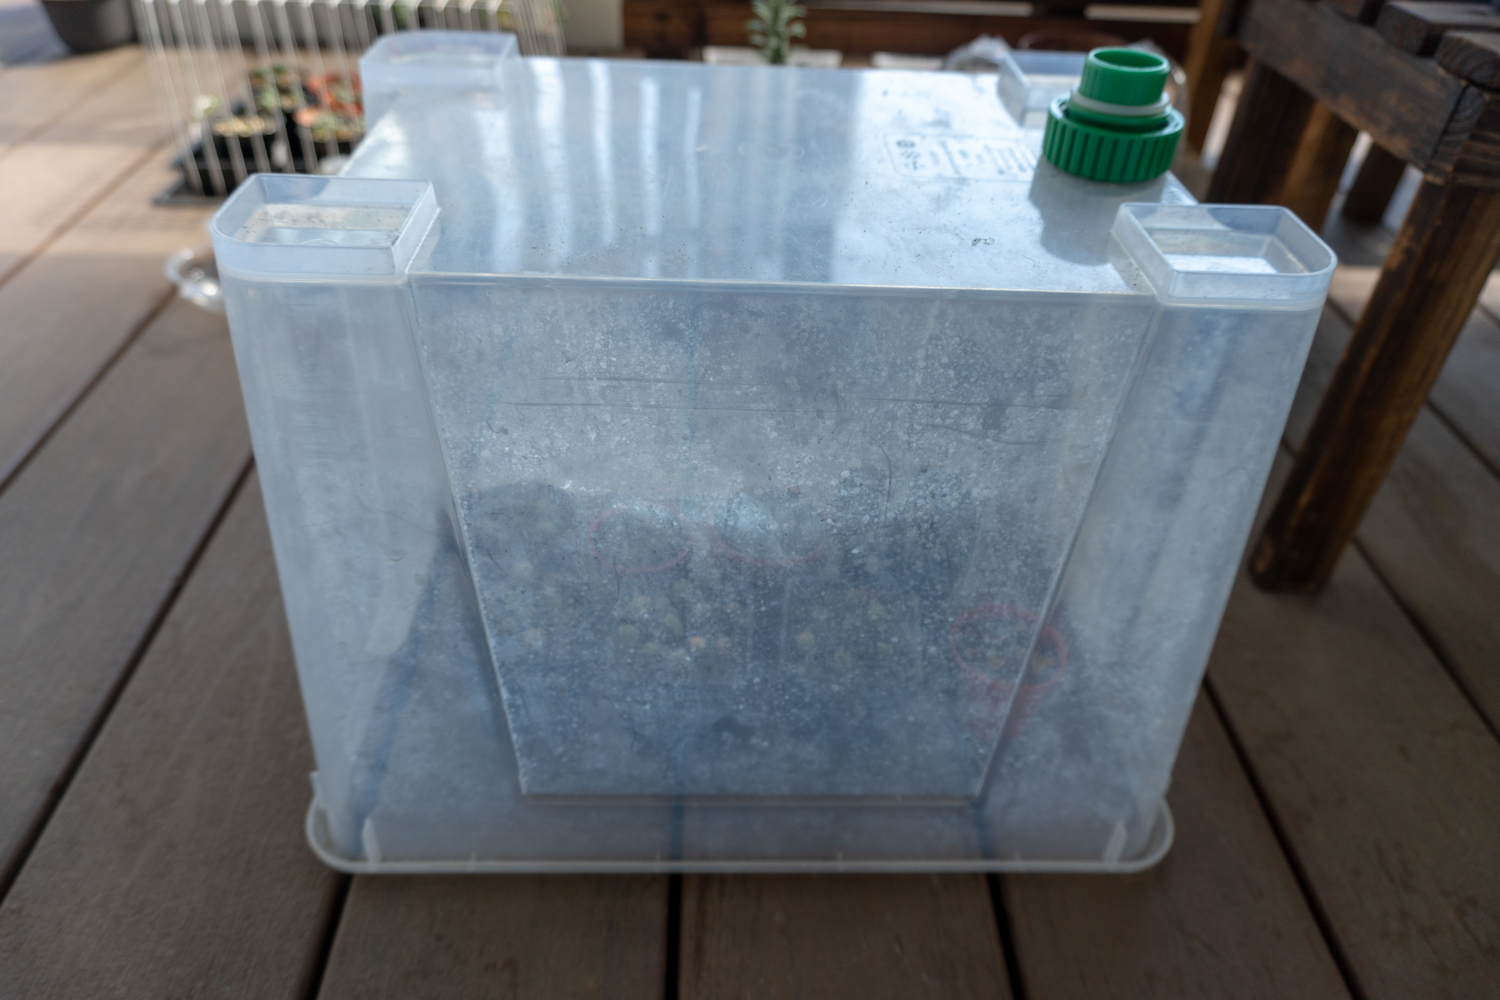
If you’re interested to learn how to germinate and grow lophophora (peyote) from seed, check out our post on how we did it!
[1] http://ipm.uconn.edu/documents/raw2/html/409.php?aid=409
[2] https://plant-pest-advisory.rutgers.edu/plant-plagues-the-rusts-diseases/

2 thoughts on “Saving Lophophora seedlings from fungus and rust”