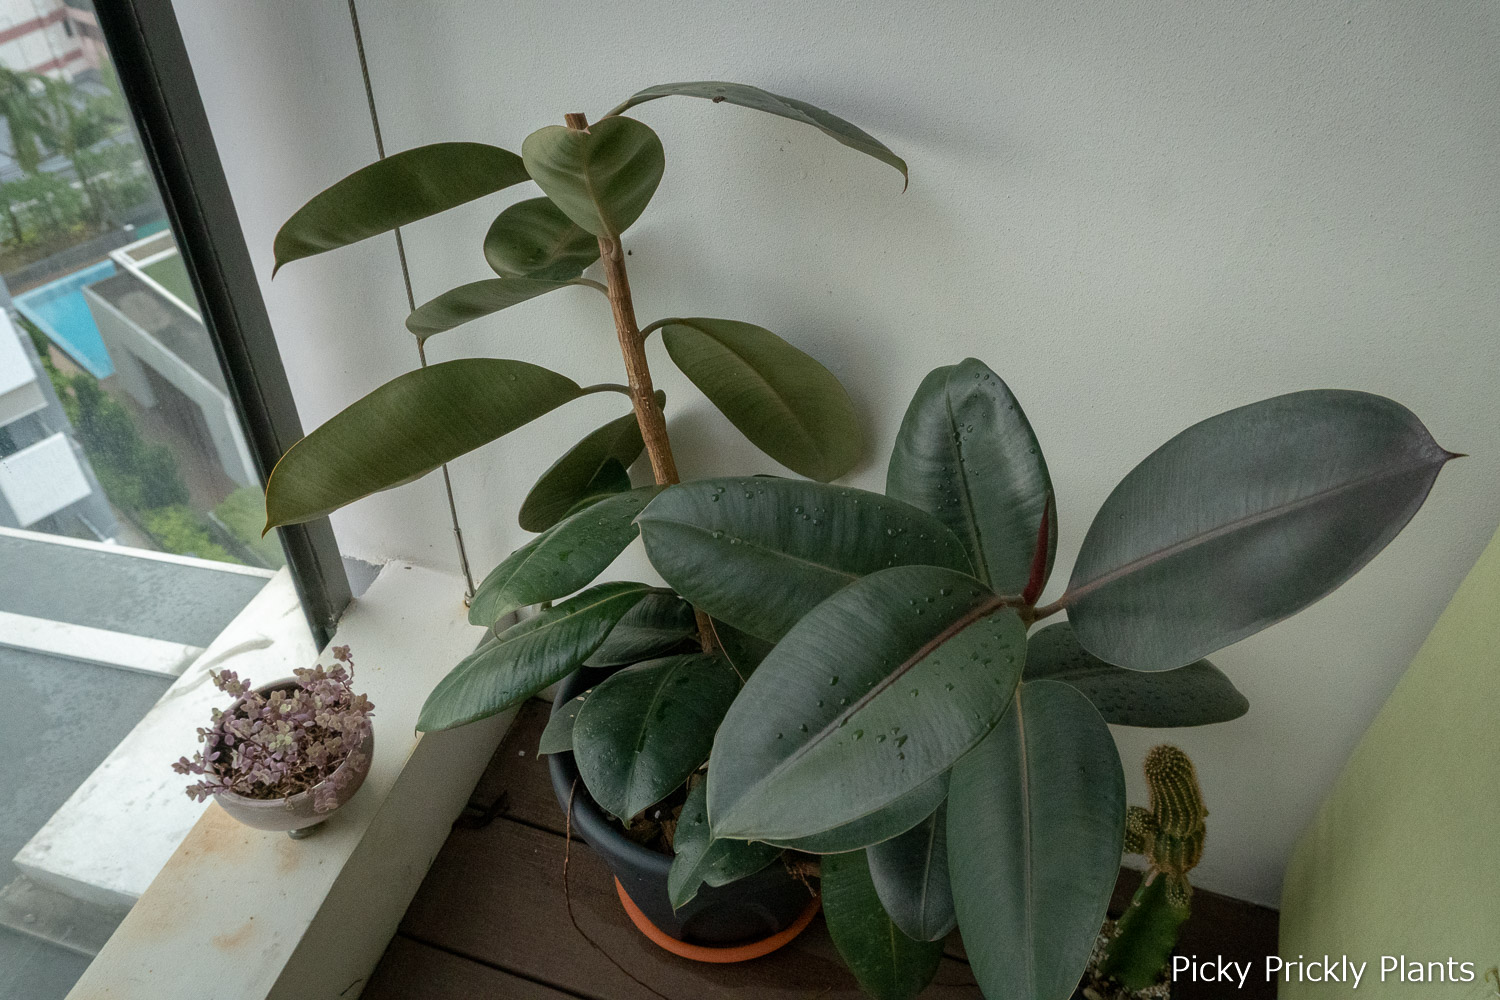
Today, we will be sharing how we propagated our ficus elastica (rubber plant). We first purchased this plant in April of 2019. We chucked it in a corner of our balcony because it grew too big. Over there, it gets pretty much full sun for five hours a day. Here is a photo of it when we received it.

Fast-forward to 2020
The ficus grew like mad even though we didn’t fertilize it and only water it once a week (or when we had extras after we watered our succulents 🤫). We re-potted it into a 15L pot and watched it grow even more. Sadly, we don’t have a photo of it at peak height since we decided to cut it back for propagation.
Chopping it down
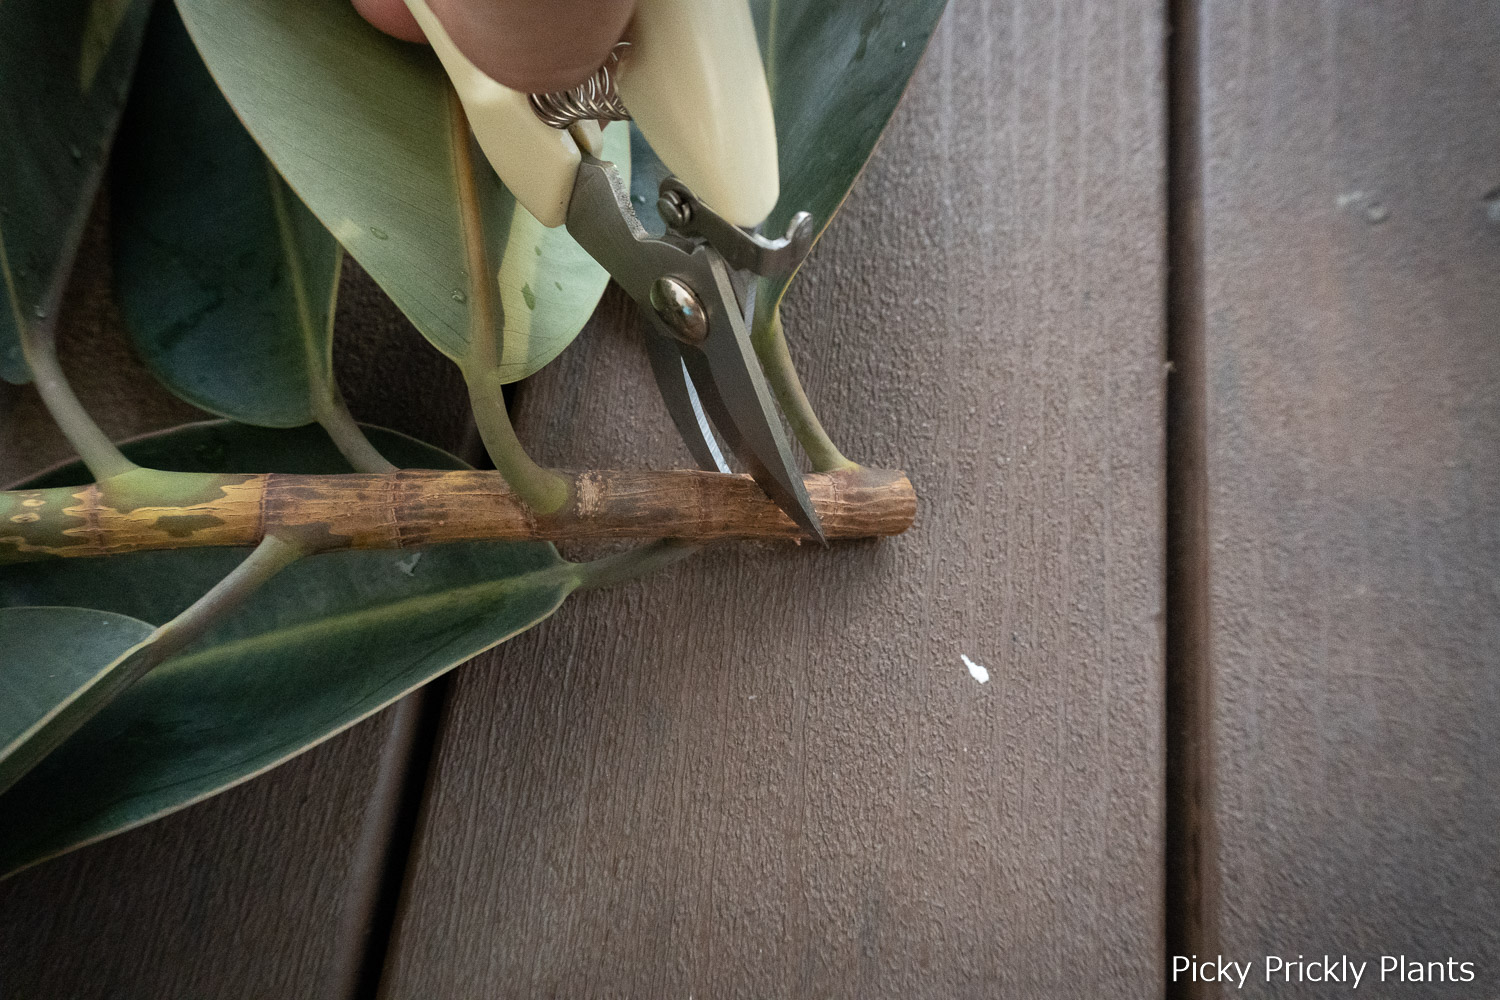
We used a sharp gardening scissors to make a clean cut along the stem. It was quite difficult as the stem has already hardened with a layer of bark. Once the sharp edge went into the plant, a thick white sap flowed out. This milky sap is mildy poisonous to animals and humans so be sure to use some water to wash it off your skin and tools.
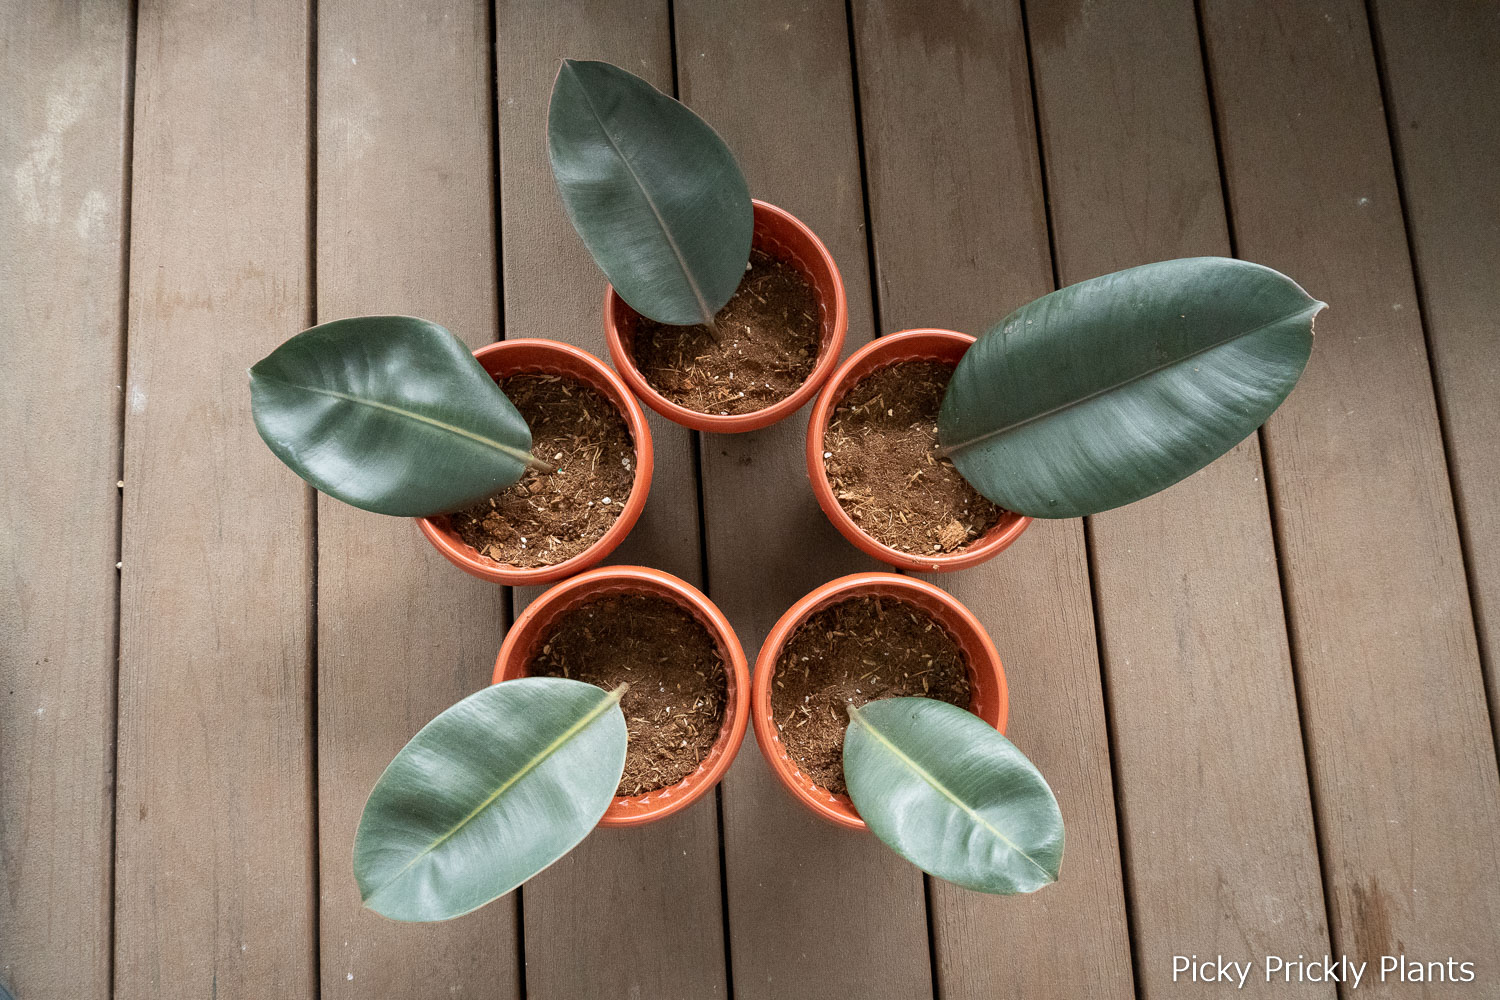
Preparing the plant for propagation
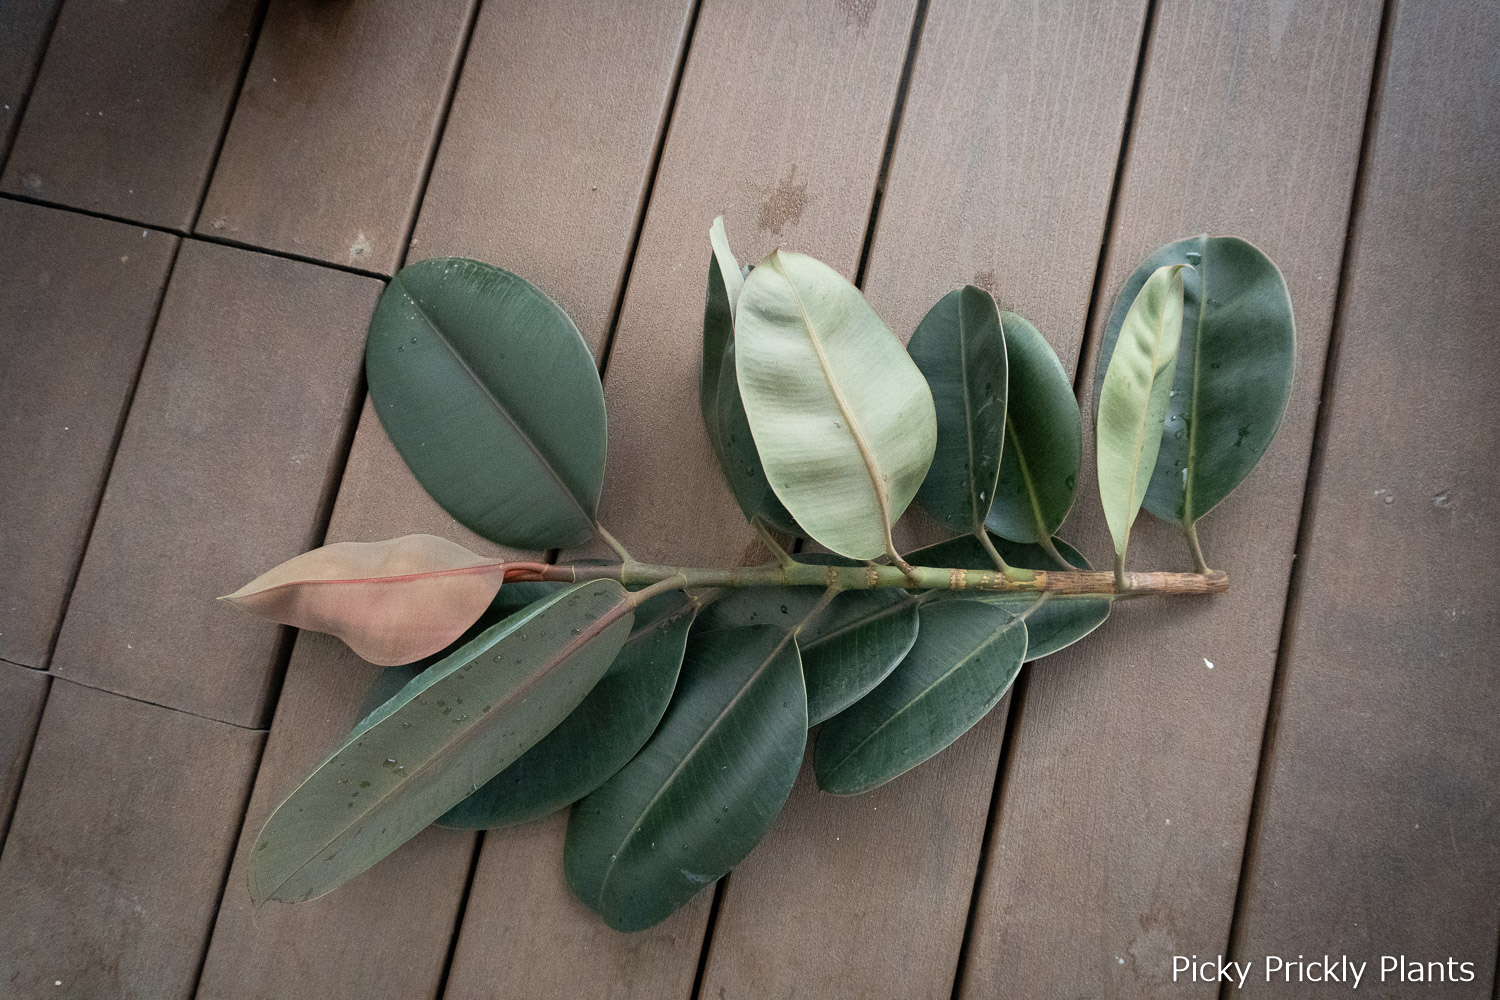
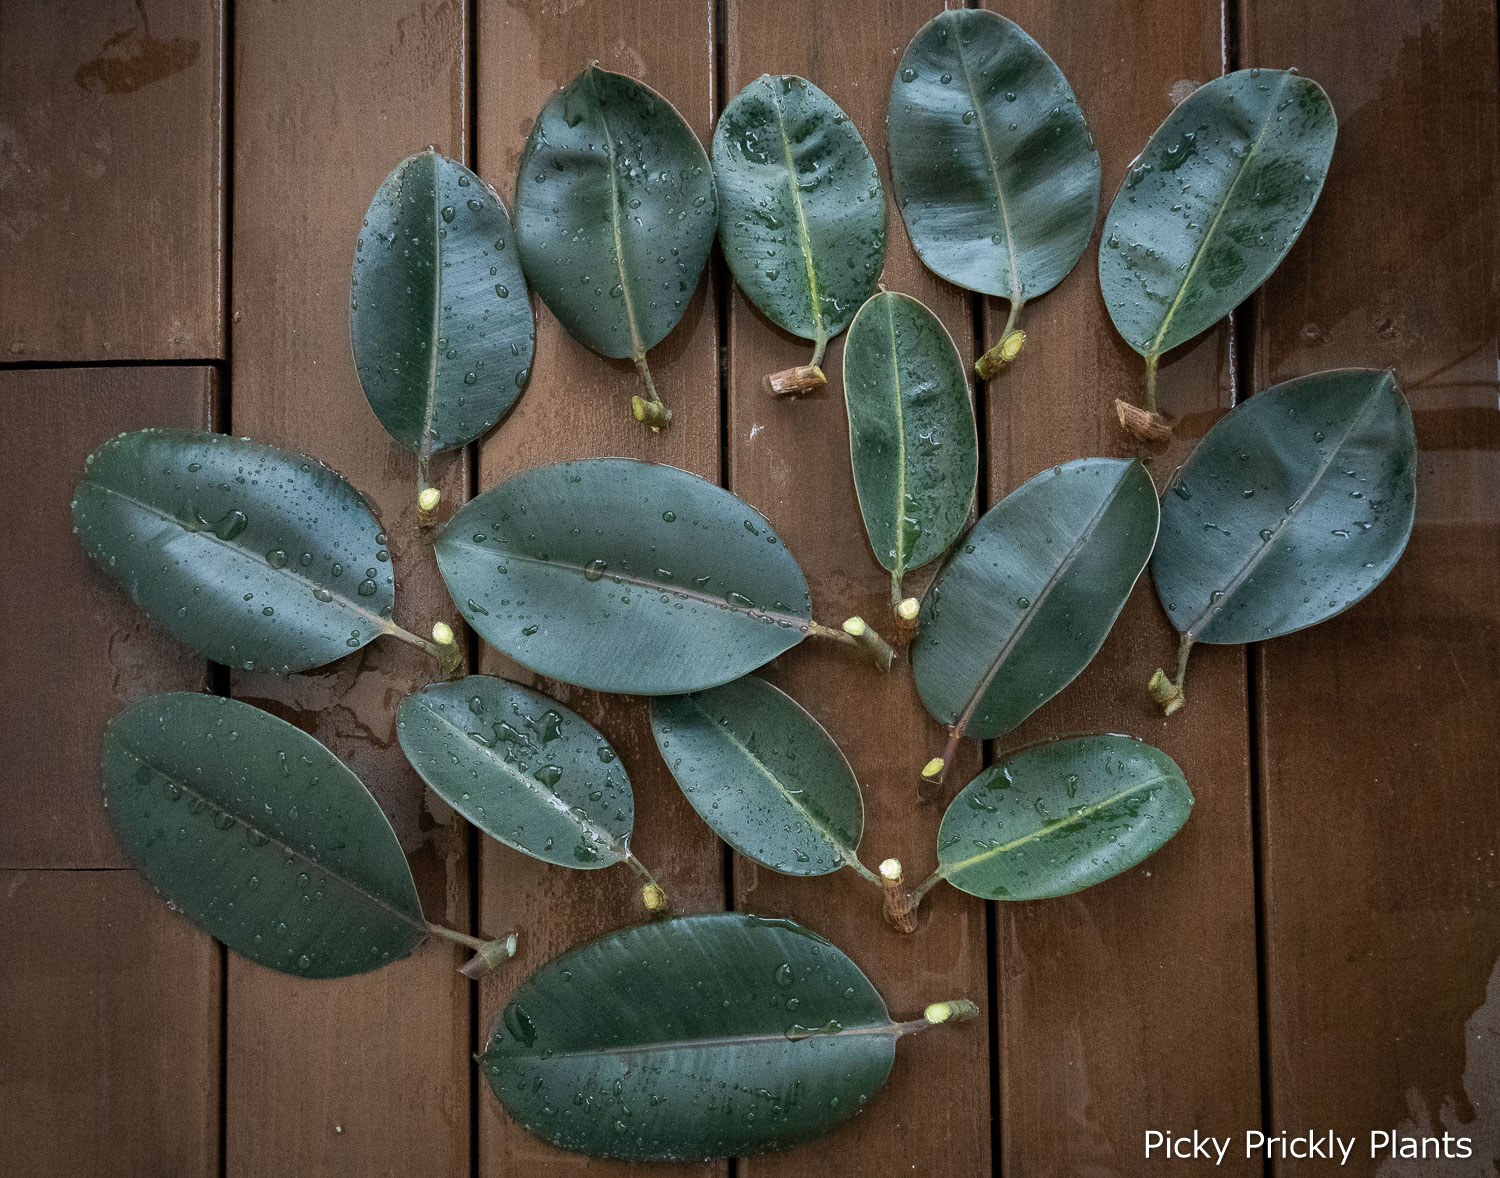
Every leaf you see in the photo above can be used to grow an entirely new plant. However, you can’t just use the leaves alone. You have to cut a section of the stem as that is where the roots and new shoots will grow. See the photos below for a better explanation. Cut at a 45 degrees angle so that the surface area where water can be absorbed can be maximized. We ended up with 14 potential future rubber plants 😱.
The rooting game
The hardest part when propagating a plant is whether it root or not. We tested two methods to root these leaf cuttings.
Soil
Firstly, we prepared some peat moss with some perlite. Next, we stuffed the cutting into a 6cm wide pot. We should have used a larger pot as over the next few days, the pot kept tipping over and spilling soil all over.
Water
Water was clearly a much cleaner process. We found a few empty containers that could fit and filled them half full with water. Next, we lined the cuttings nicely and made sure that the stem was submerged in water. The only thing to do is to change the water weekly to introduce fresh oxygen.

And finally after three weeks
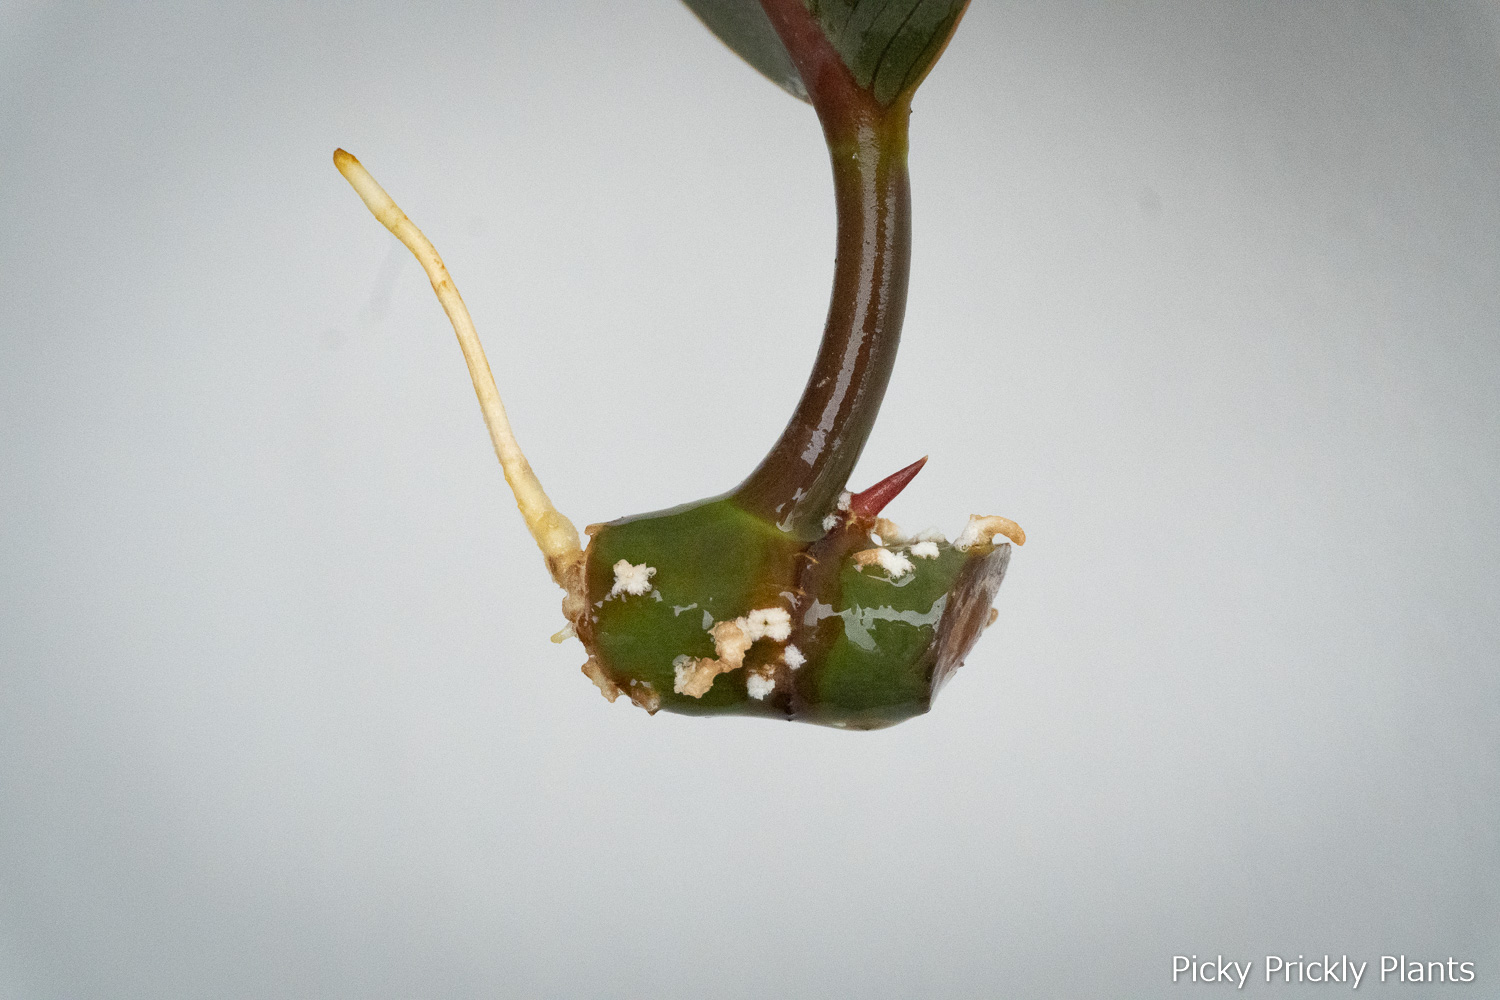
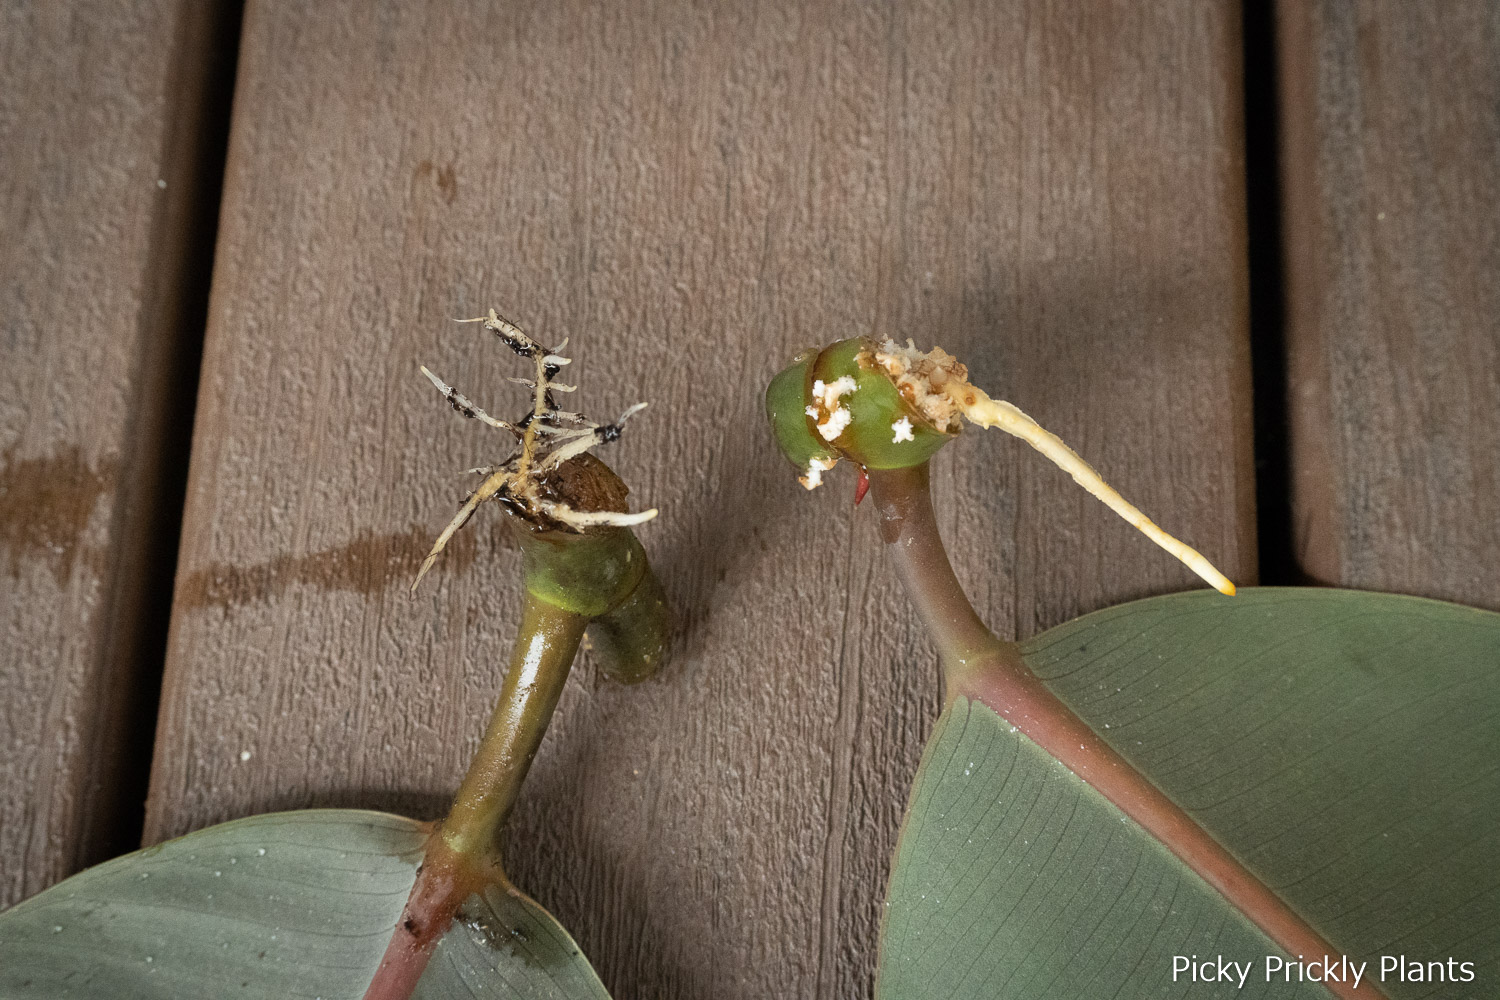
Some of the cuttings have a white and hard crusty stuff forming where roots are supposed to grow from. We are not too sure what those are but we suspect they are either roots that are about to grow or hardened sap. Others actually have familiar looking aerial roots that we usually see from the mother plant. Surprisingly, the one we propagated in soil actually looked much healthier with a branching root structure. From the first photo, you can also see the start of a new shoot growing.
Potting the cuttings into their new home
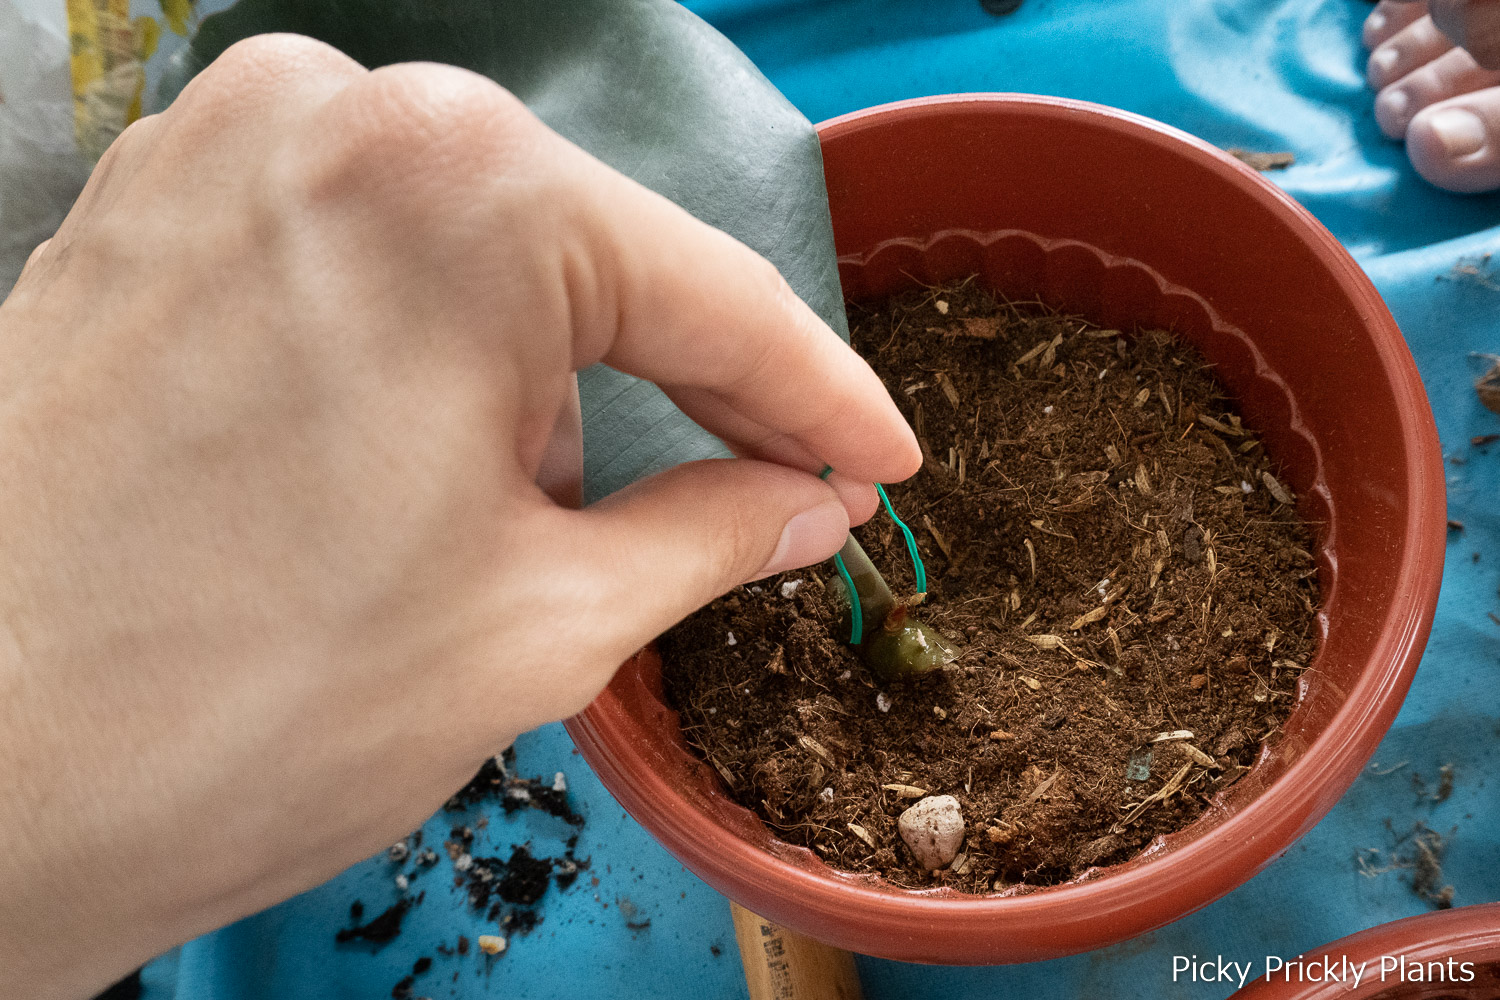
After seeing the difference between soil and water grown roots, we decided to pot some of the healthiest cuttings. We mixed a fast draining media using peat moss, unburnt rice husks and some leftover gritty mix. One thing to take note of is to orientate the cutting so that the shoot points upright. This gives your cutting the best chances to succeed.
A trick to keep the leaf in place is to use a wire or paperclip to secure the entire cutting into the soil. We used twist tie that we bought from a DIY shop and made a ‘U’ shape.
We are very happy with what we learnt from this experience. Hope you find this interesting and learnt something from it too. That’s all for today! Next time! 😬