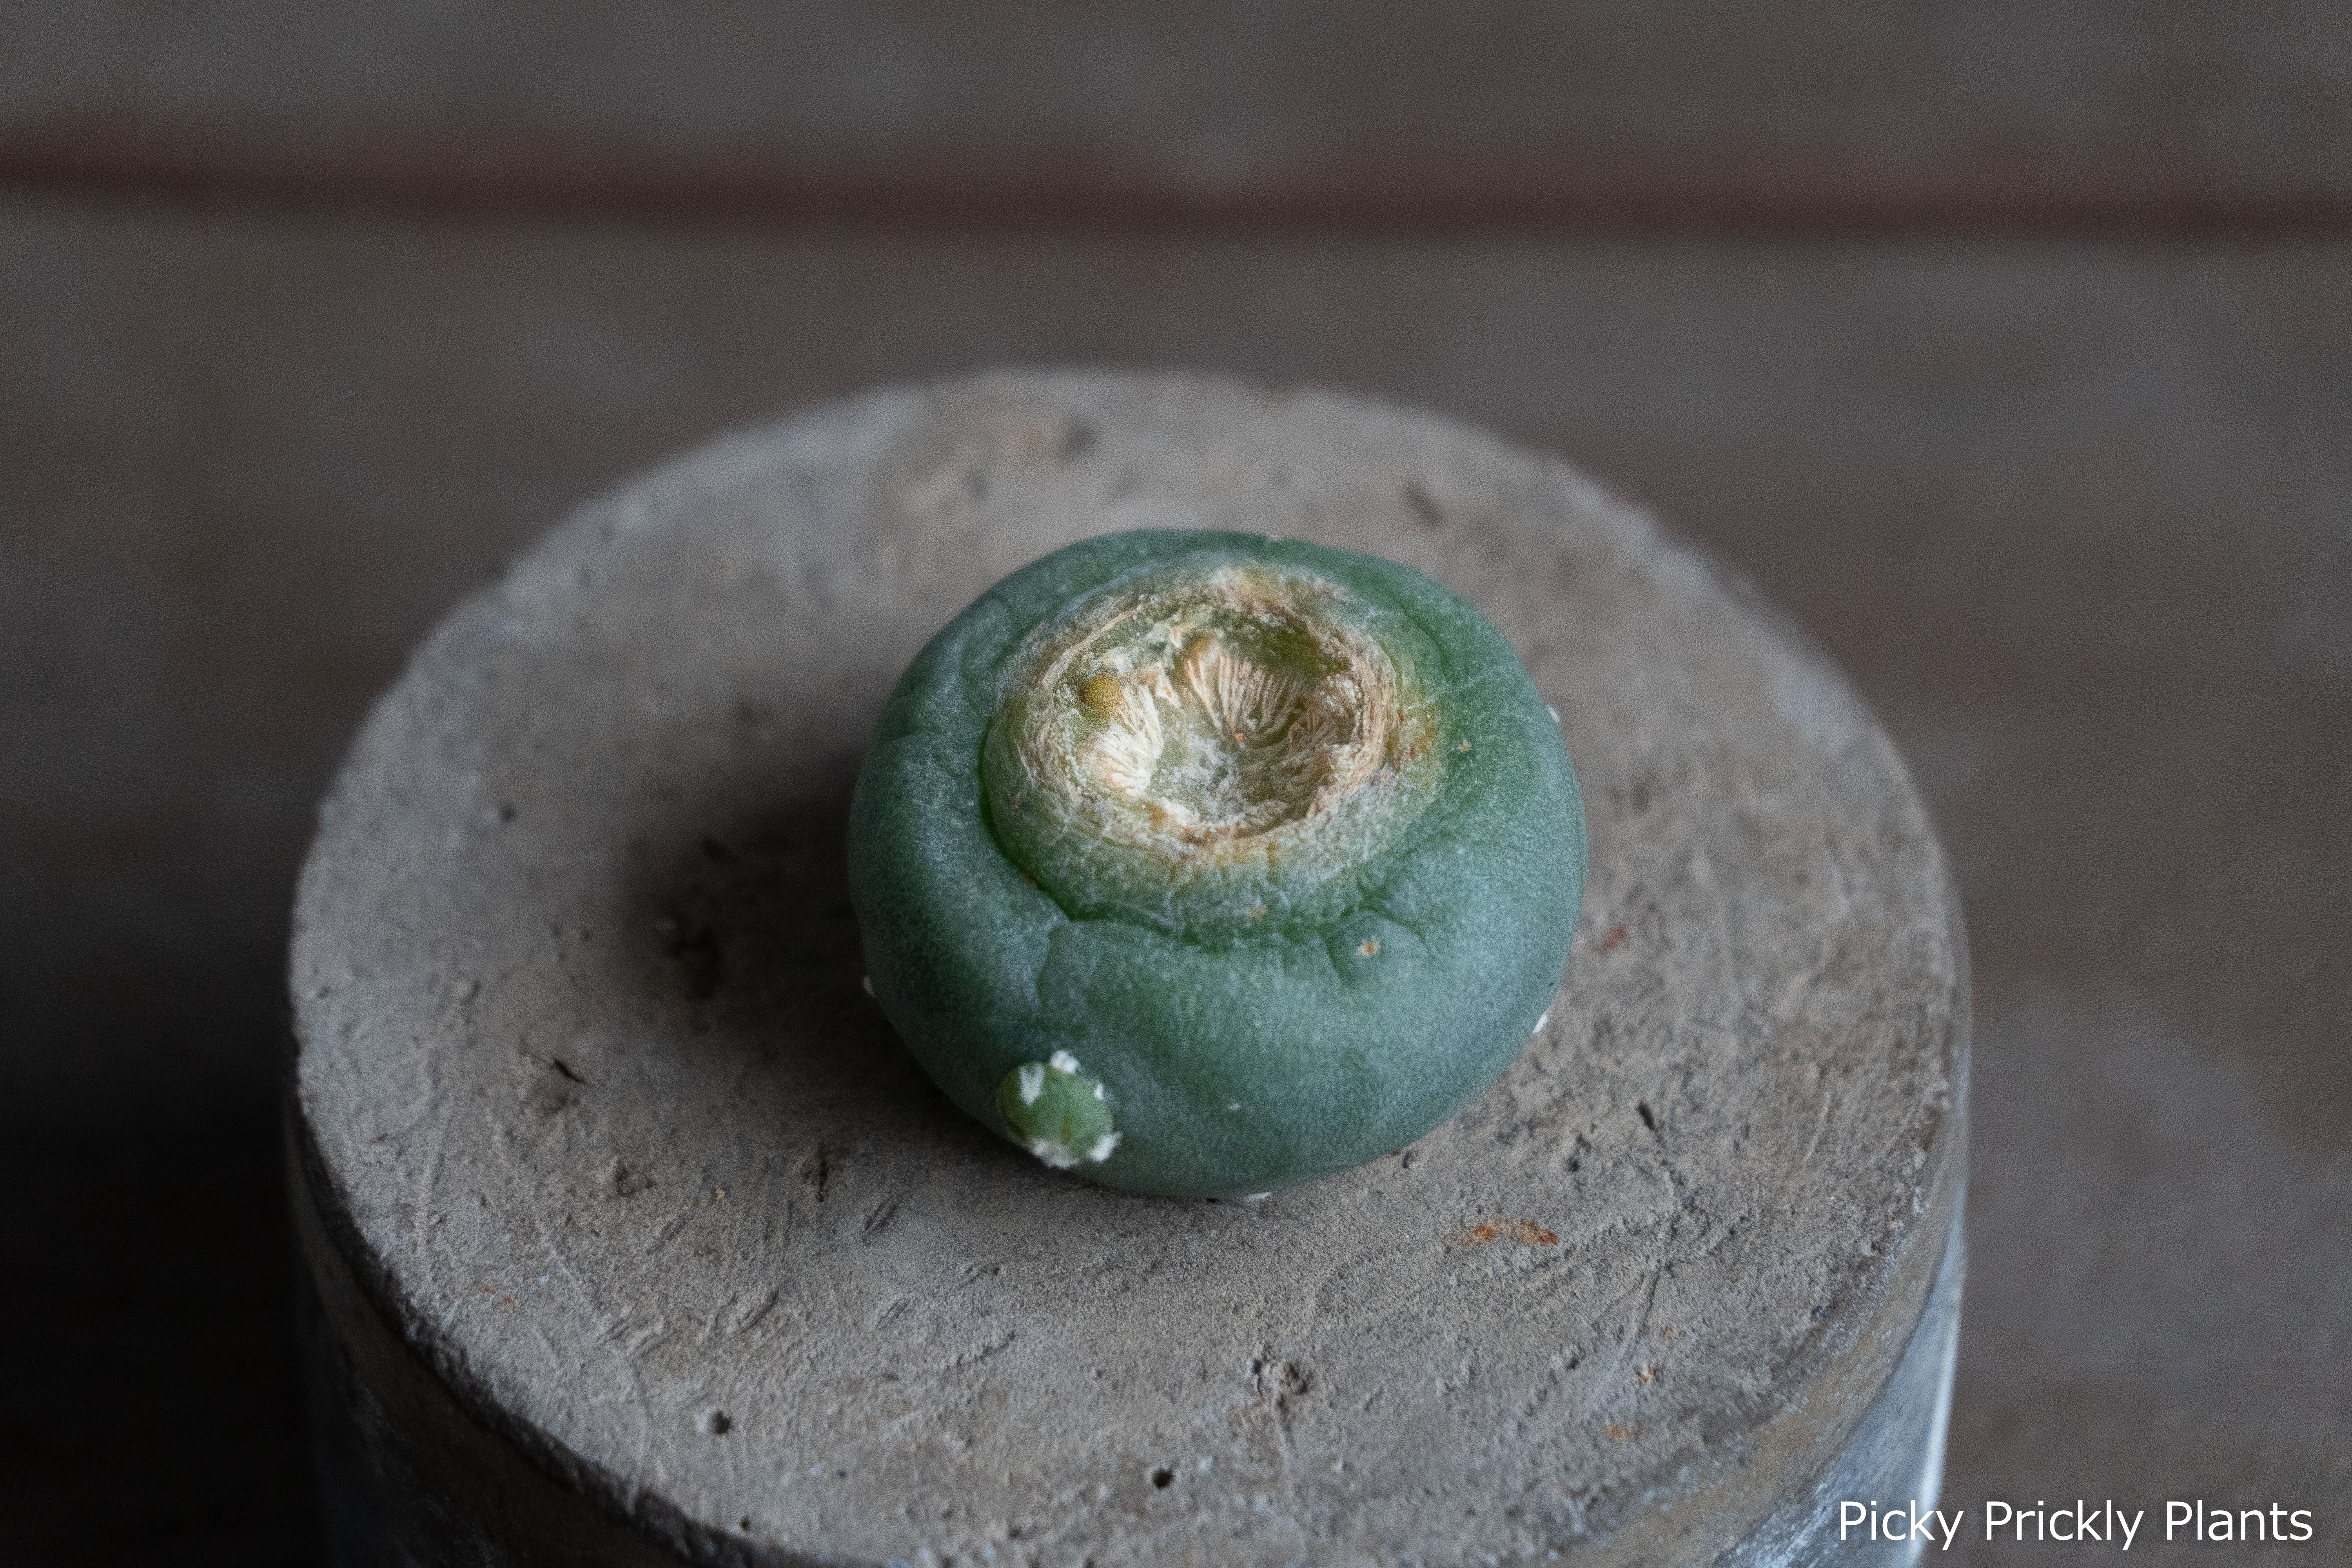
Our degraft from part one of this series finally rooted! It took slightly more than a month. There are not many roots but you can see a small root nub. This is a sign for us to finally pot it.
What we realised is that it is important to flip the plant around after the wound has completely dried. From our experience with rooting a columnar cactus, we place the plant lying on its side and the roots grew on the underside of the plant. This shows that the roots naturally grow downwards from any part of the plant and not exclusively from the cut. The way the cutting is placed is also as important as it determines where the new roots will pop out from.
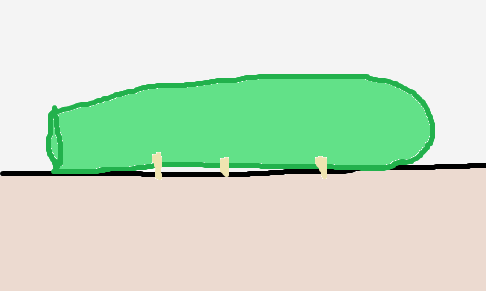
Flipping the plant wound side down helps to create a dark environment where we want the roots to grow from. Gravity also plays a part in drawing the plant hormones down to trigger root growth. If you are interested, you can read more about phototropism and geotropism.
Potting the degraft
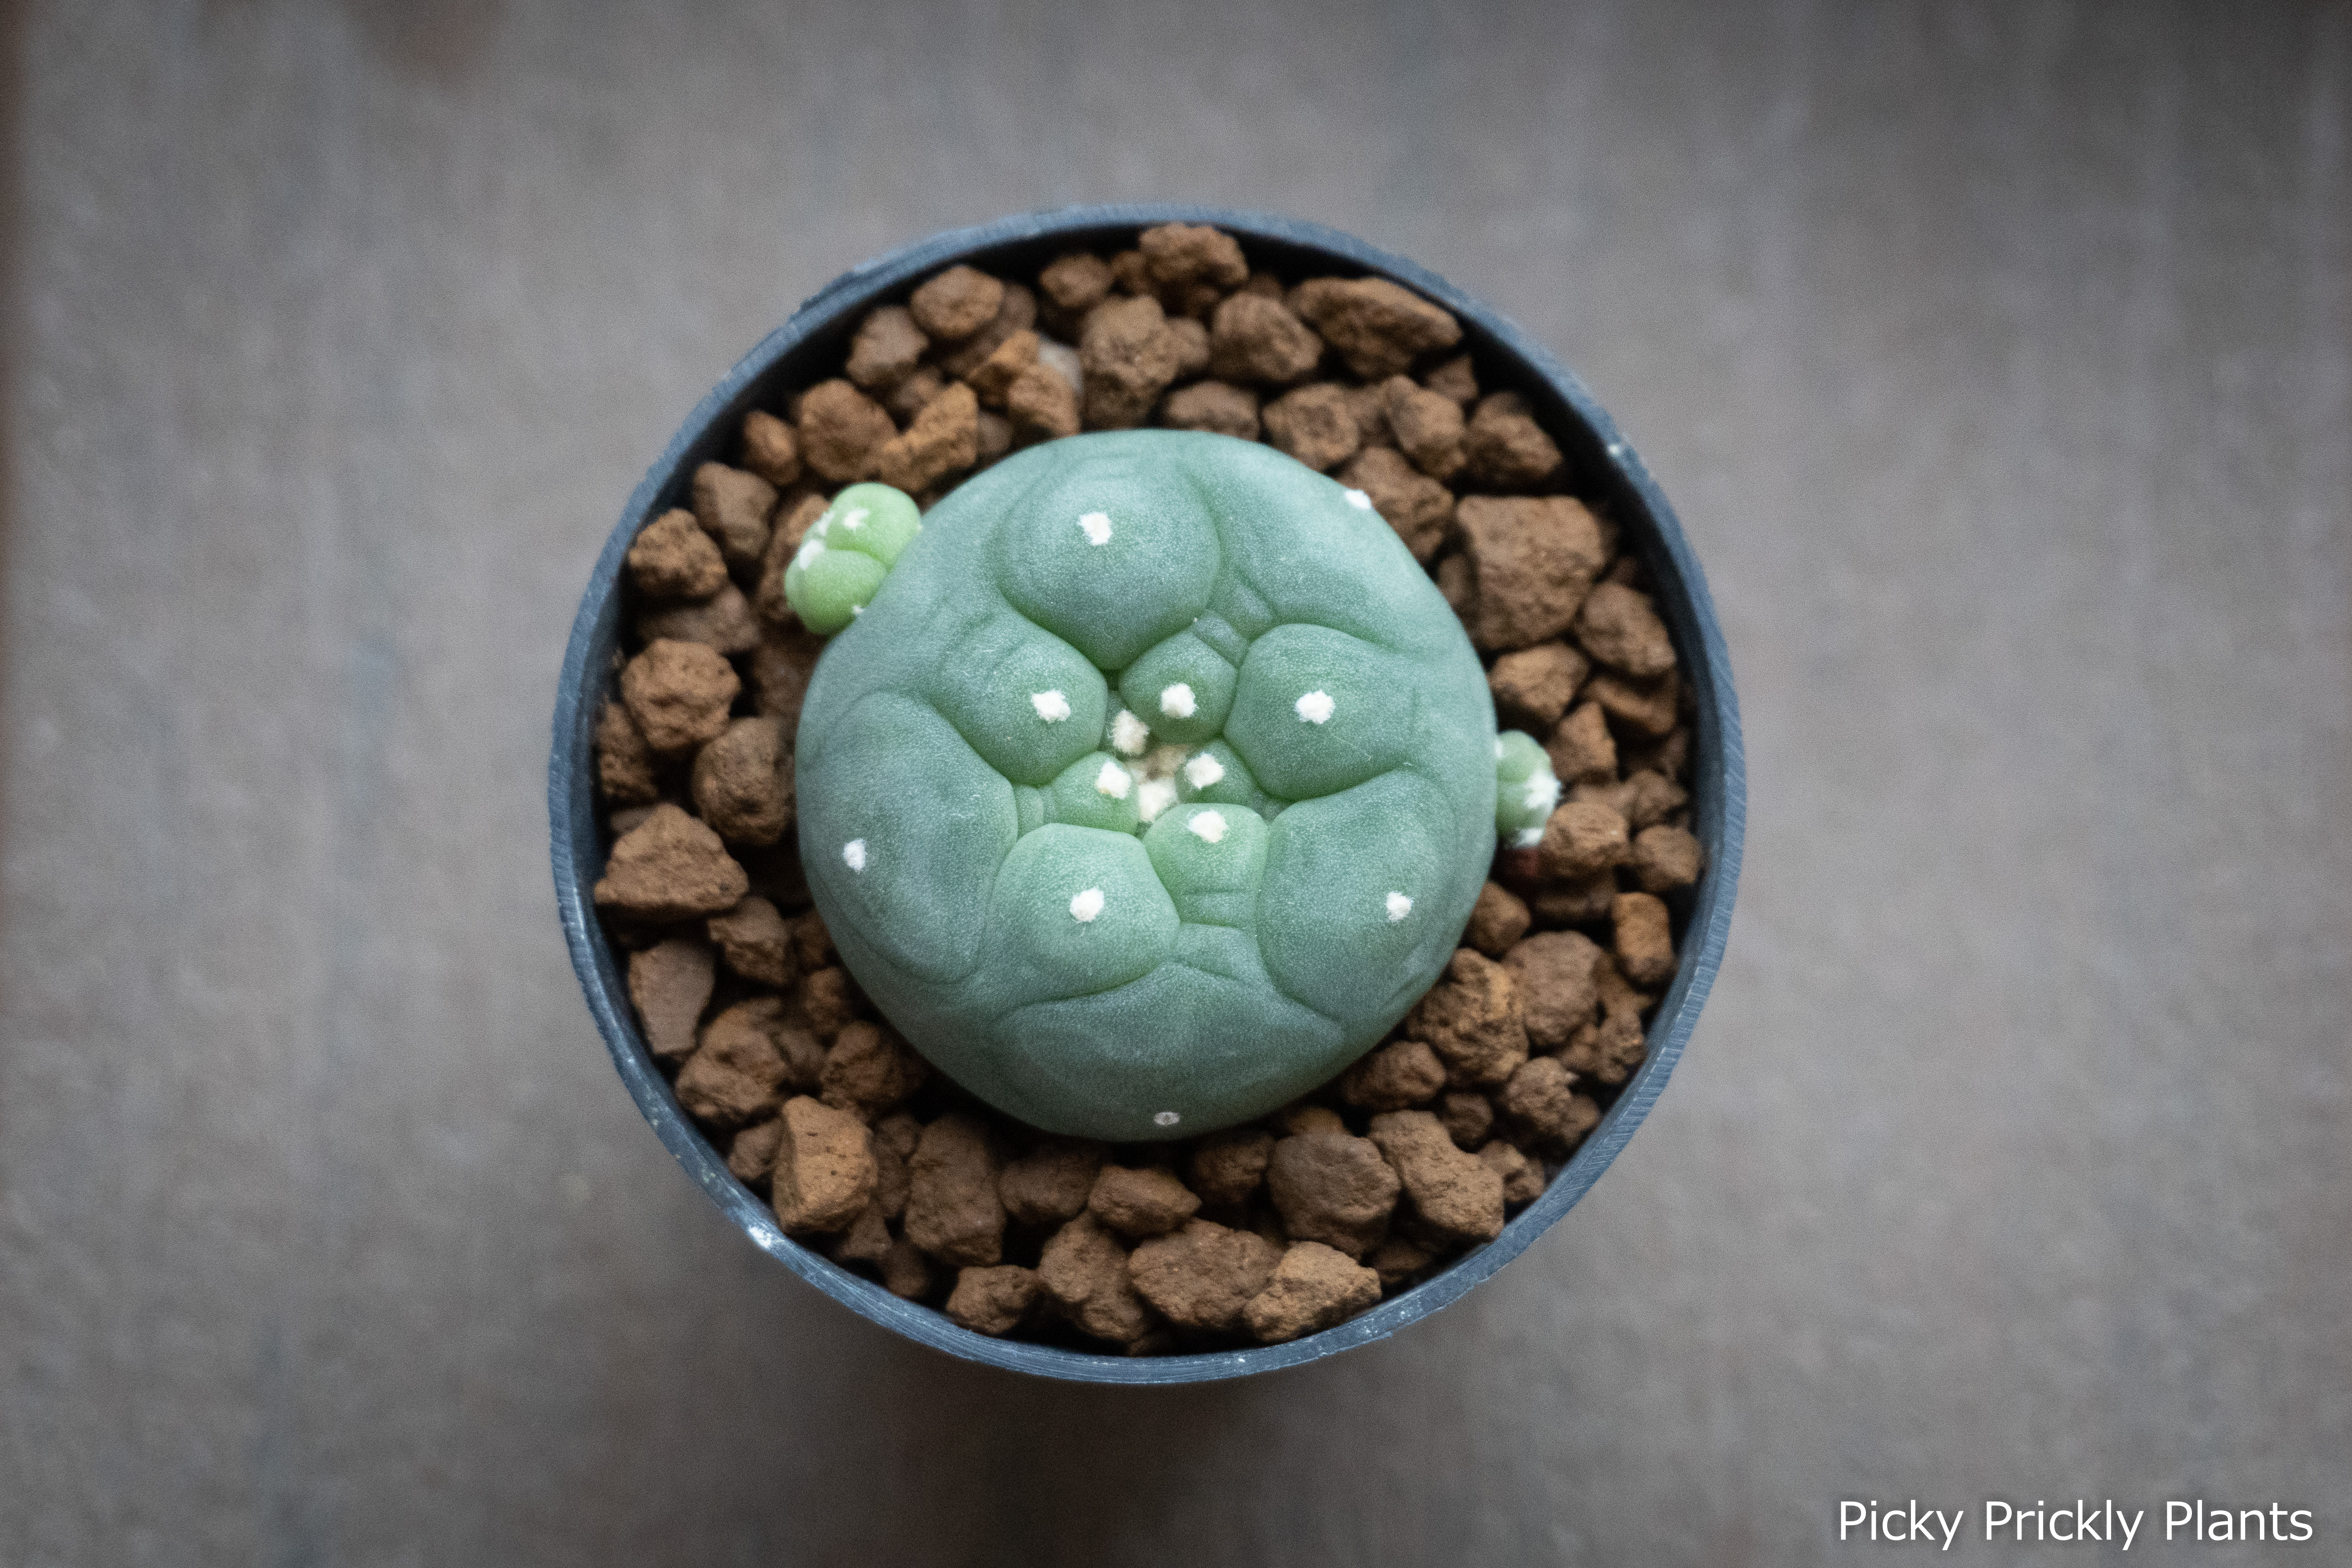
Anyway, enough of the scientific stuff. We potted the lophophora in a gritty mix mainly made up of white pumice, lava rocks and akadama. Since we are still a little afraid of the degraft rotting, we chose a small pot so that it holds less water. As usual, we added a top later of akadama as a decoration and moisture indicator.
Why stop at one
After having this successful degraft, we were becoming more confident in performing the surgery. This time, we chose two more lophophoras grafted on pereskiopsis and one gymnocalycium horstii that is on a harrisia jusbertii.
Lophophora on Pereskiopsis
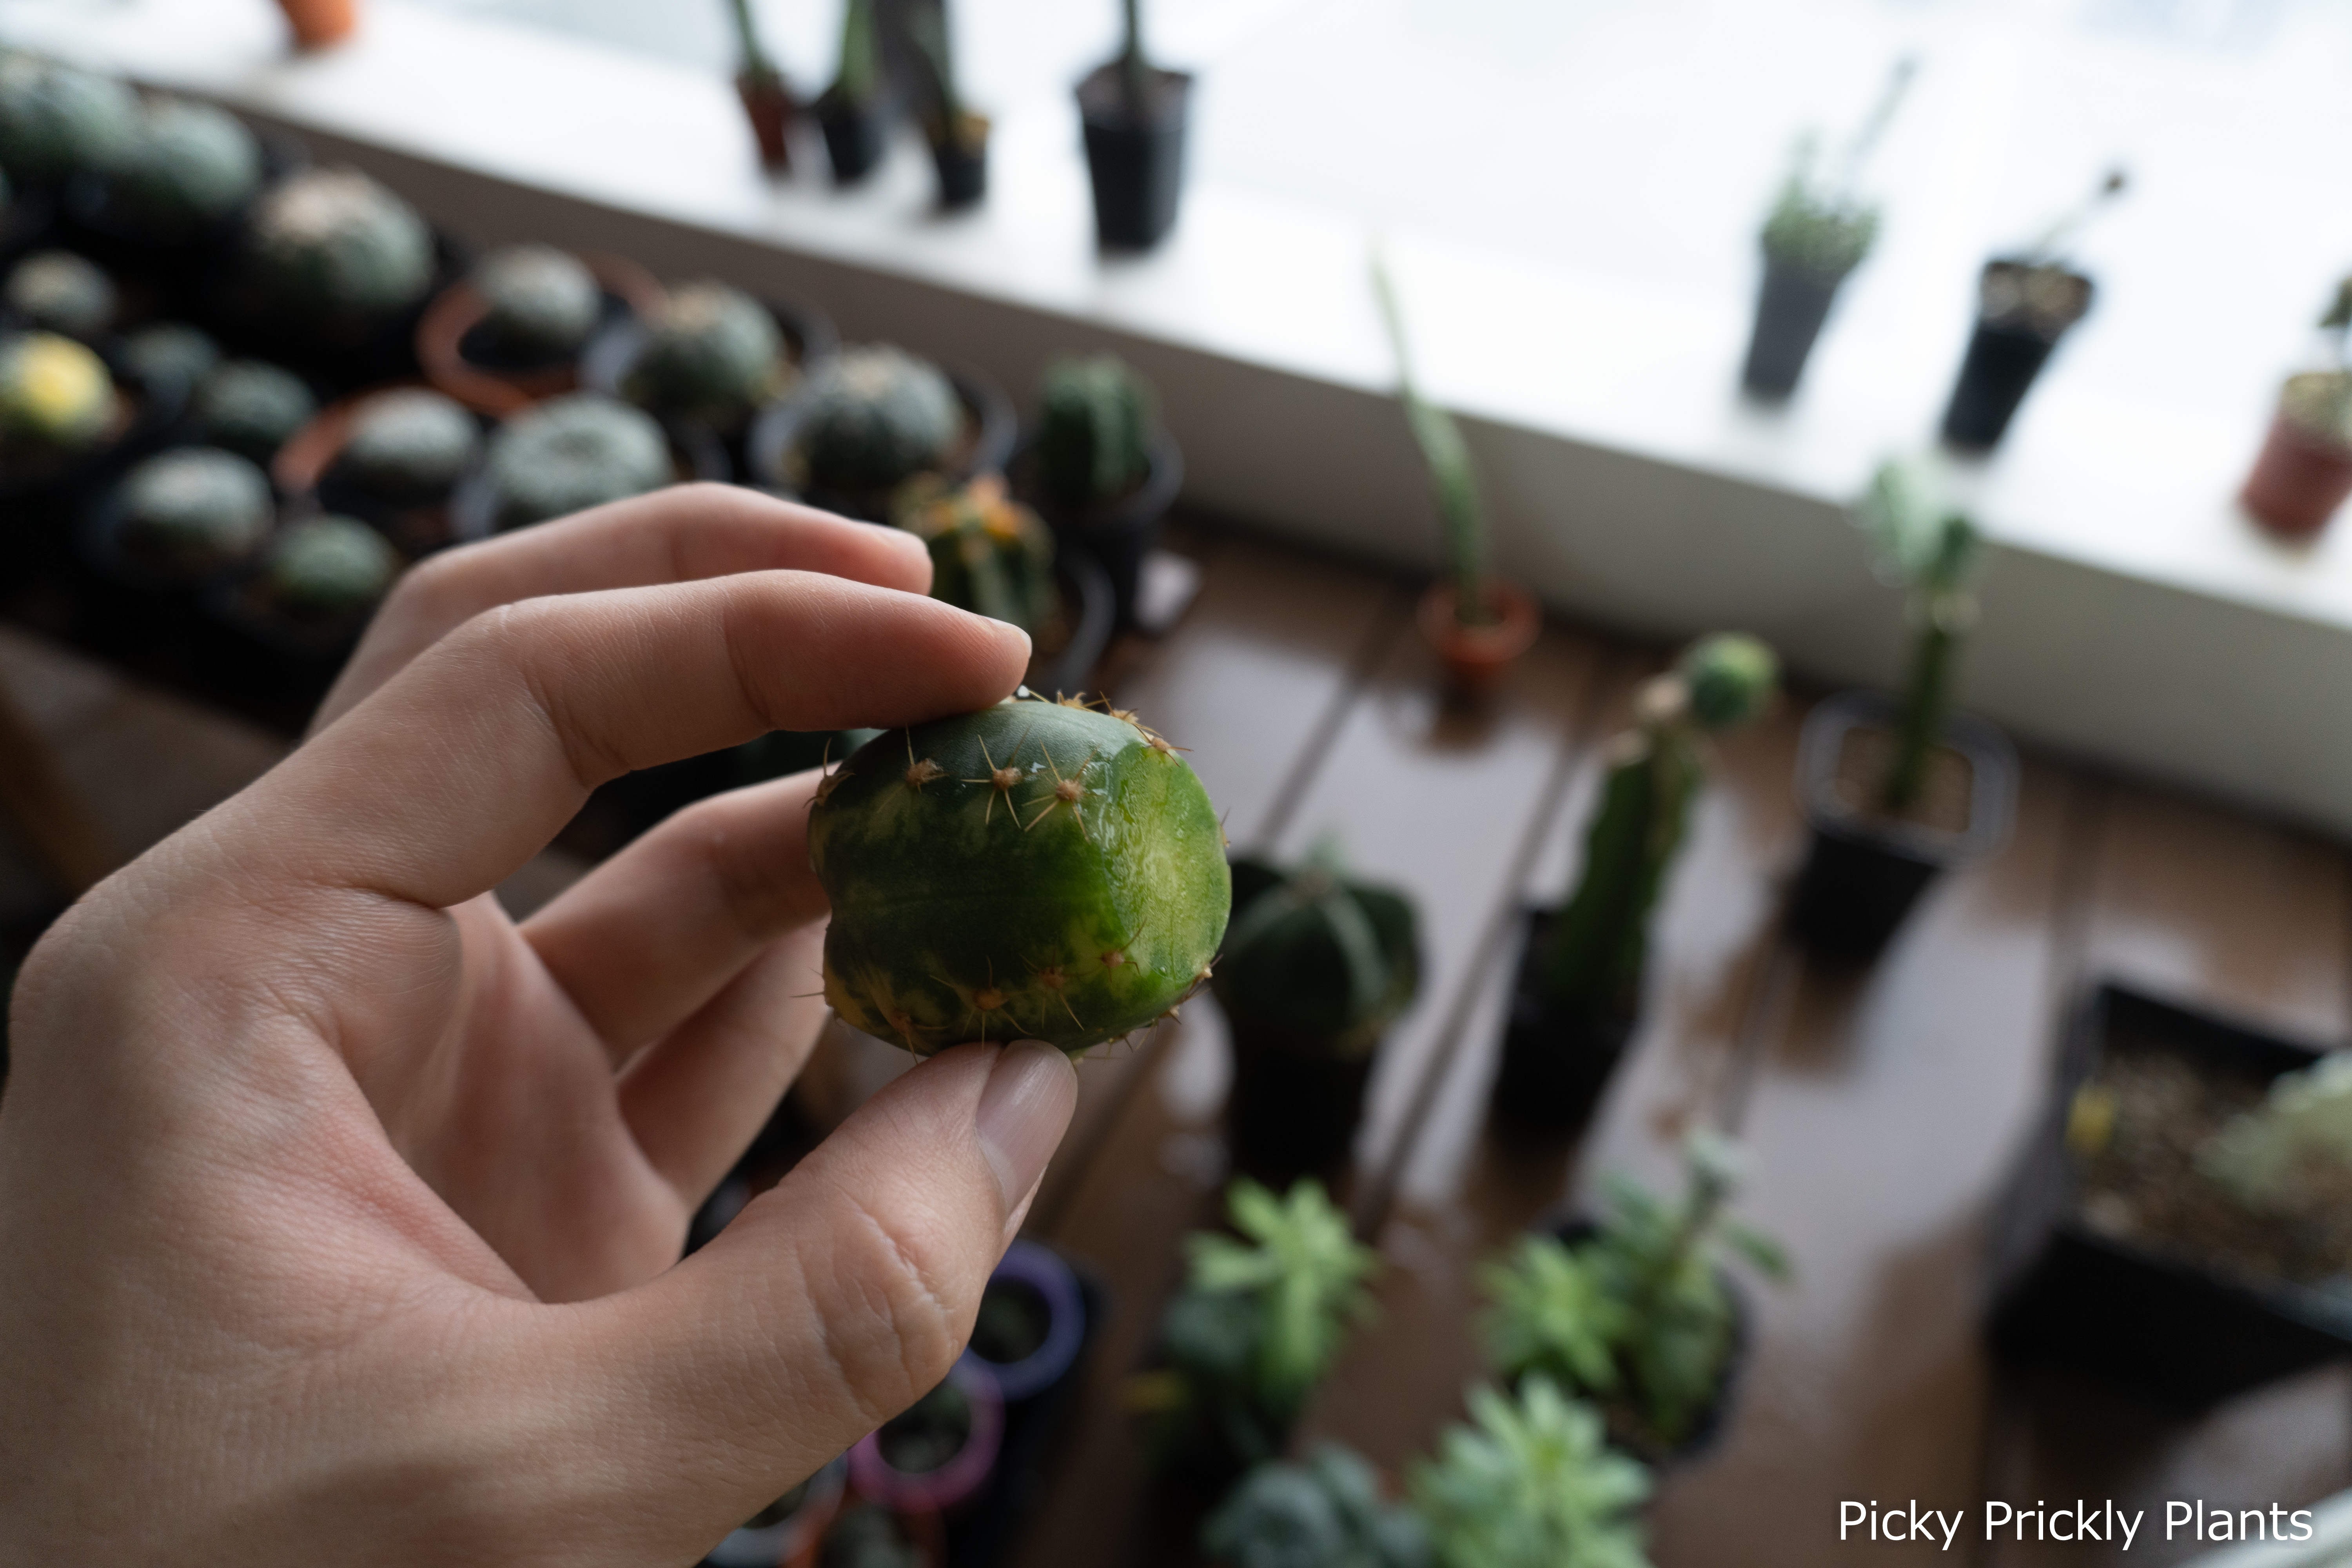
First lophophora seedling was pretty similar to our previous graft so I won’t discuss it here. However, the operation for the second one was really troublesome. It was originally a pup from a mature fricii in our collection. After grafting it, it flowered non-stop and grew three pups. This was one of our most successful grafts.
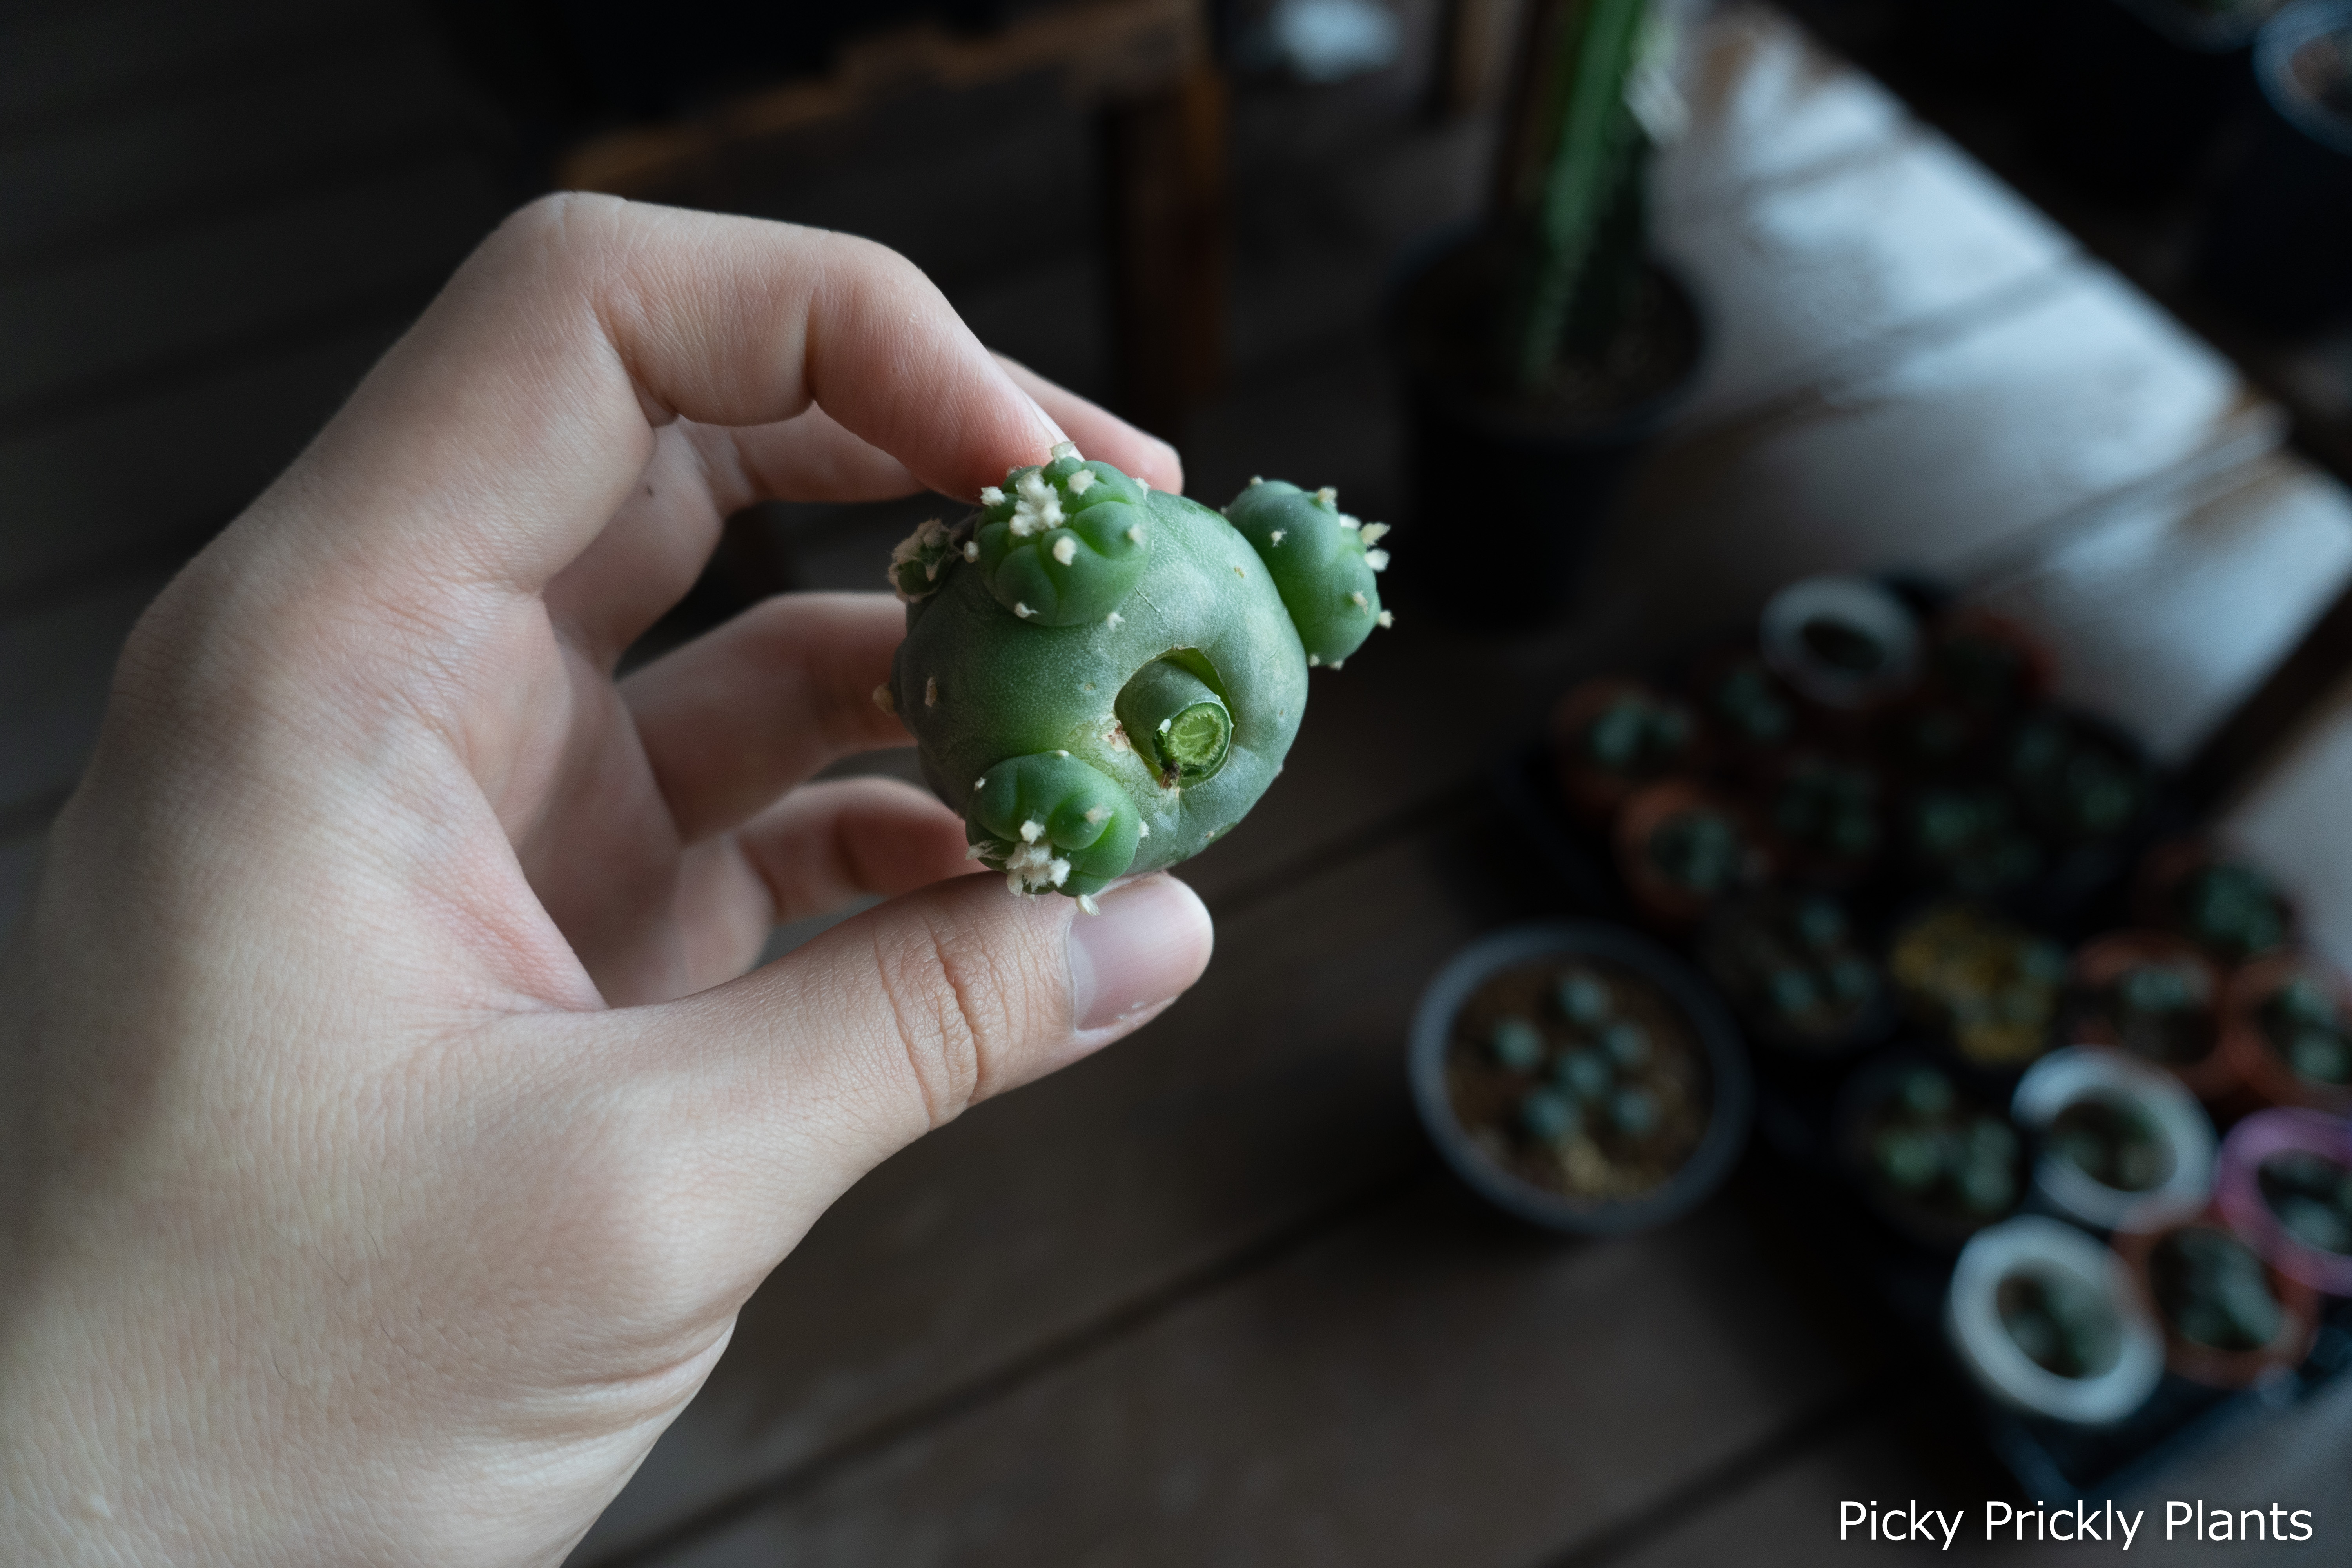
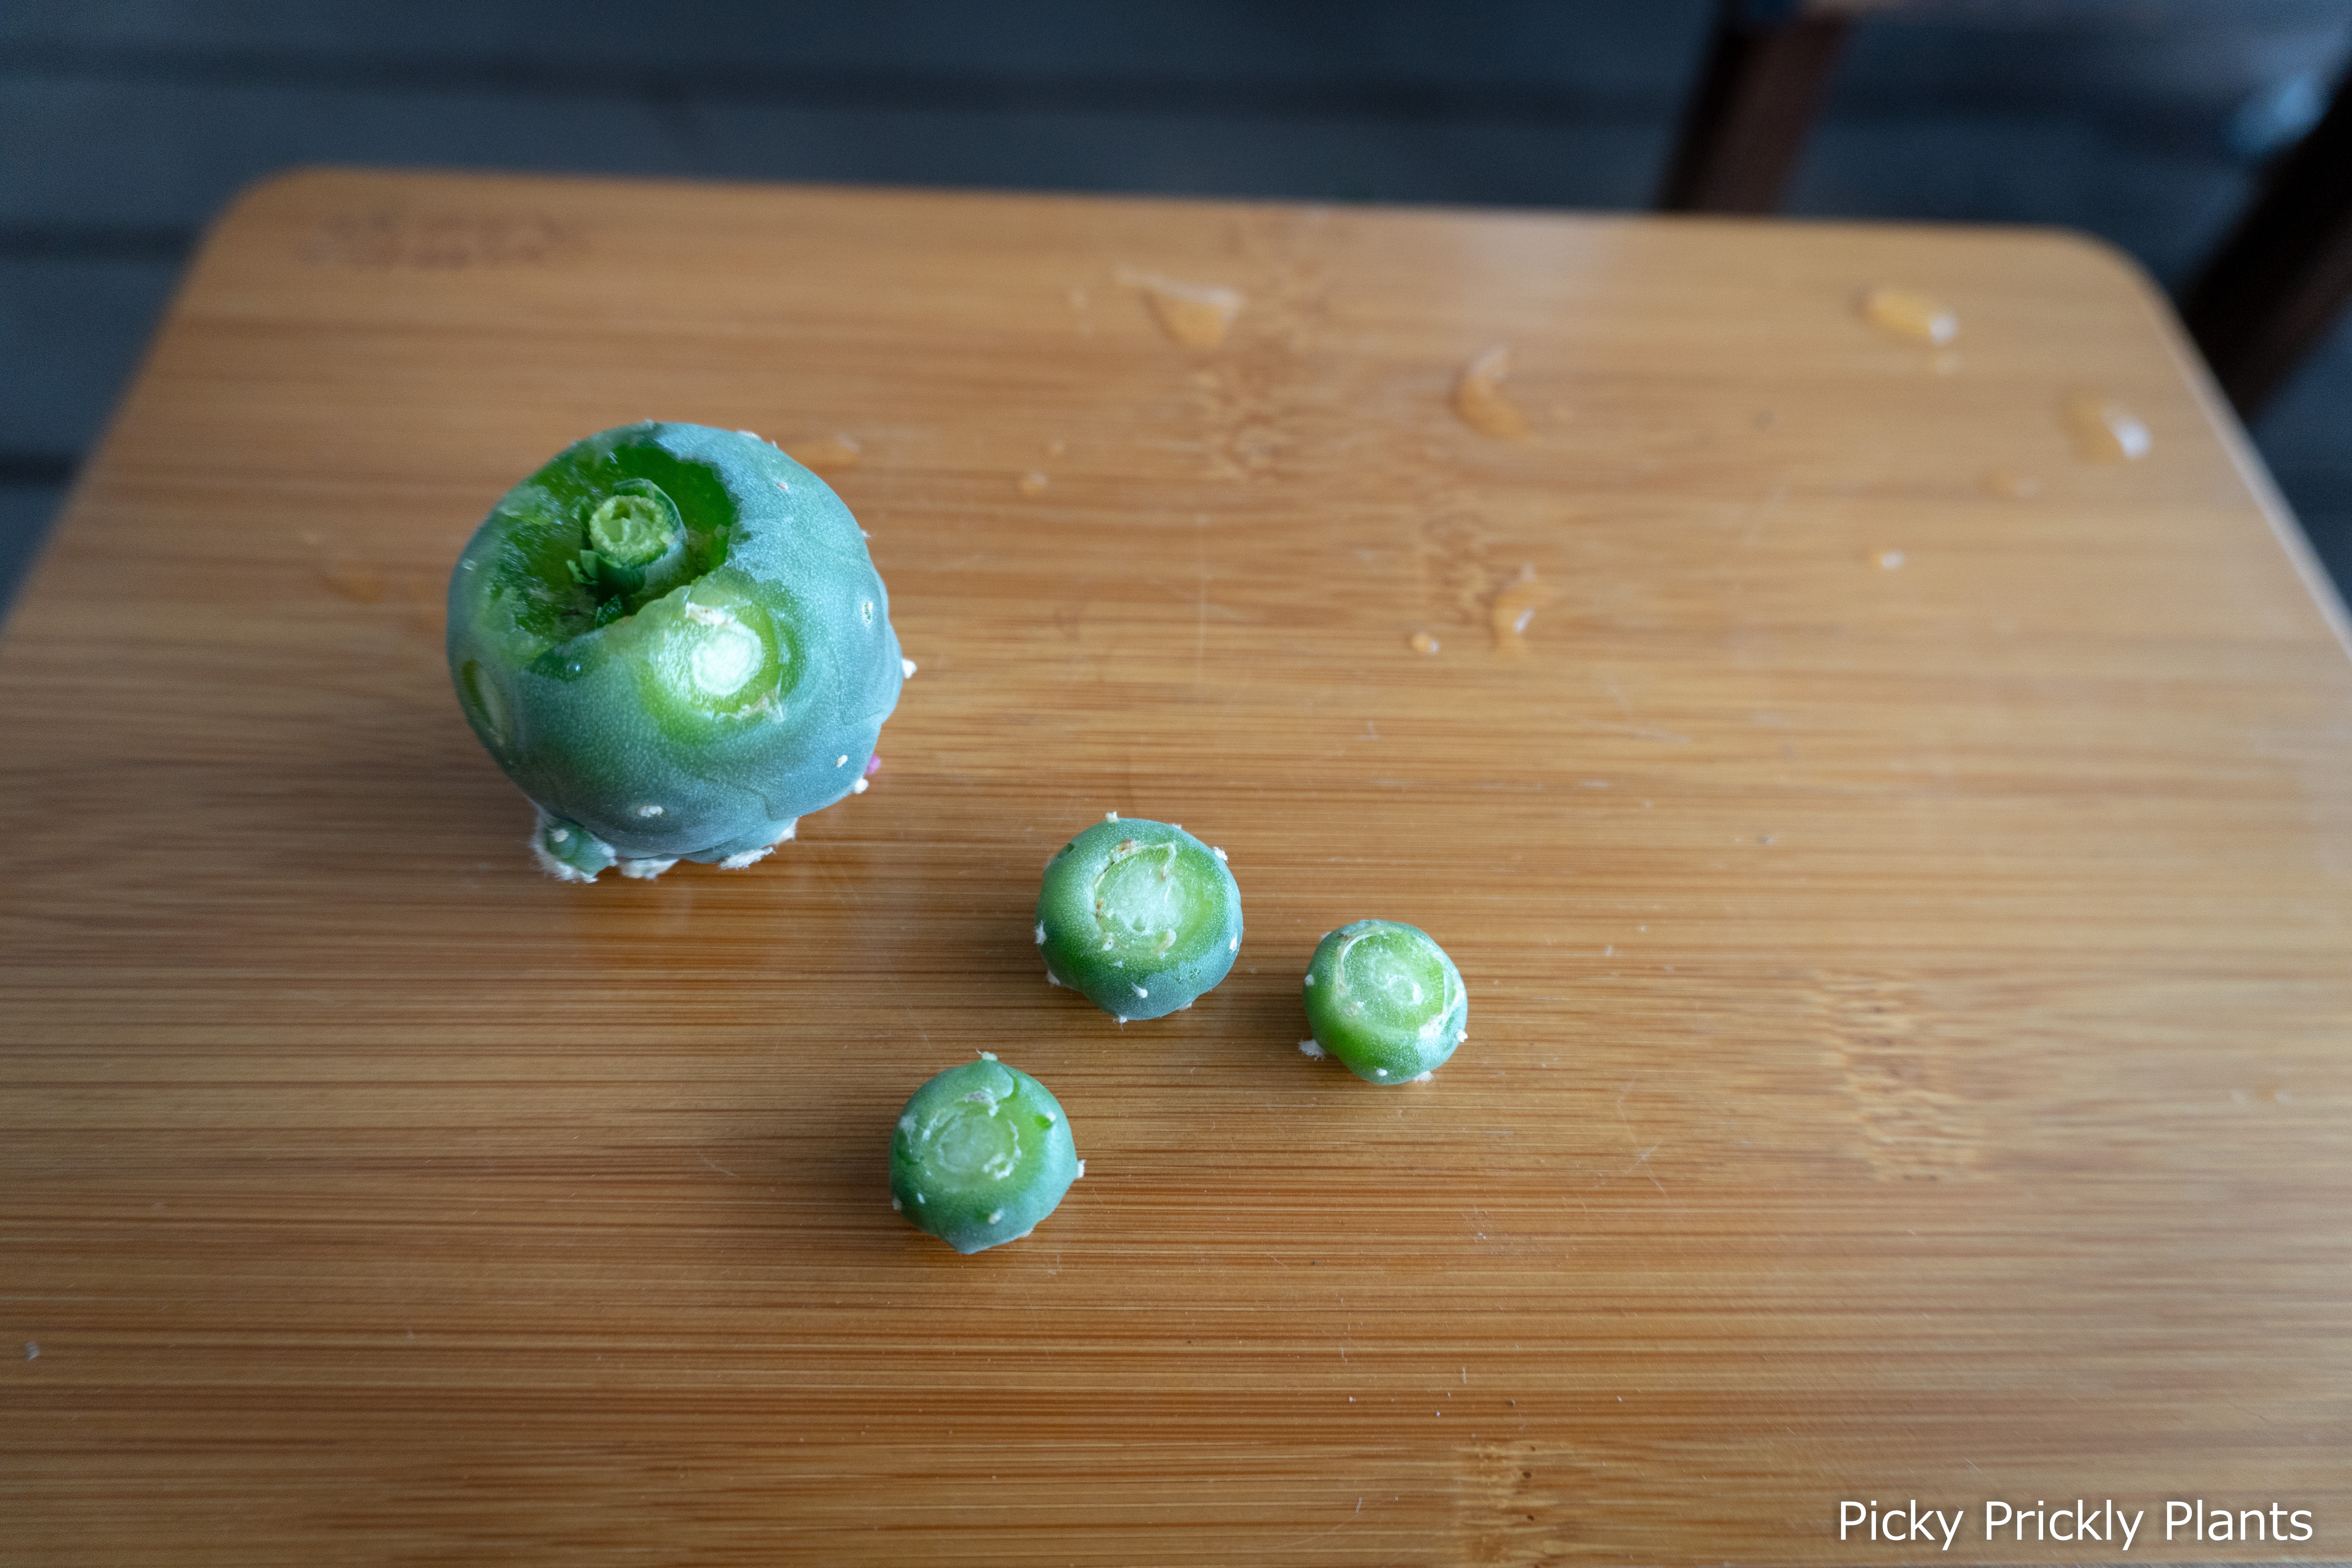
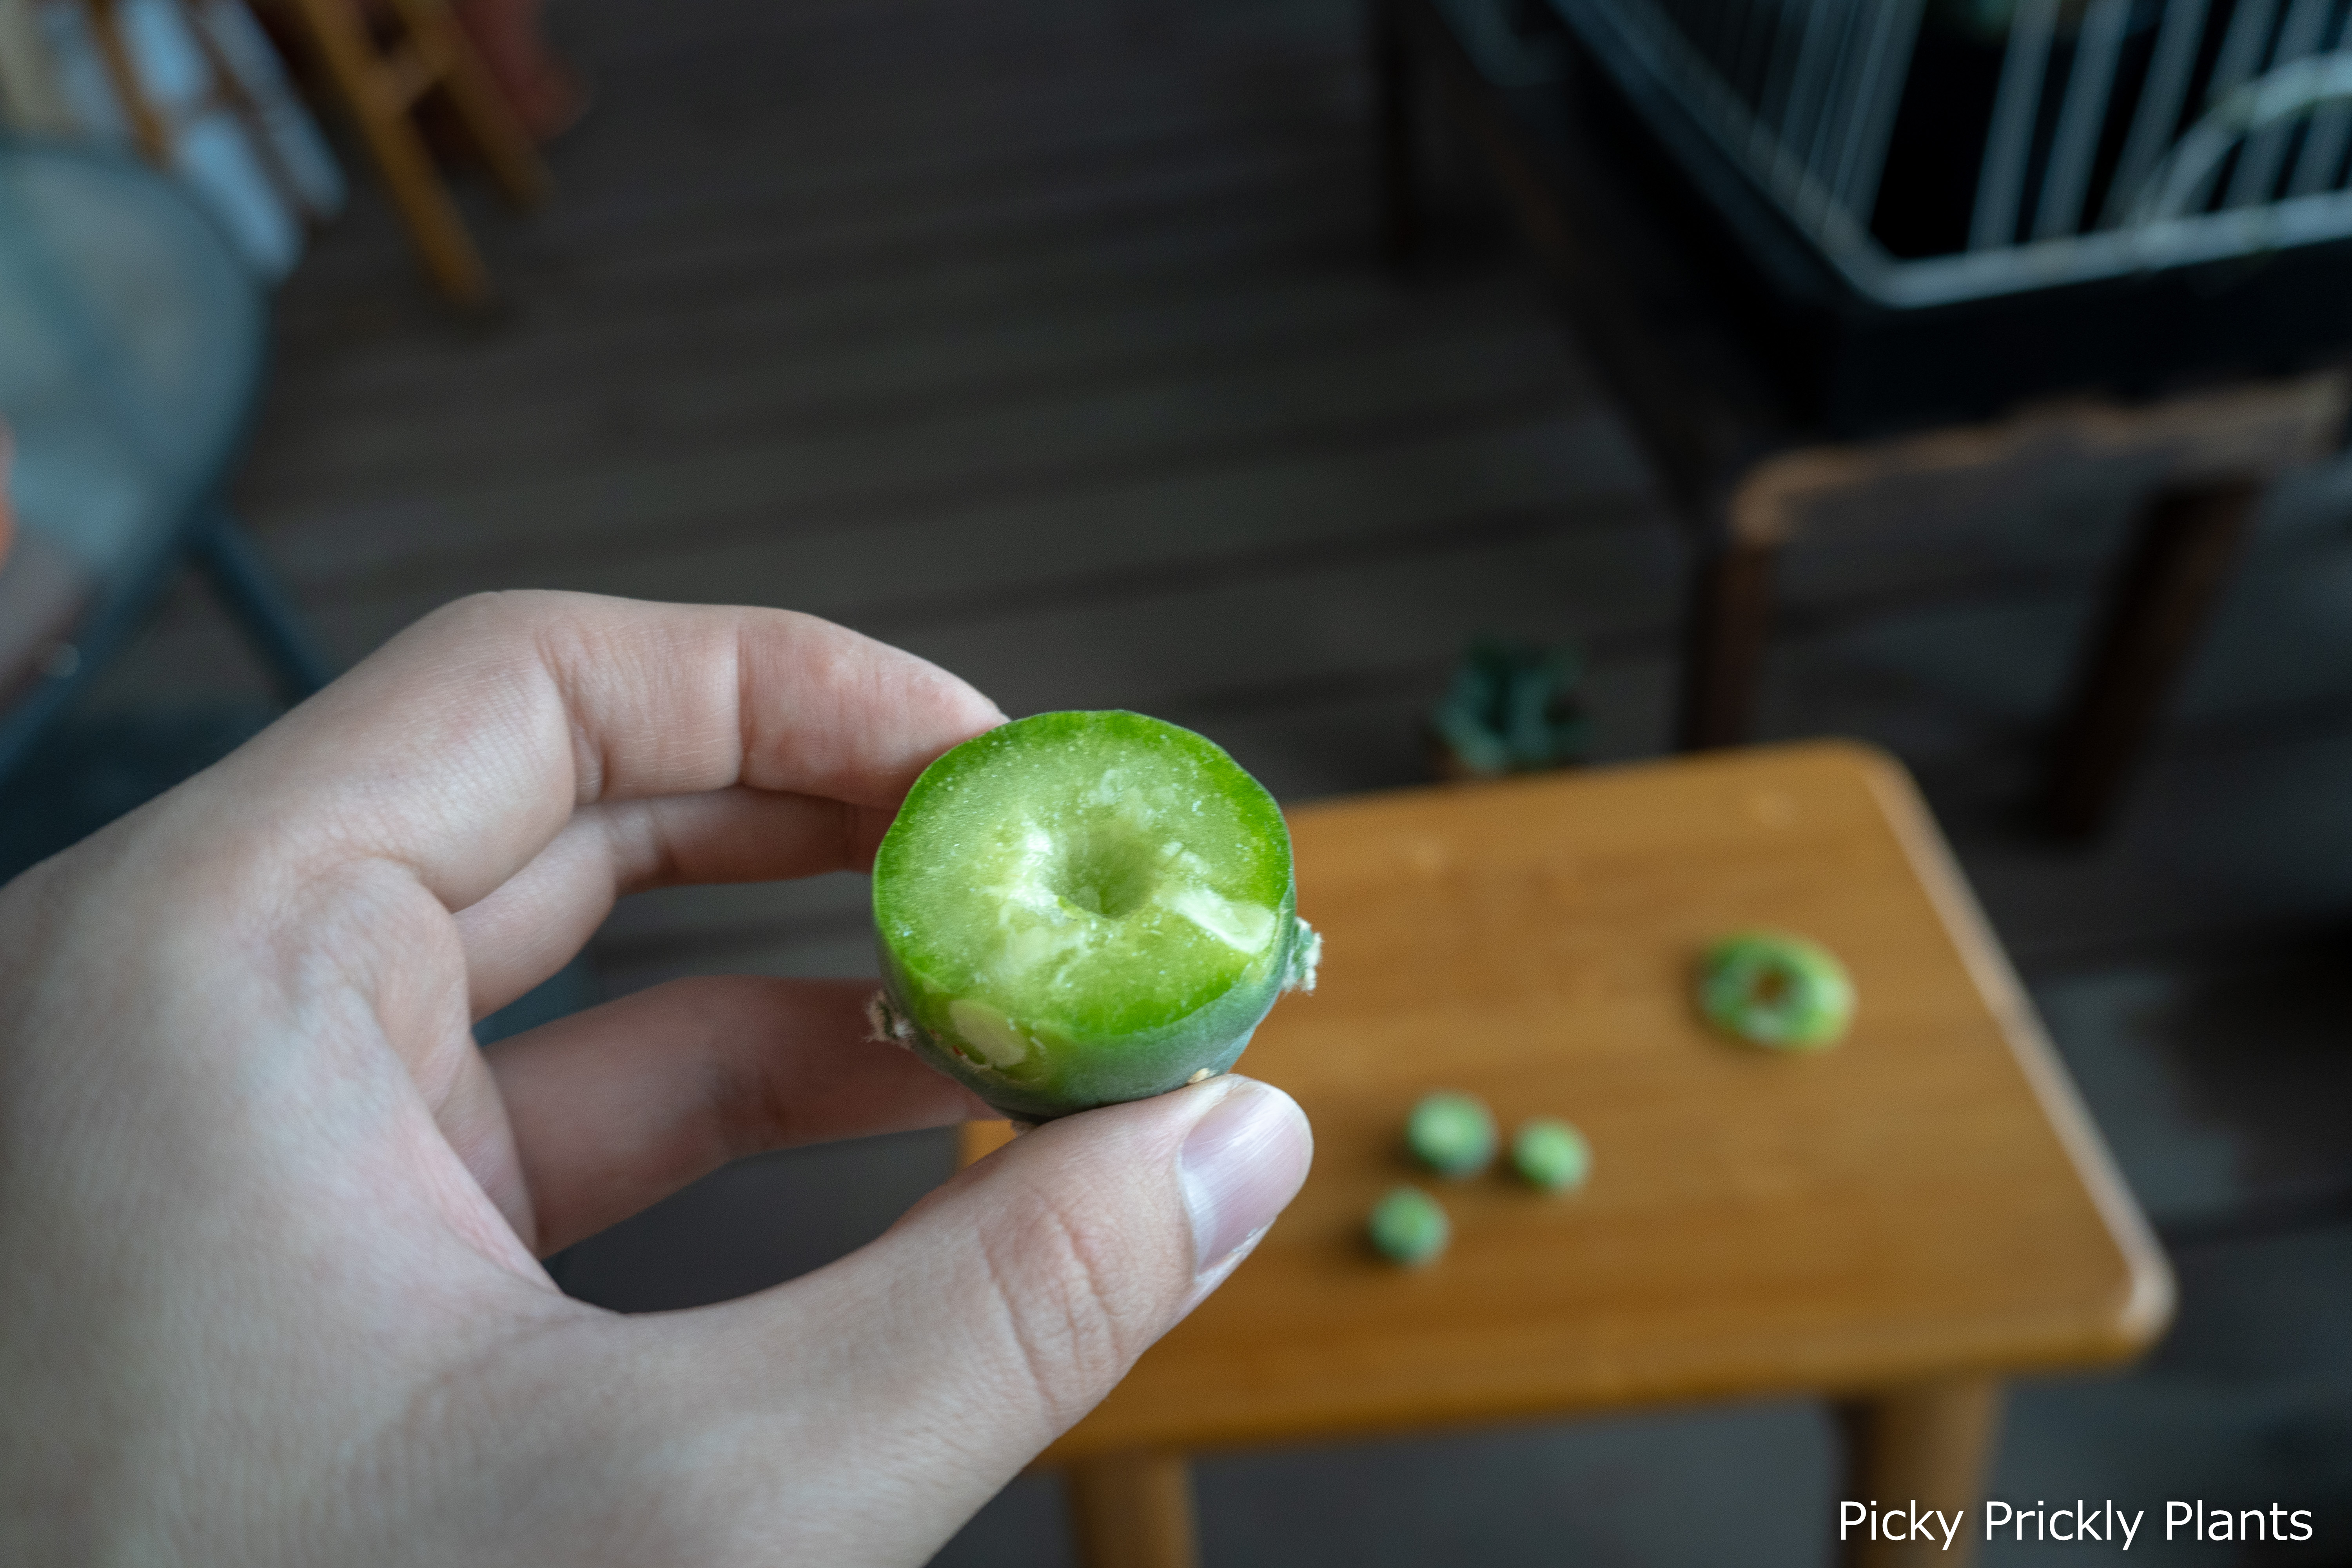
The pereskiopsis rootstock was deeply embedded in the scion. The pups on the side also pretty much prevented us from directly slicing the scion to remove the root stock. What we did was to first carefully slice out the pups, then cut the scion in half to reveal the entire rootstock. It was tightly bound to the scion and it took us quite long to carefully dig it out. Hopefully we didn’t fatally injure the plant in the process.
Gymnocalycium Horstii on Harrisia Jusbertii
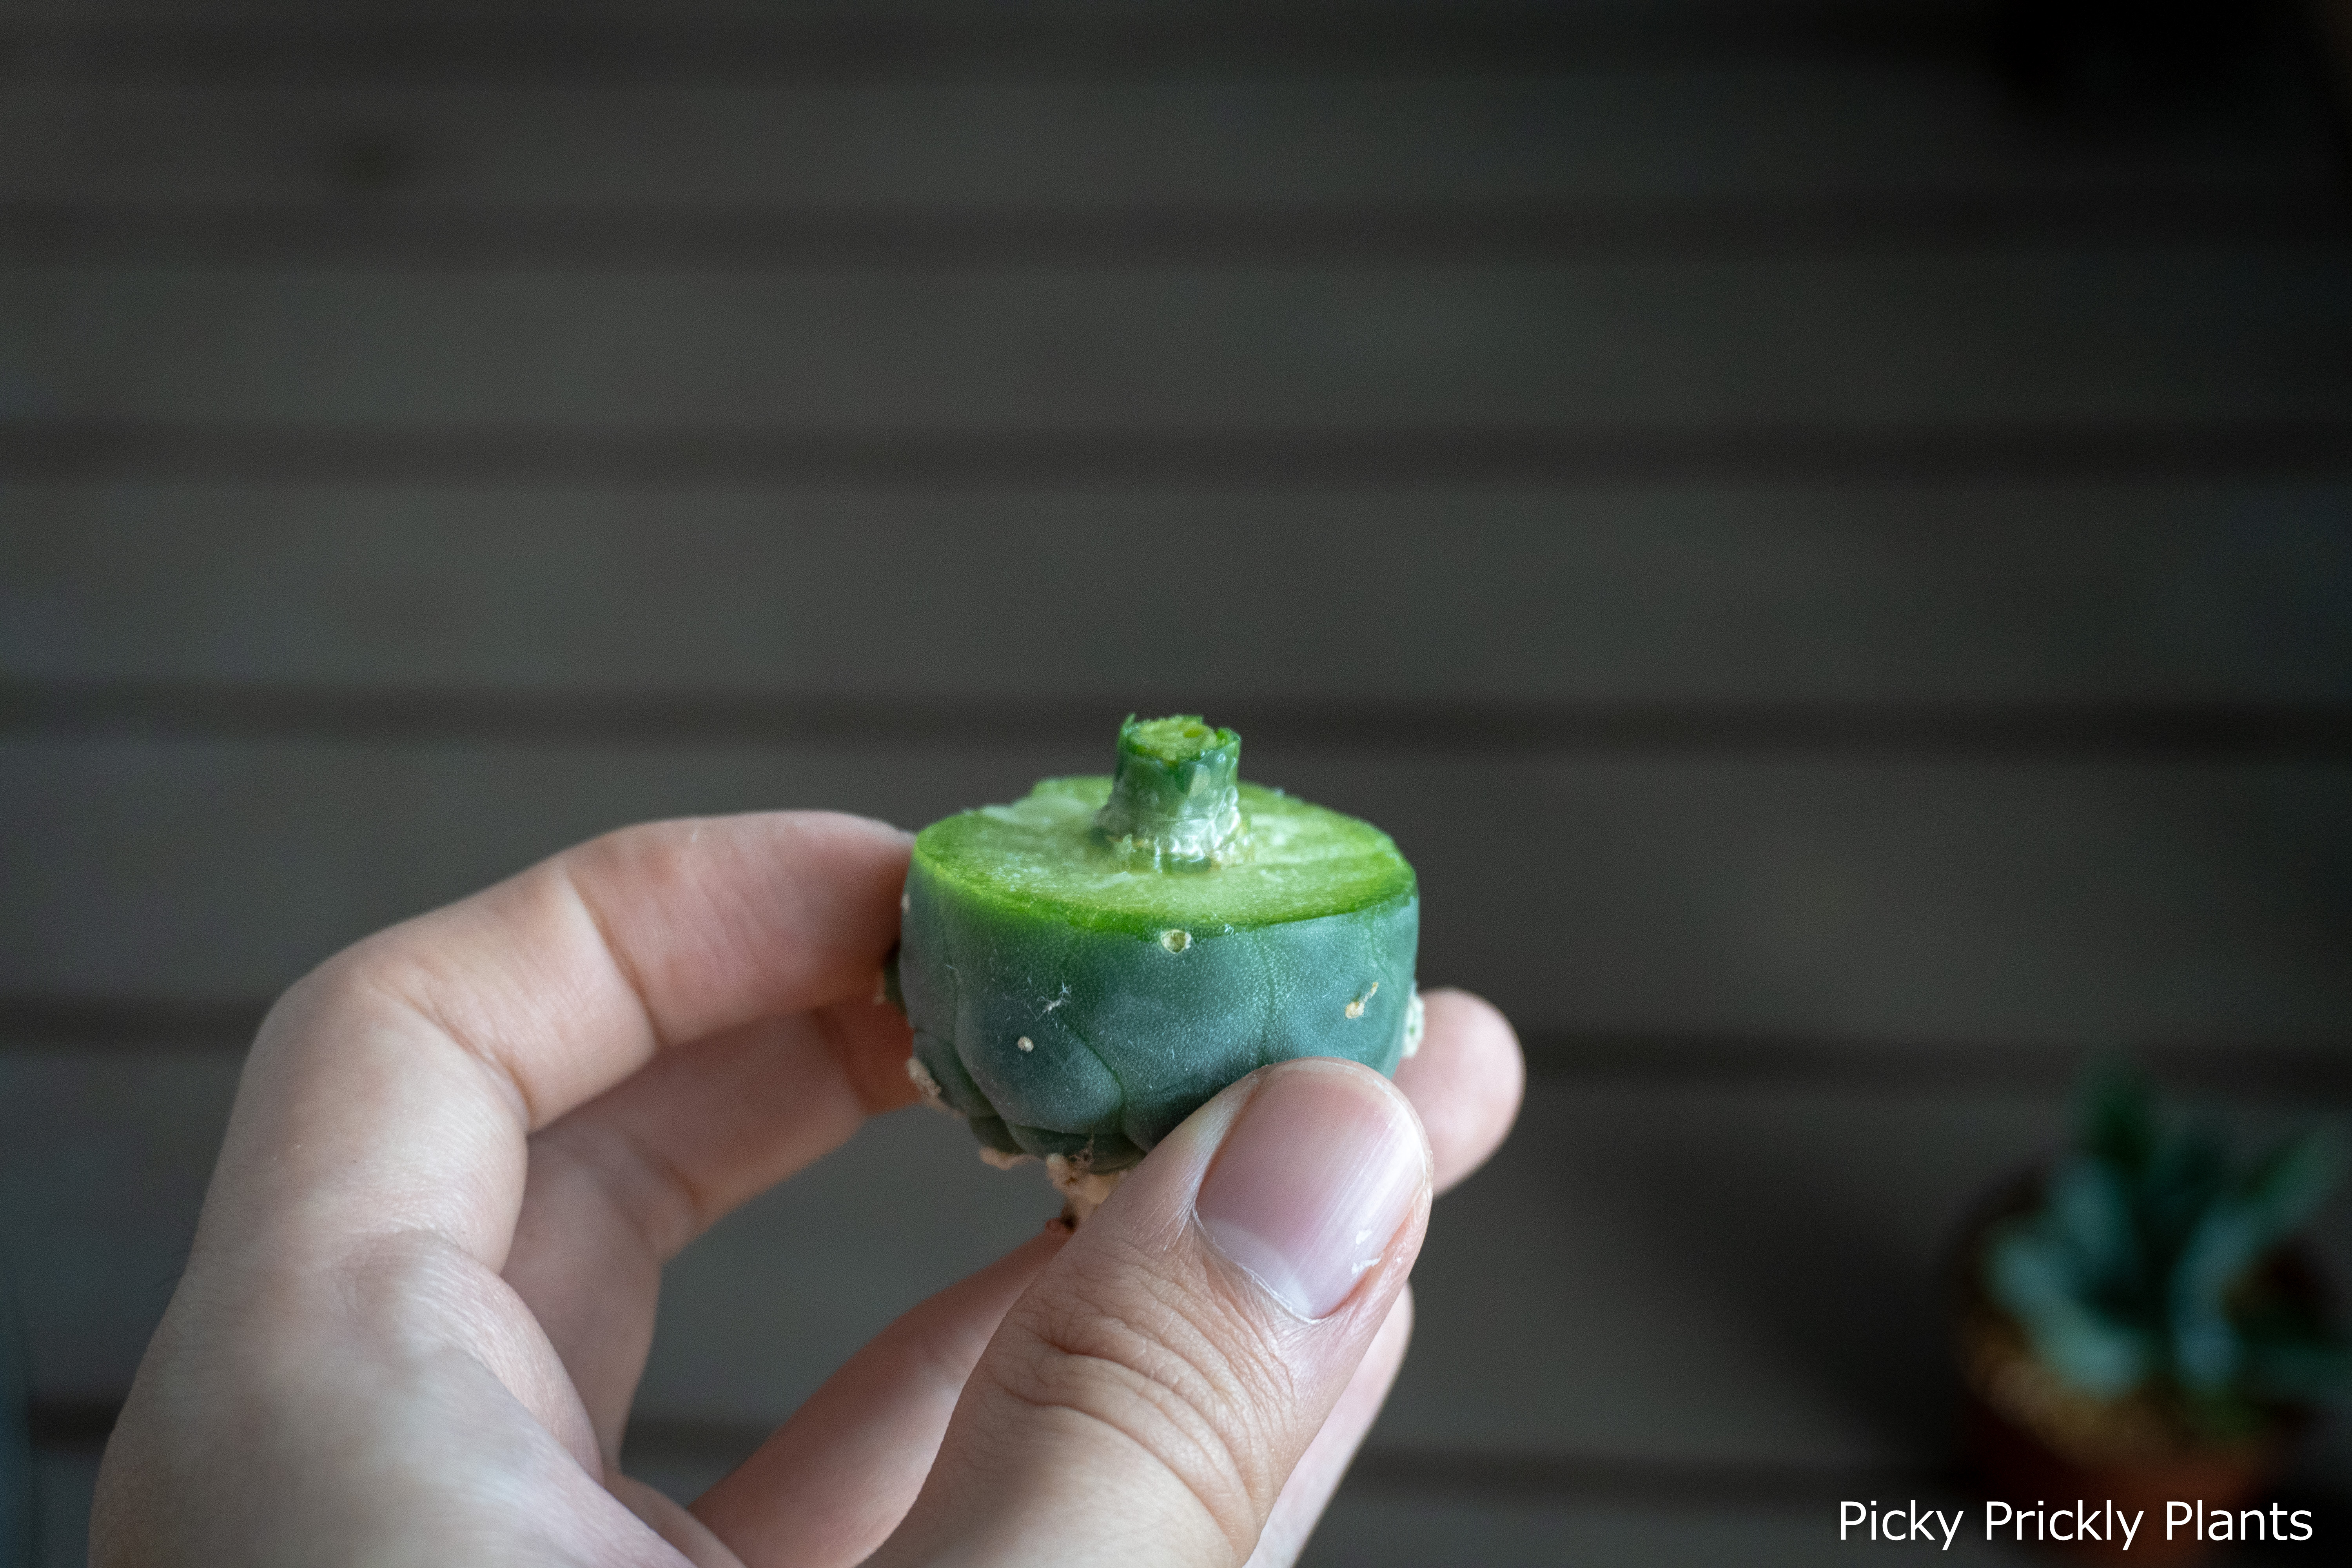
The next in line for the operation was a gymnocalycium horstii that was grafted on a harrisia jusbertii. I now understand why the harrisia is a superiour rootstock. The joint between the scion and the rootstock was totally flat. A single cut was able to fully separate the rootstock from the gymnocalycium. We did not need to dig out any tissues of the rootstock after that. Furthermore, the rootstock can be reused as it did not form any woody stem unlike the pereskiopsis. I guess from now on we will be using this for grafting projects.

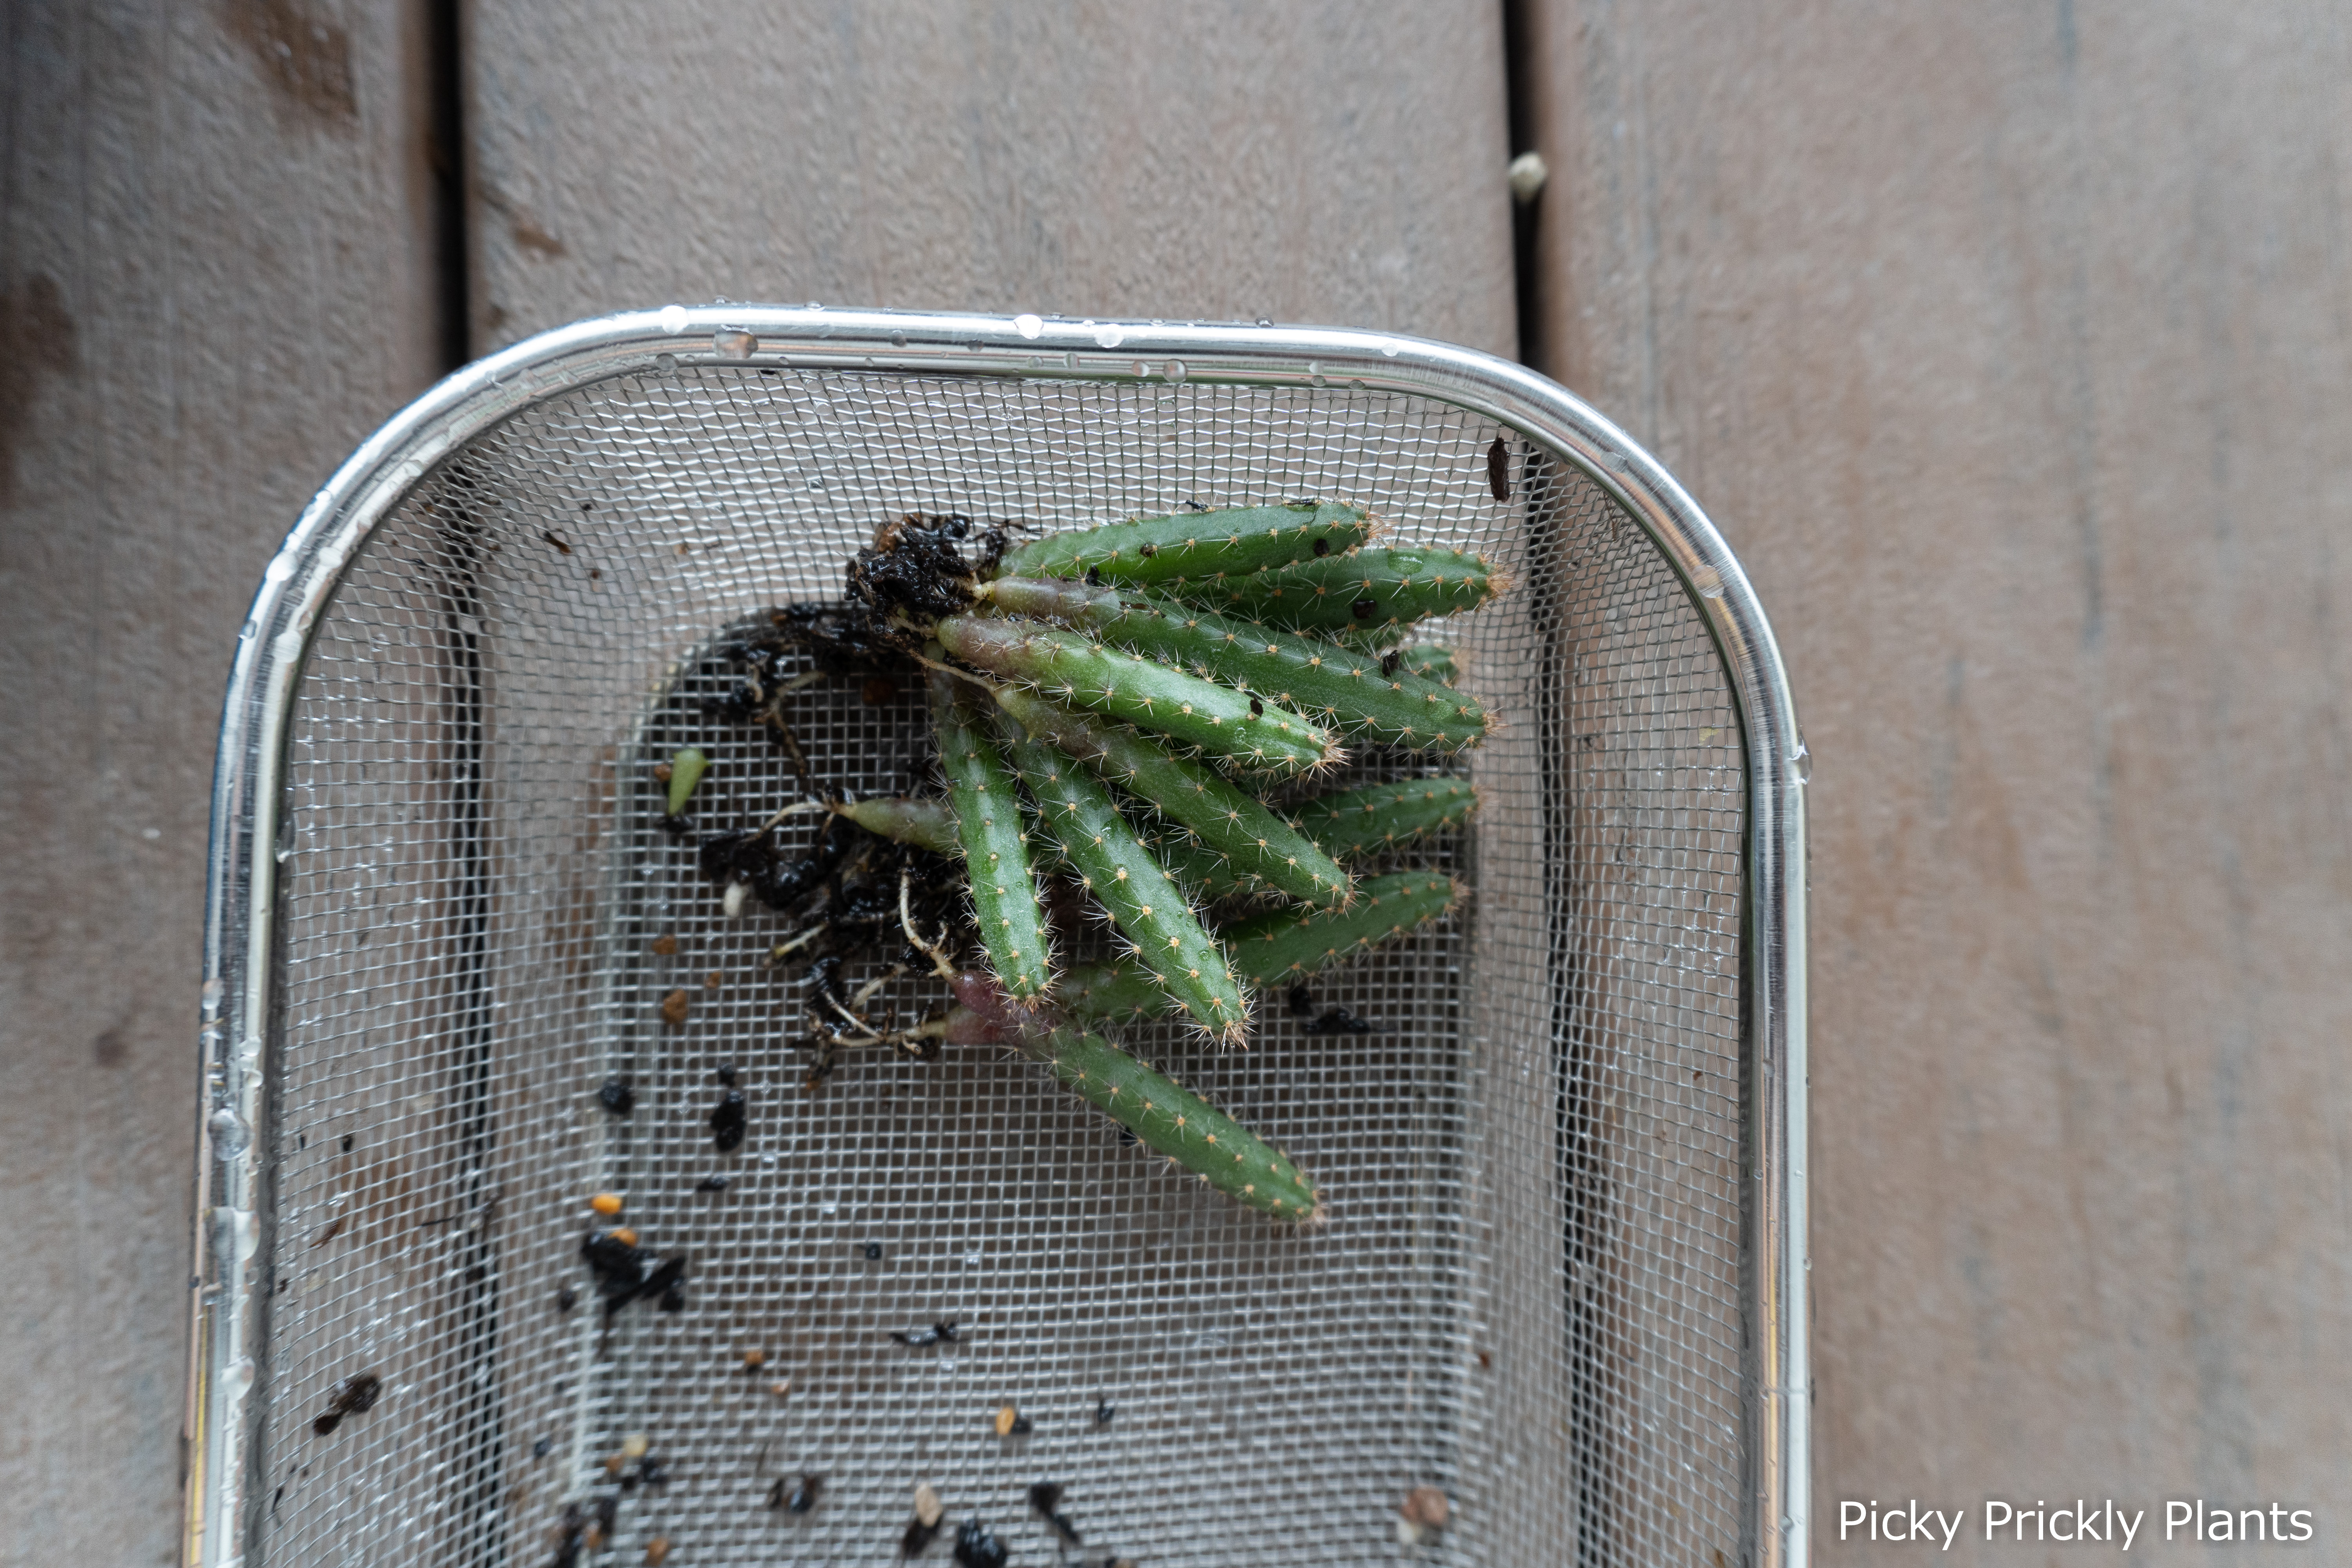
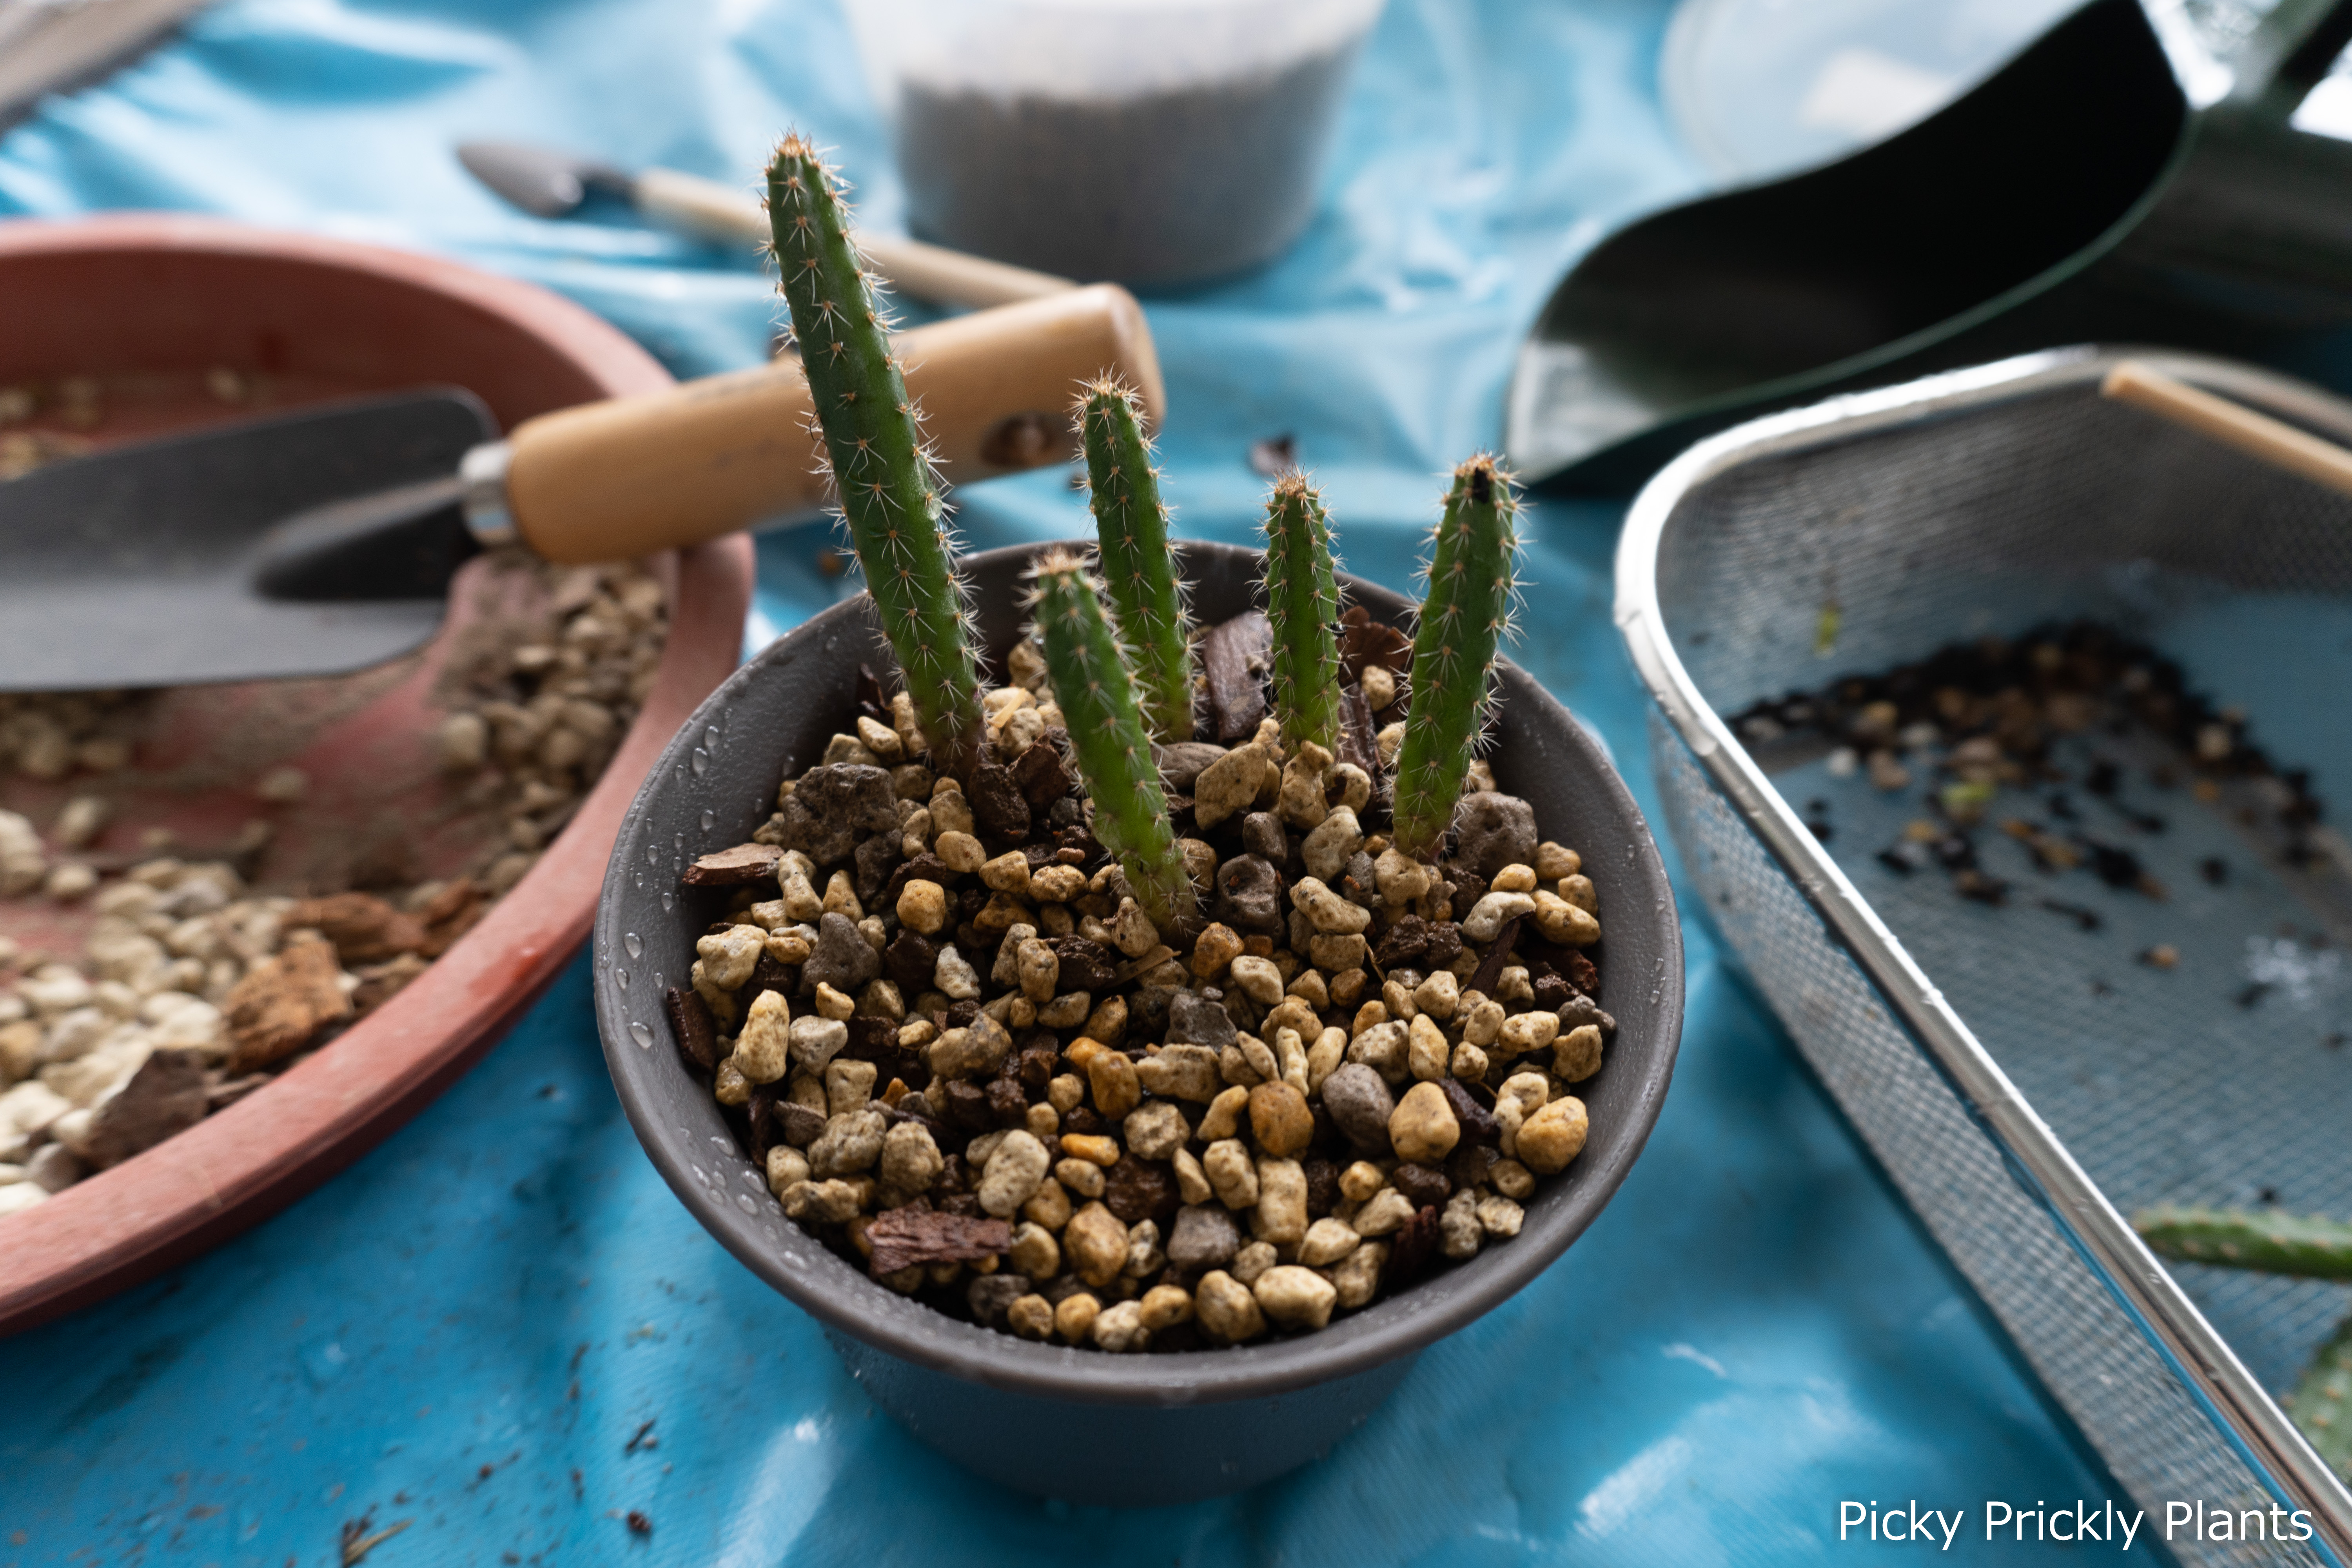
Bonus – Harrisia Jusbertii seedlings
We planted a bunch of seedlings early this year and they are all growing well. Not quite ready to be used as rootstock yet but I’m sure they will grow pretty fast here in Singapore. The seeds were purchased from Kaktus-Koehres and was labelled under the Eriocereus section.
We actually grafted one seedling to a pereskiopsis and the growth accelerated so much that a seed grown plant was able to be used as a rootstock in six months. That is what the remaining pereskiopsis will be used for.
Hope you enjoyed this and learning something from it! Till next time.